OneDeck Help Center
Setup Custom Report
Once a report is created, you can customize your reports with options like grouping by criteria, applying filters based on fields like document type, recipient, or issue date; and exporting the data to a CSV file. The report includes all its data for documents, billings, or timers, depending on the selected type.
In this documentation, we’ll walk you through the steps on how to:
- View Report
- Group Report
- Filter Report
- Export Report
- Edit Report
Let’s get started 🚀
View Report
Step 1: In the side navigation panel, click on the Reports option beneath the workspace section.
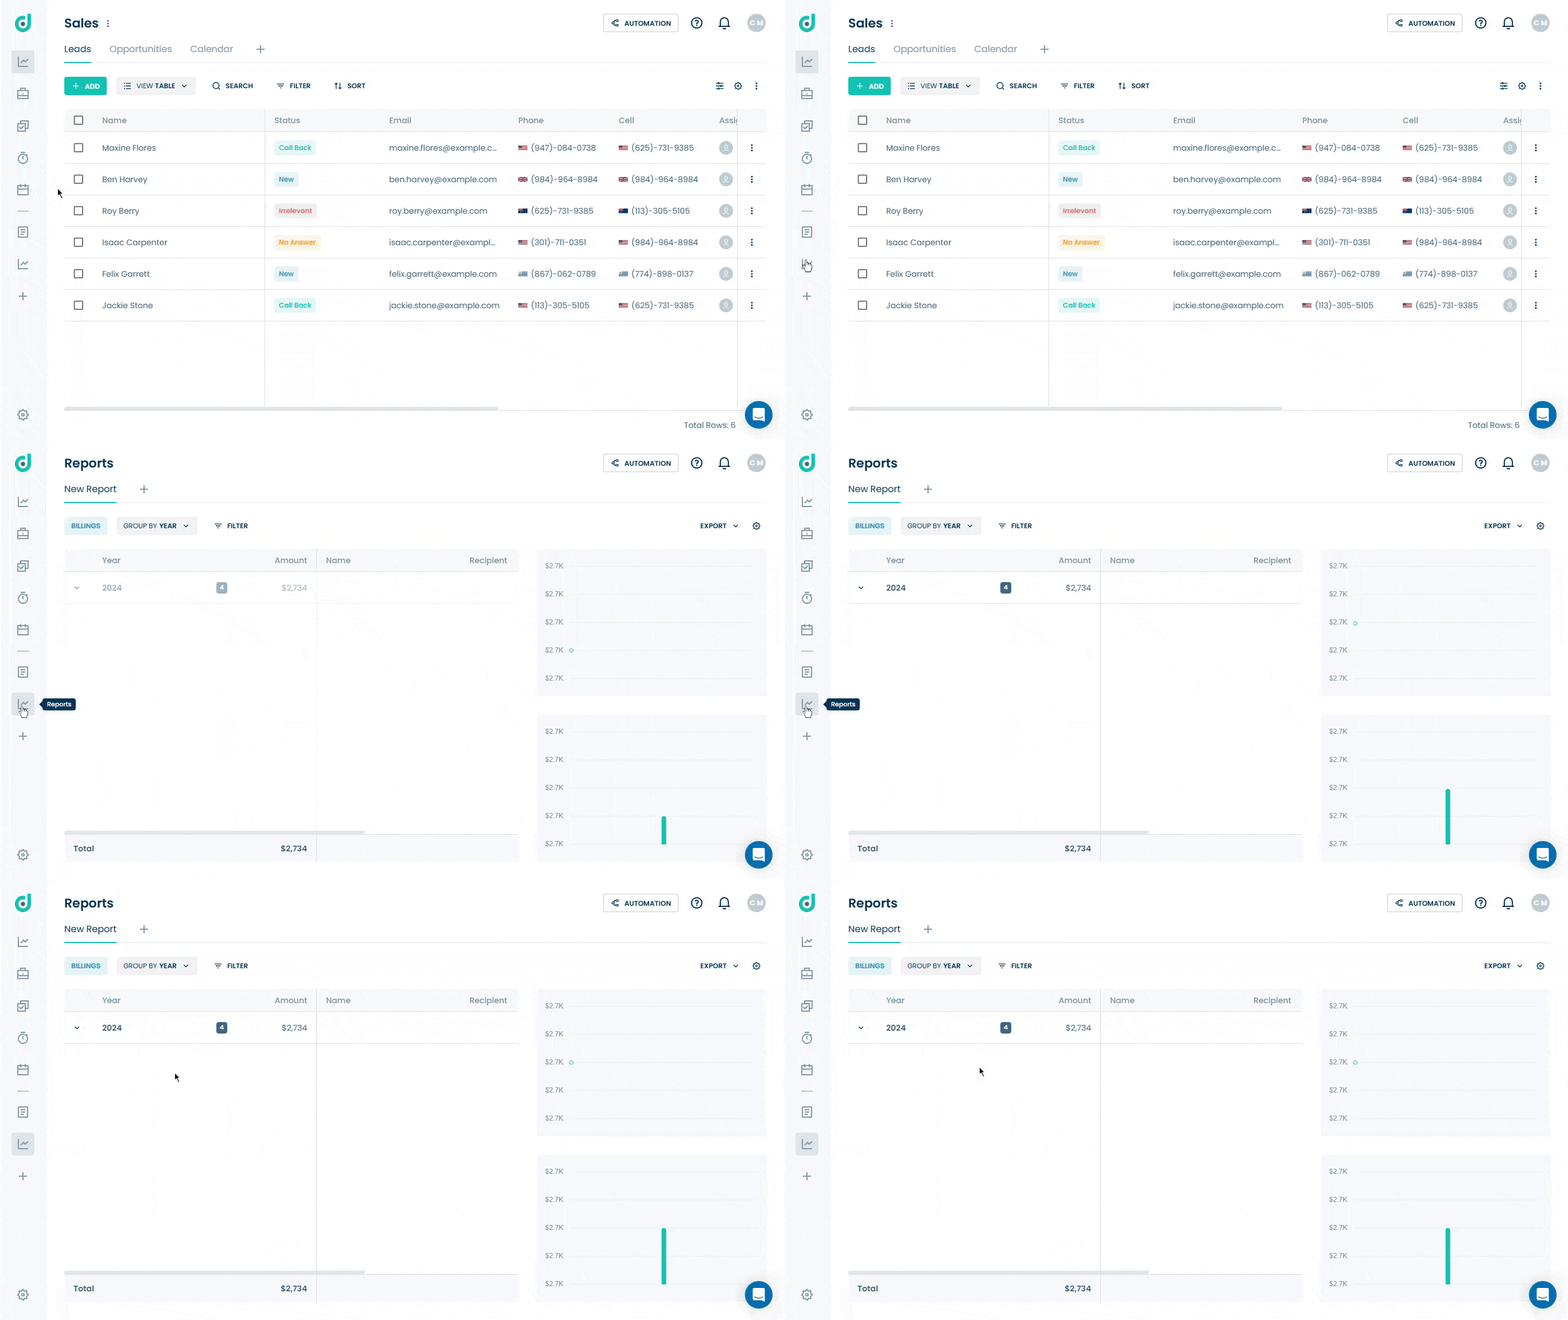
Step 2: Select the Report which you want to view.
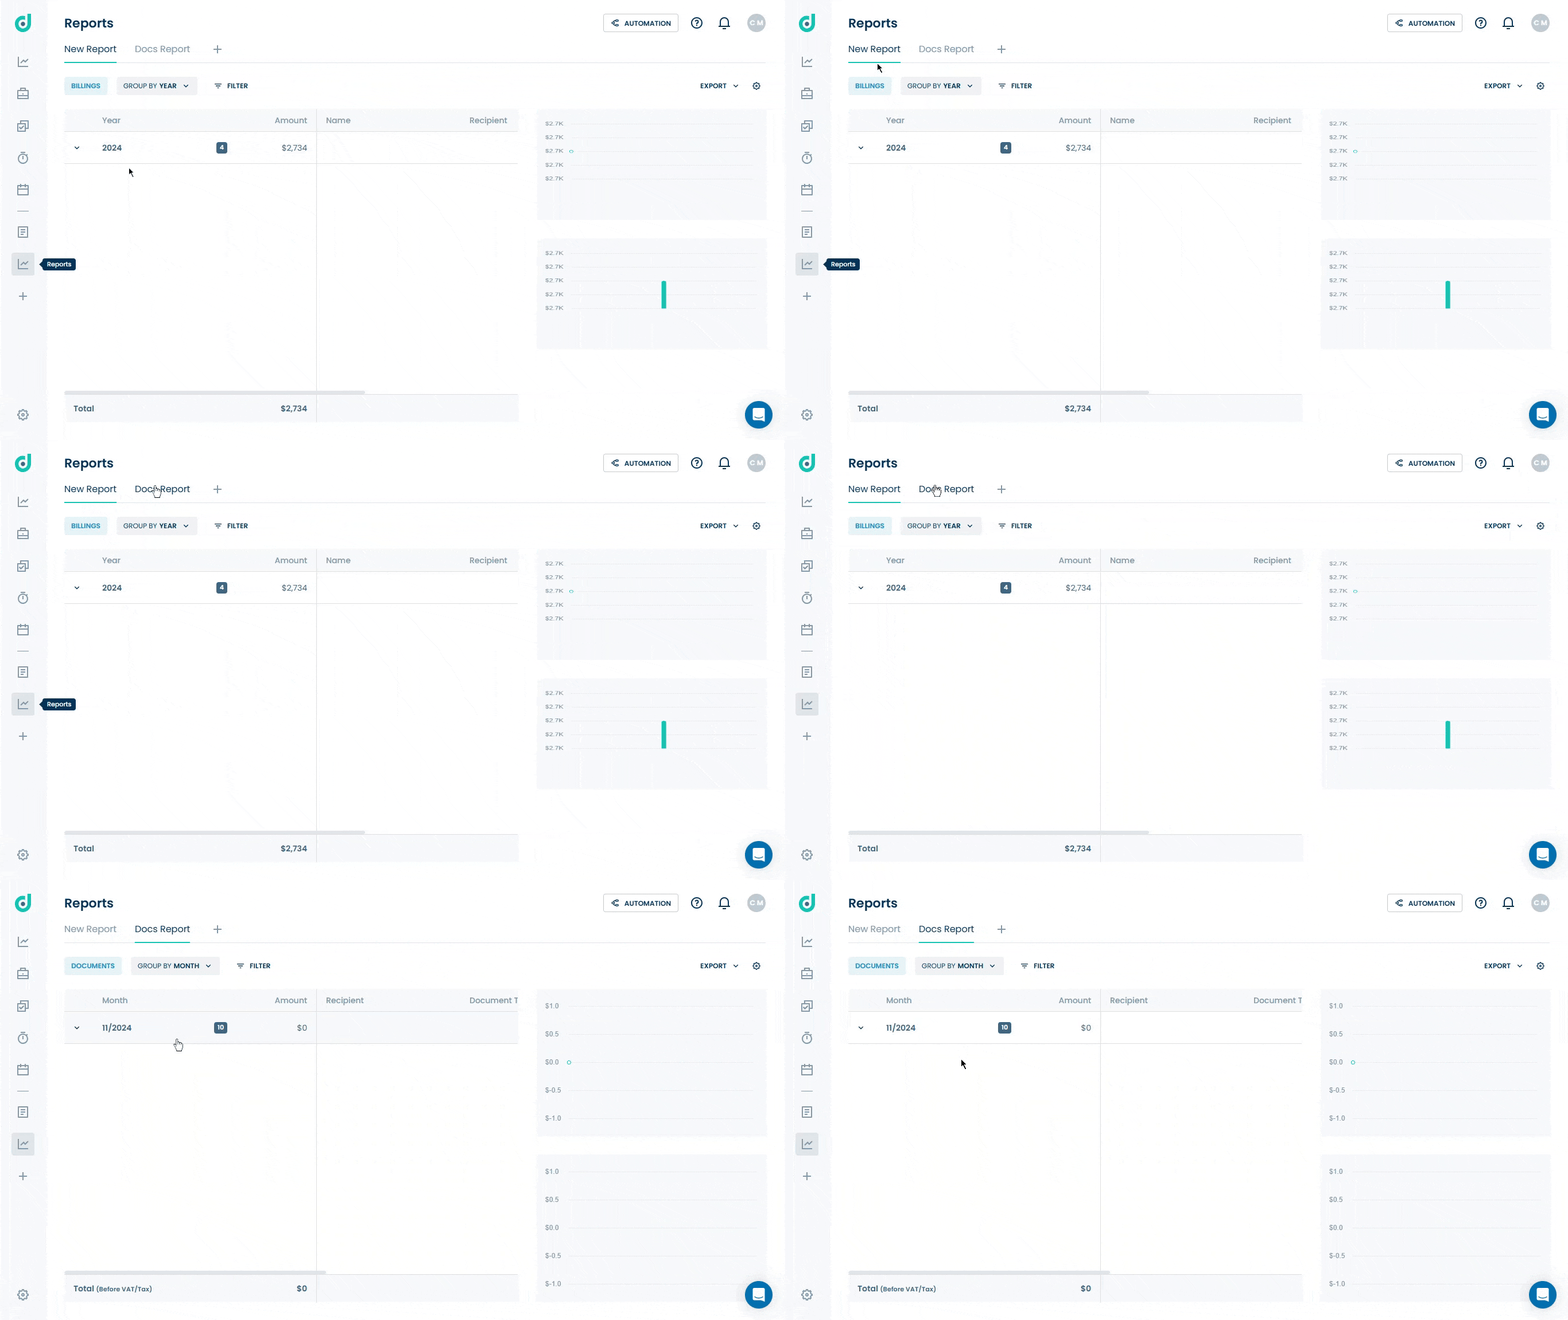
Step 3: Click on the report’s Caret down icon to view the list of report types (e.g., Documents) that involve a list of published documents.
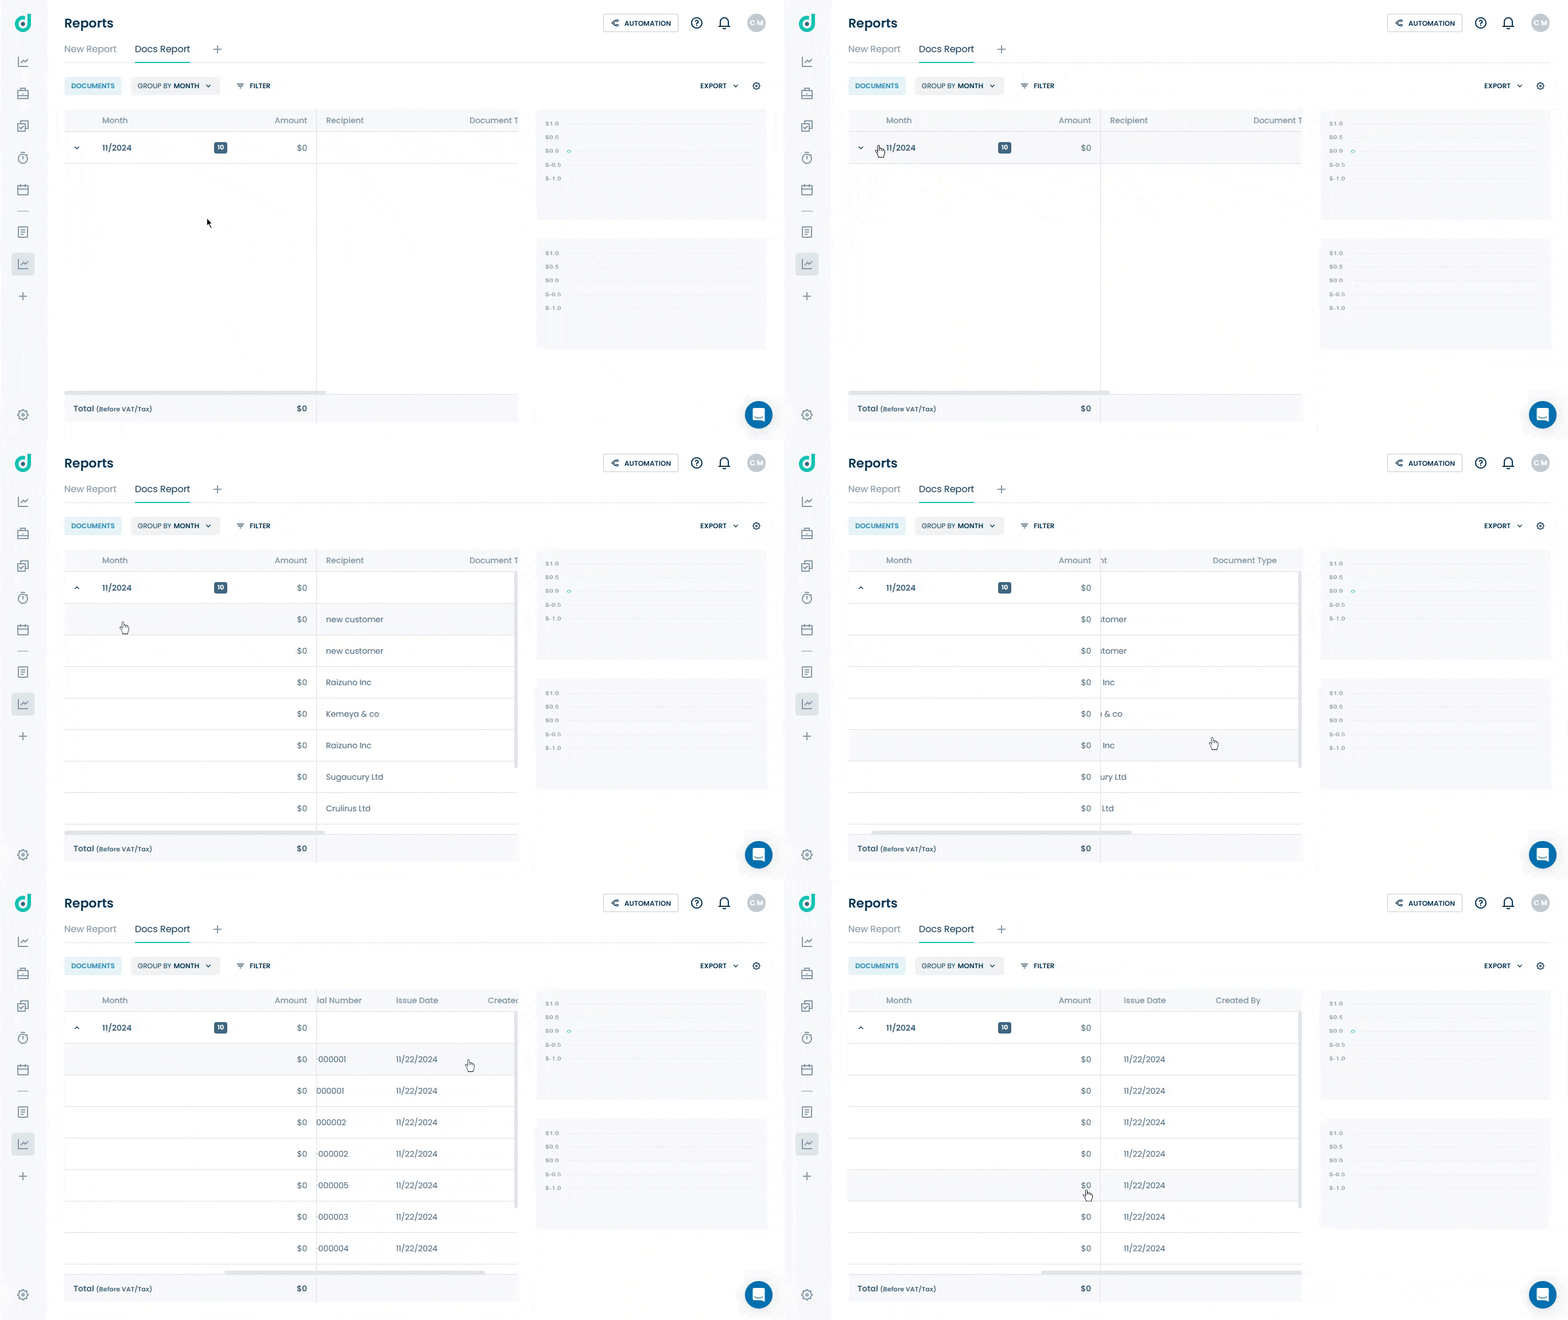
Group Report
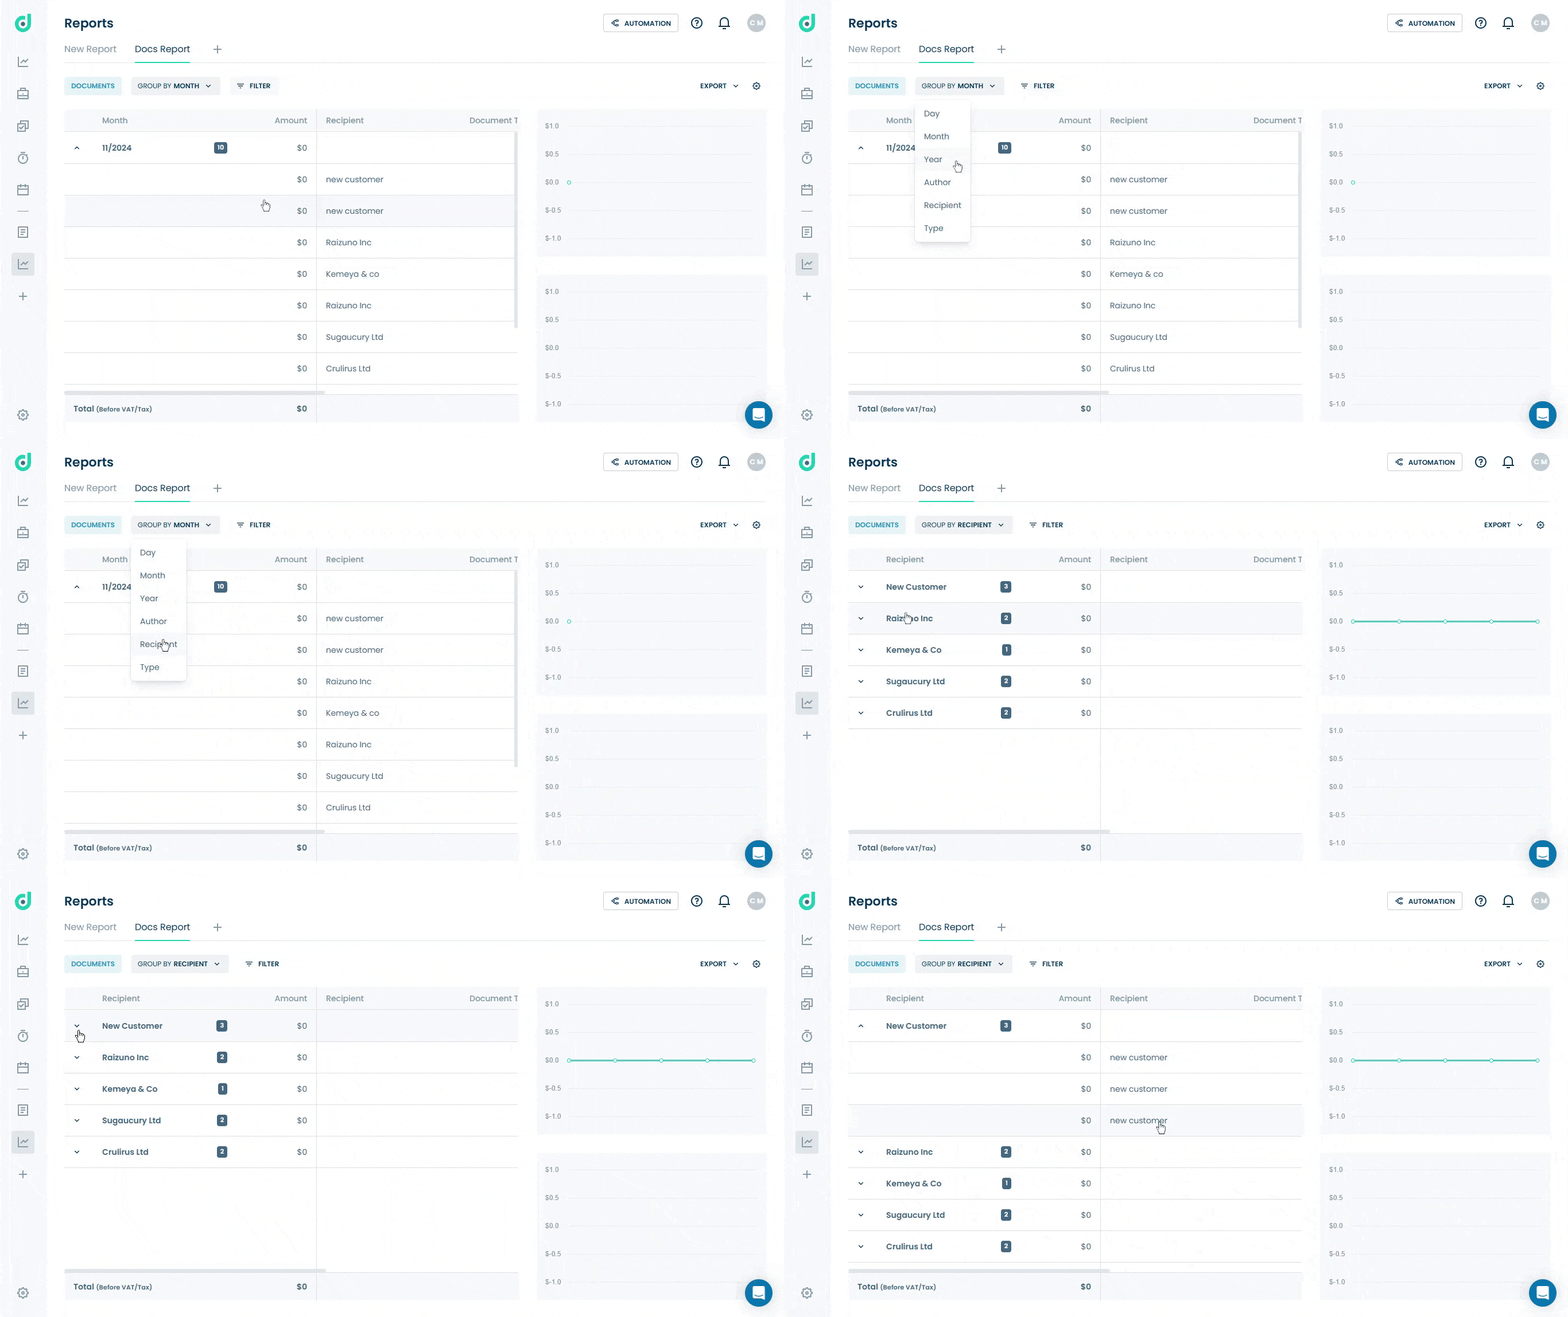
Allows you to group reports by selecting from multiple options to organize them based on various criteria, including day, month, year, author, recipient, and type. Click on the Group caret down icon and select the preferred group option.
Note: The grouping options available may vary depending on the type of report being chosen.
Filter Report
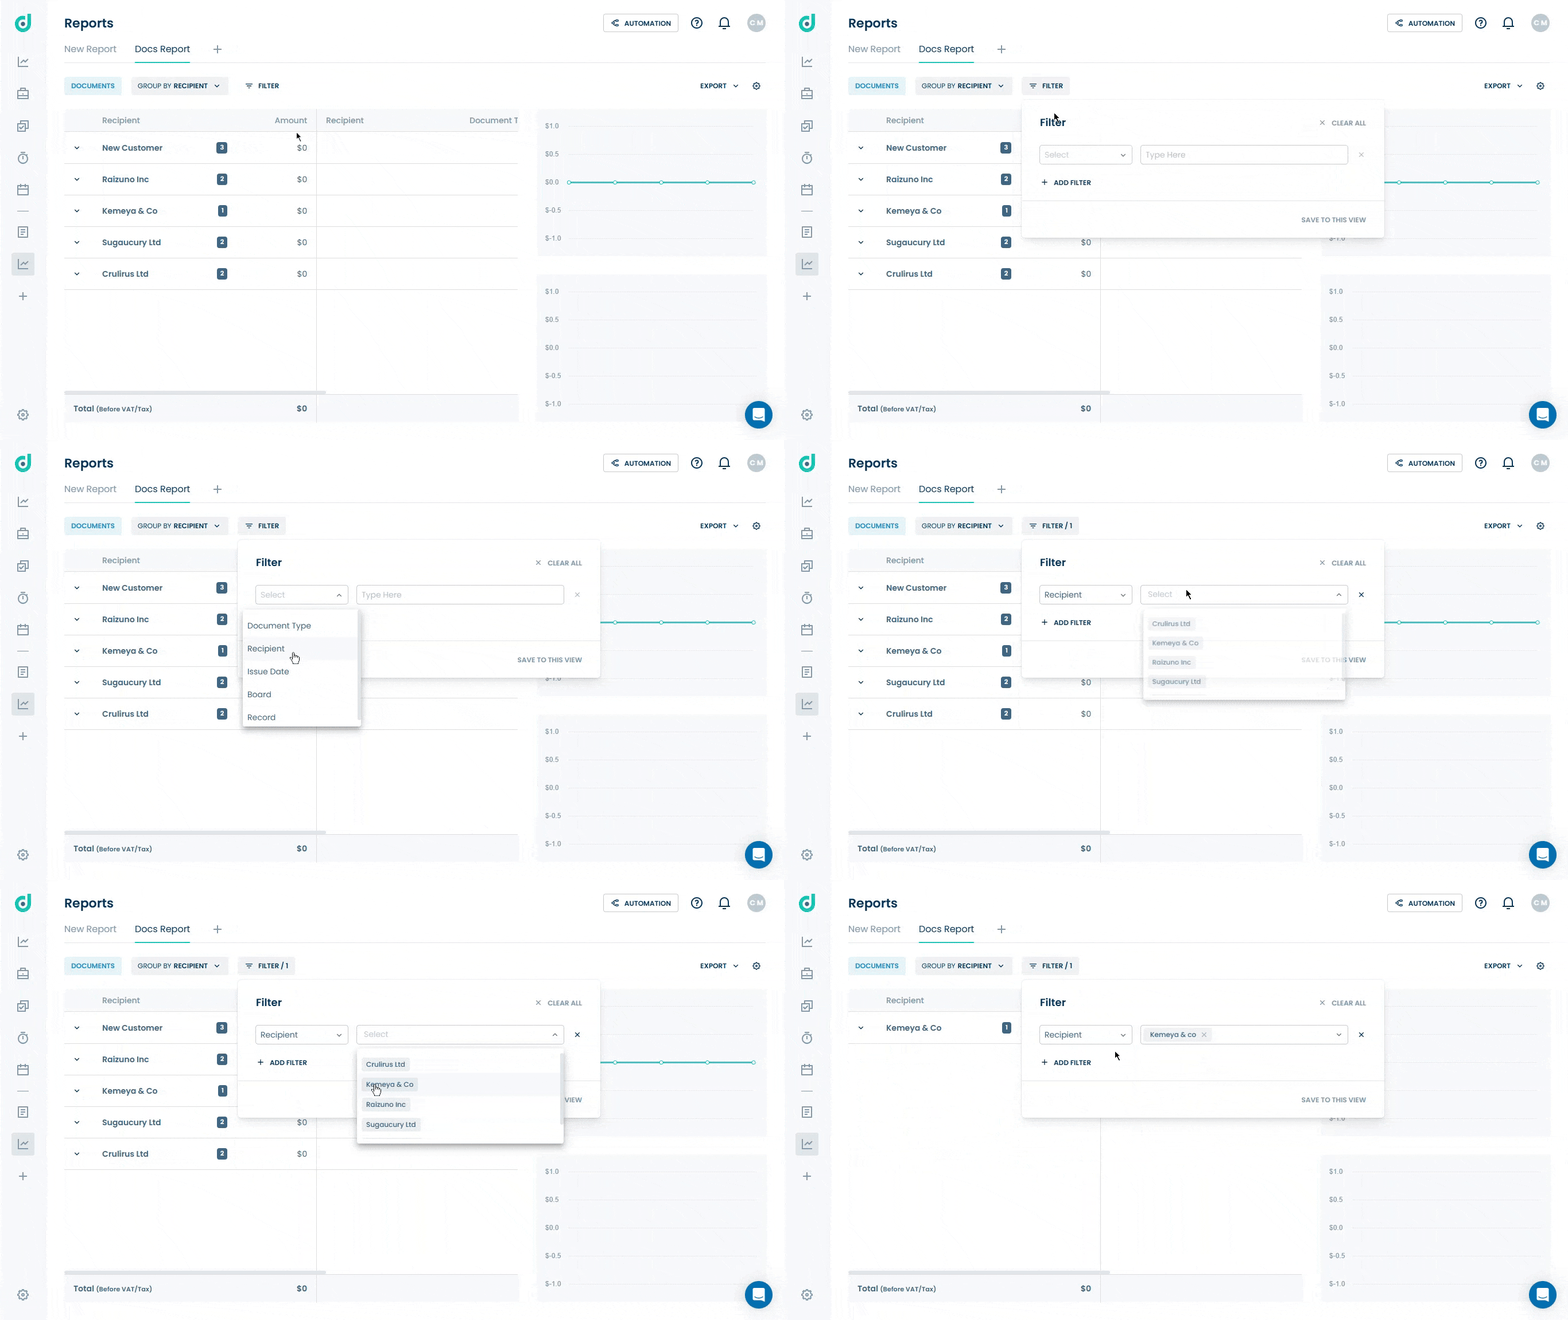
Allows you to filter the report by different fields:
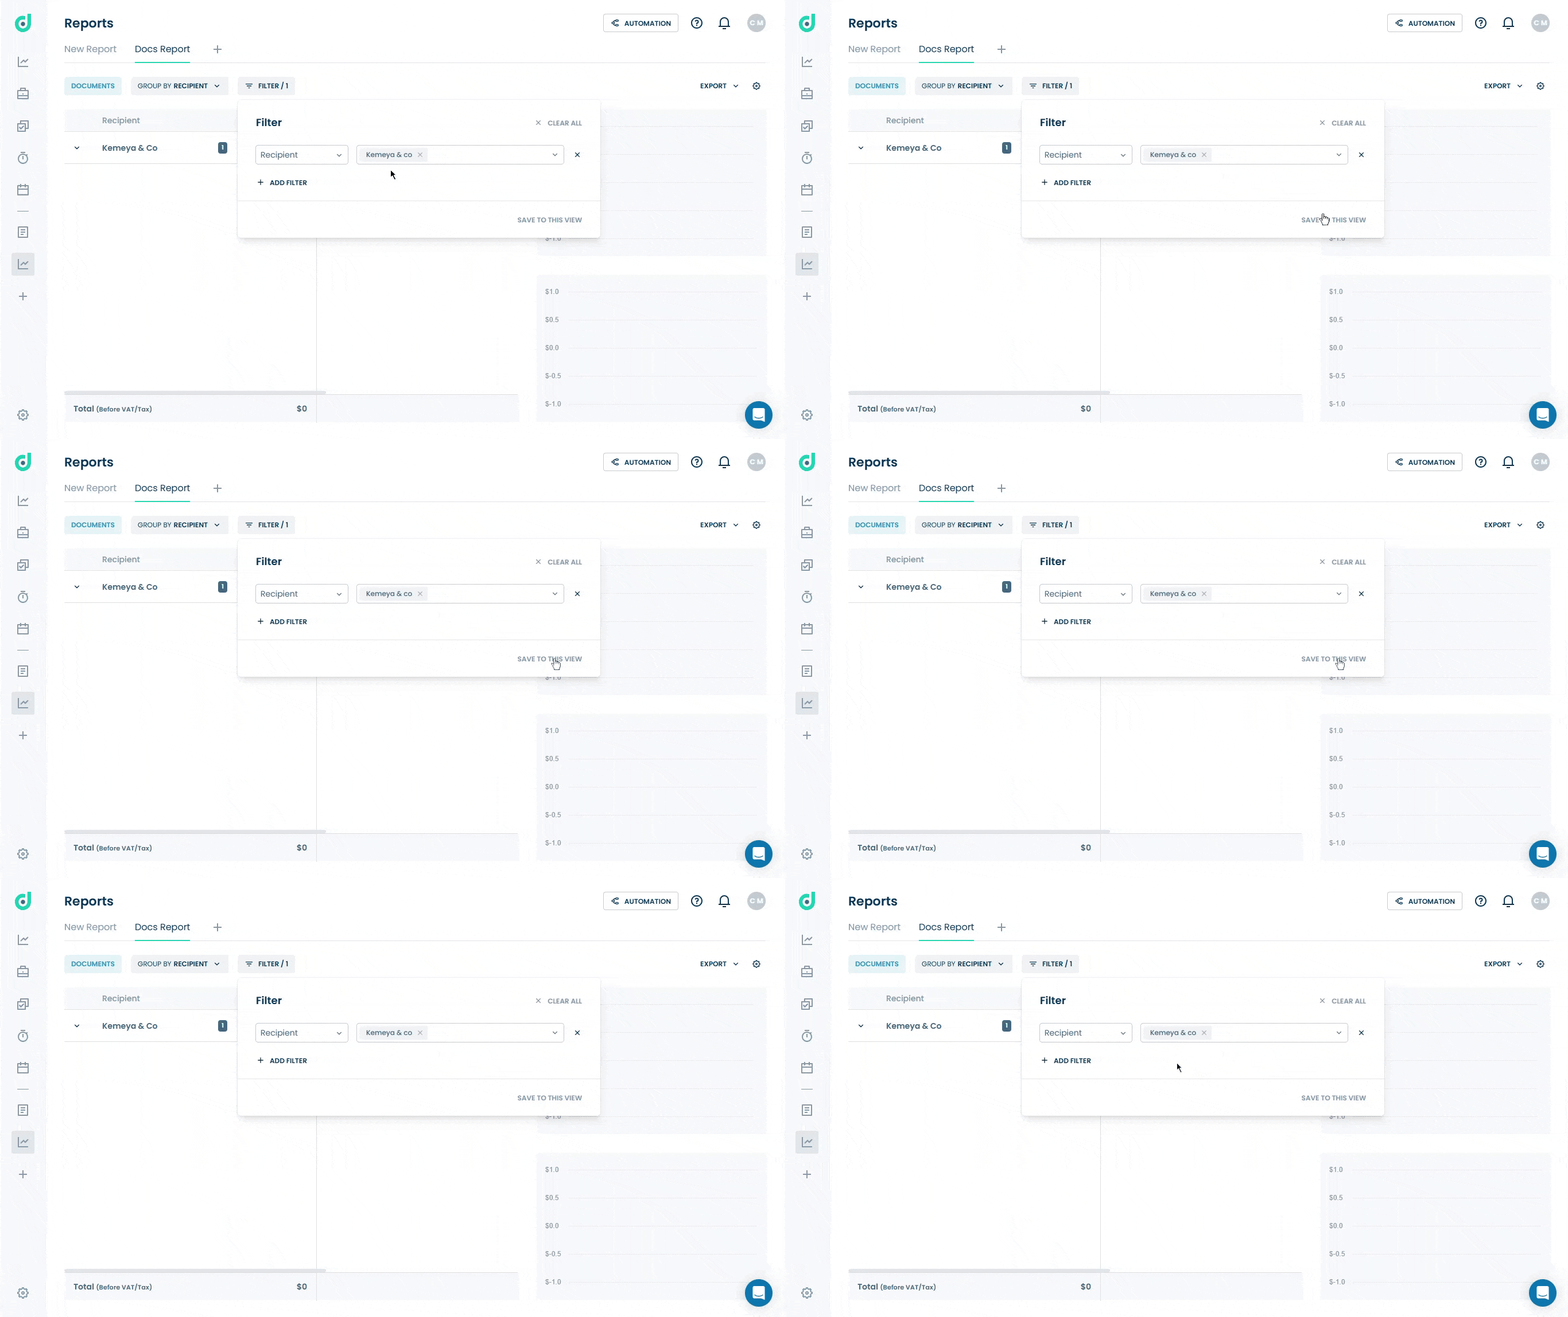
Once you have customized the filter options, click on the Save to this view button only if you want to set it as the default.
Export Report
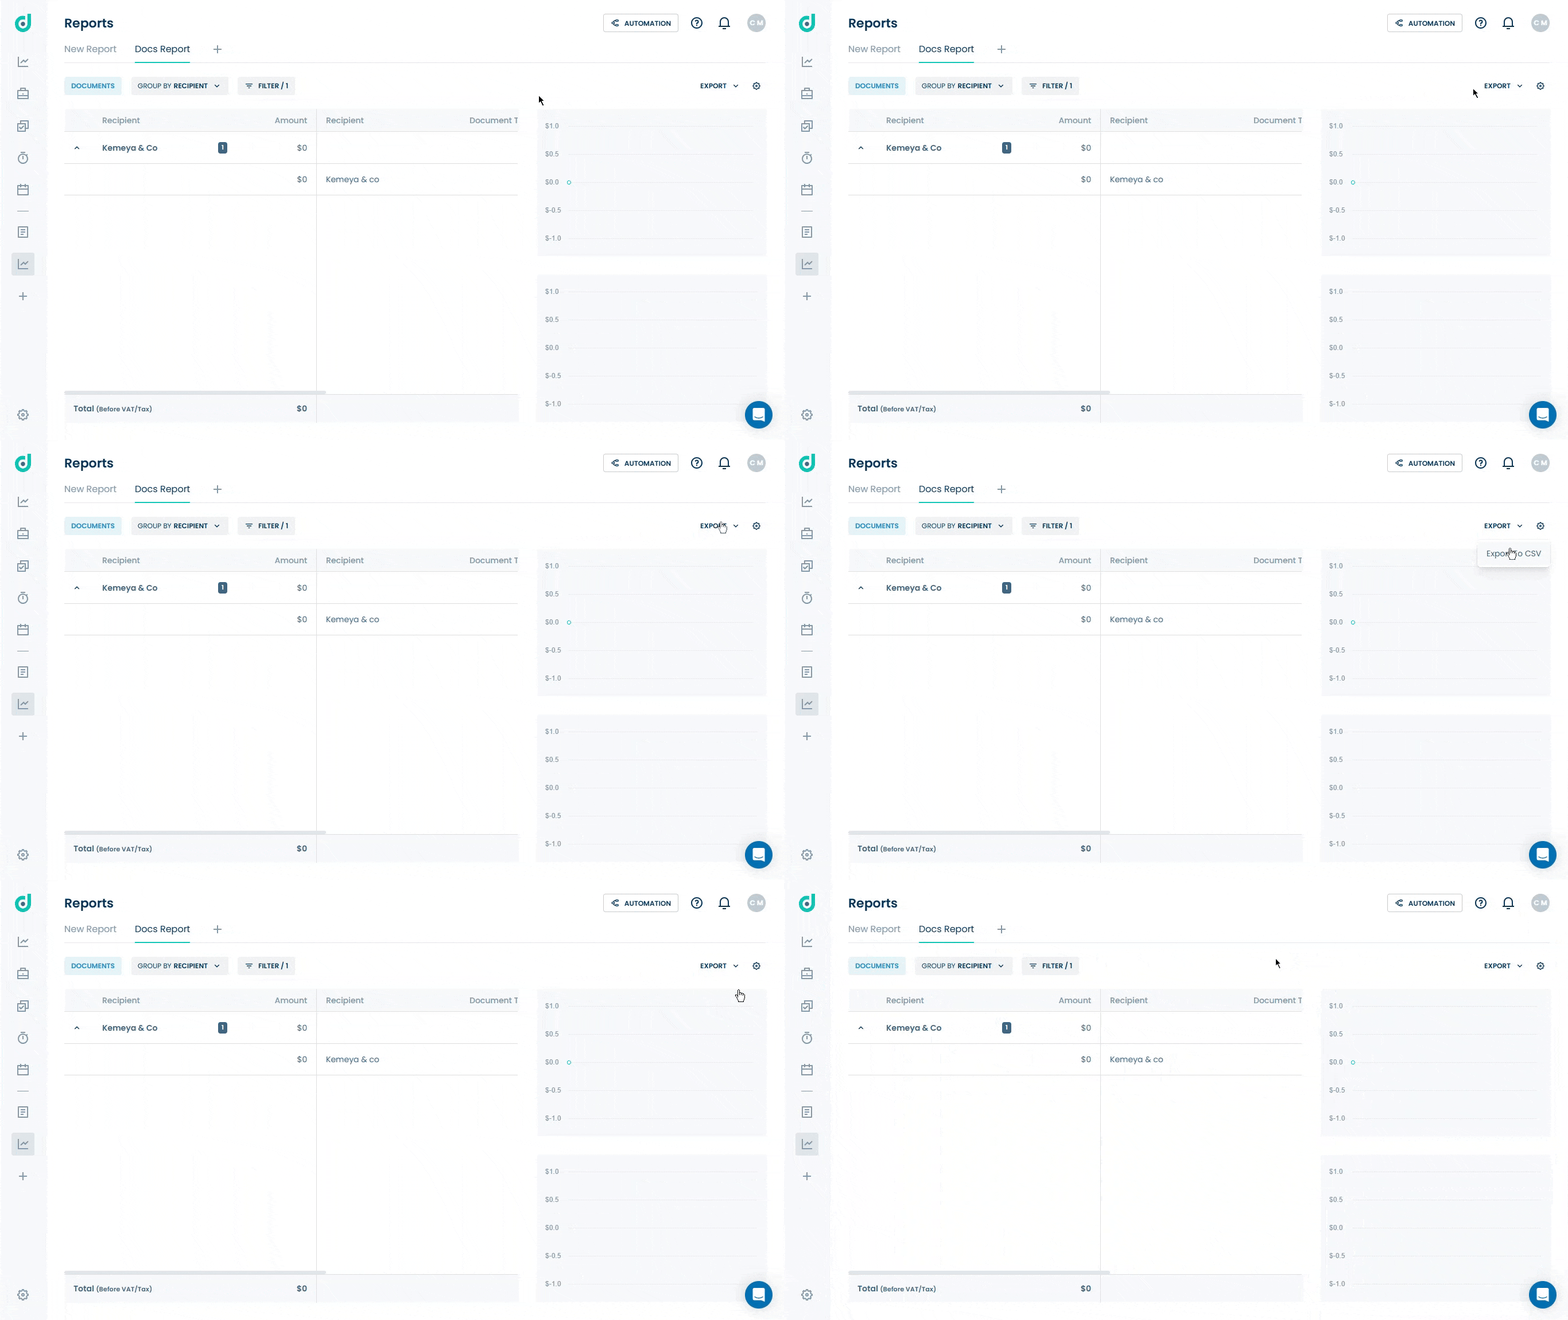
Allows you to export the report data into a CSV file, enabling easy sharing from your local computer and further analysis using spreadsheet applications like Microsoft Excel. Click on the Export caret down icon and select the Export to CSV option.
Note: When you filter the report and then export it, only the filtered report data will be exported.
Edit Report
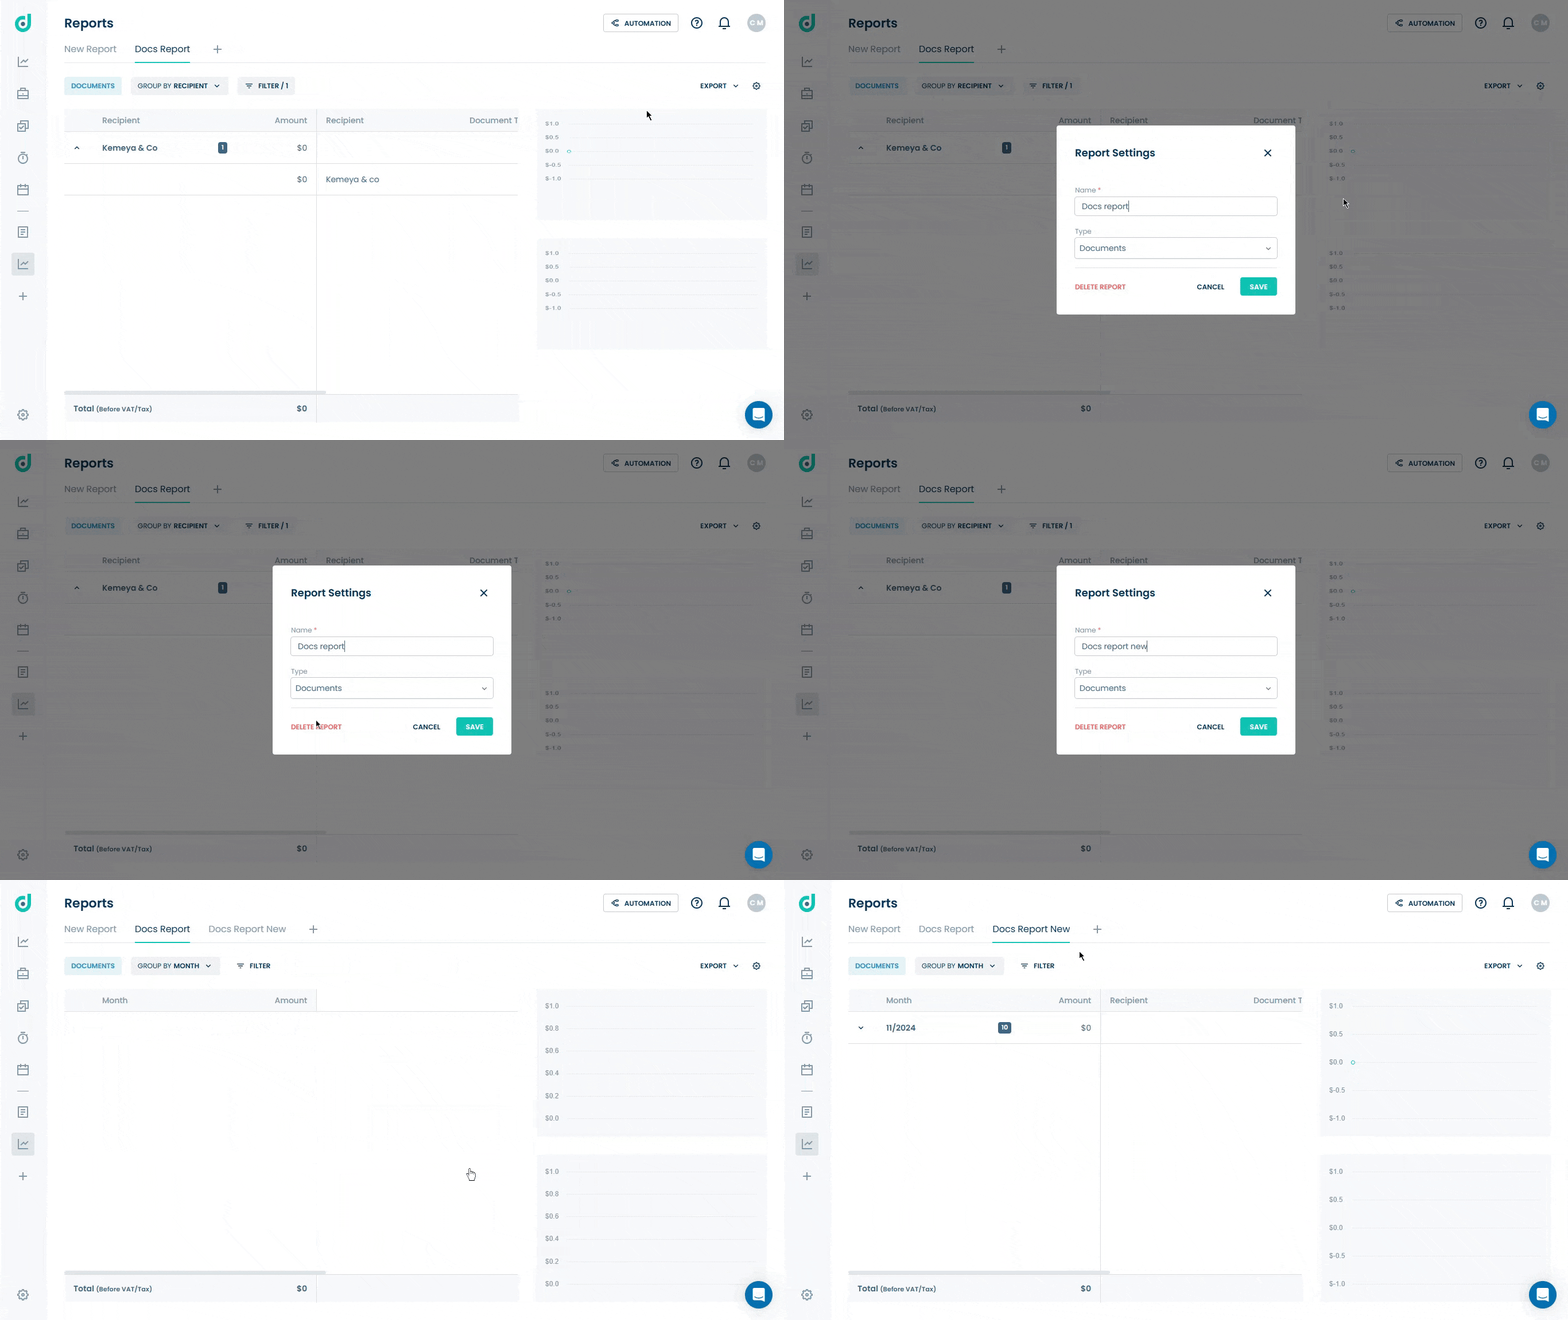
You can also edit reports, including changing the report name, modifying the report type, or deleting the report. This will create a new report with the changed name and its type. Click on the Setting icon to edit or delete the report.
