OneDeck Help Center
How to use Text Editor / Image / Break Page
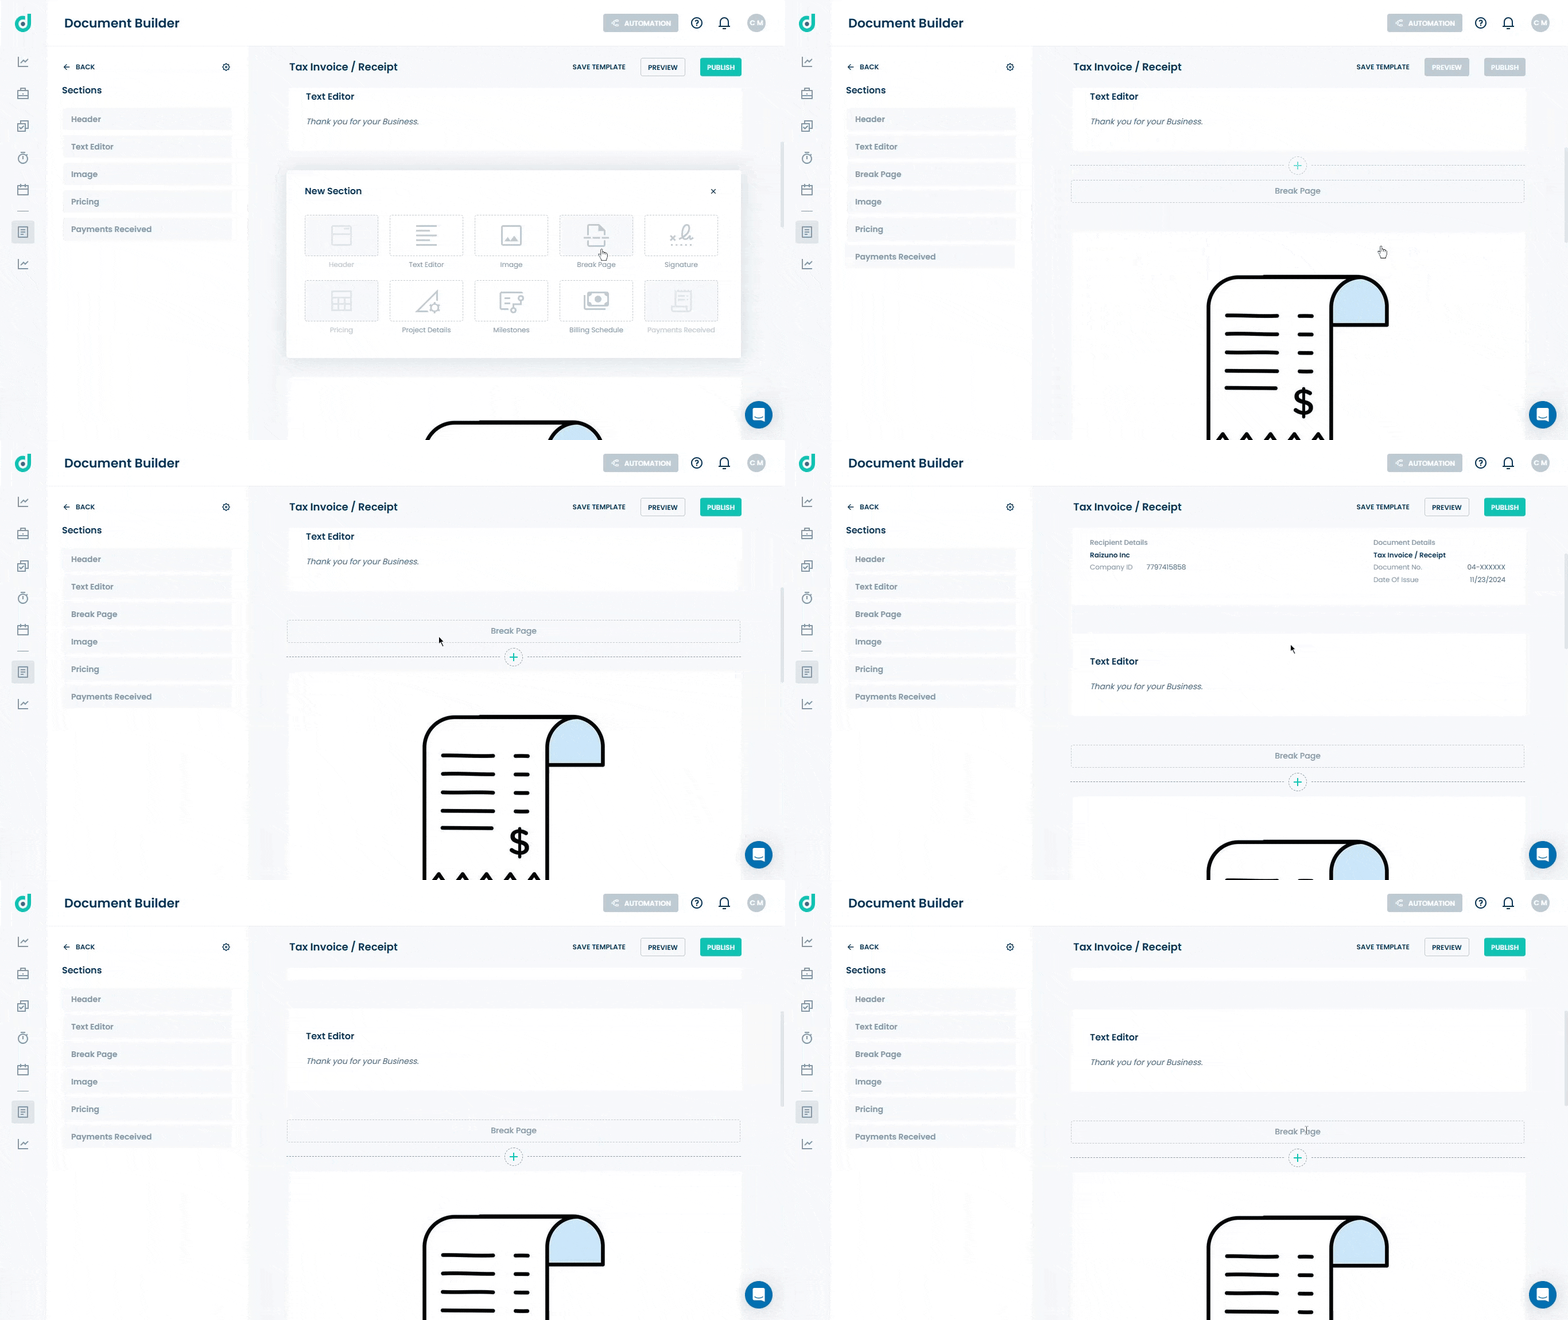
Once the document is added in OneDeck, the document builder enables customization with options like Text Editor for rich text formatting, uploading Images for adding visuals like logos, and Break Page to separate sections for a professional and structured layout.
In this documentation, we’ll walk you through the steps on how to:
- Add Text Editor/Image/Break Page
- Use Text Editor/Image/Break Page
Let’s get started 🚀
Add Text Editor/Image/Break Page
Step 1: In the Document Builder page, click on the “+” icon on the middle of the document to add a new section.
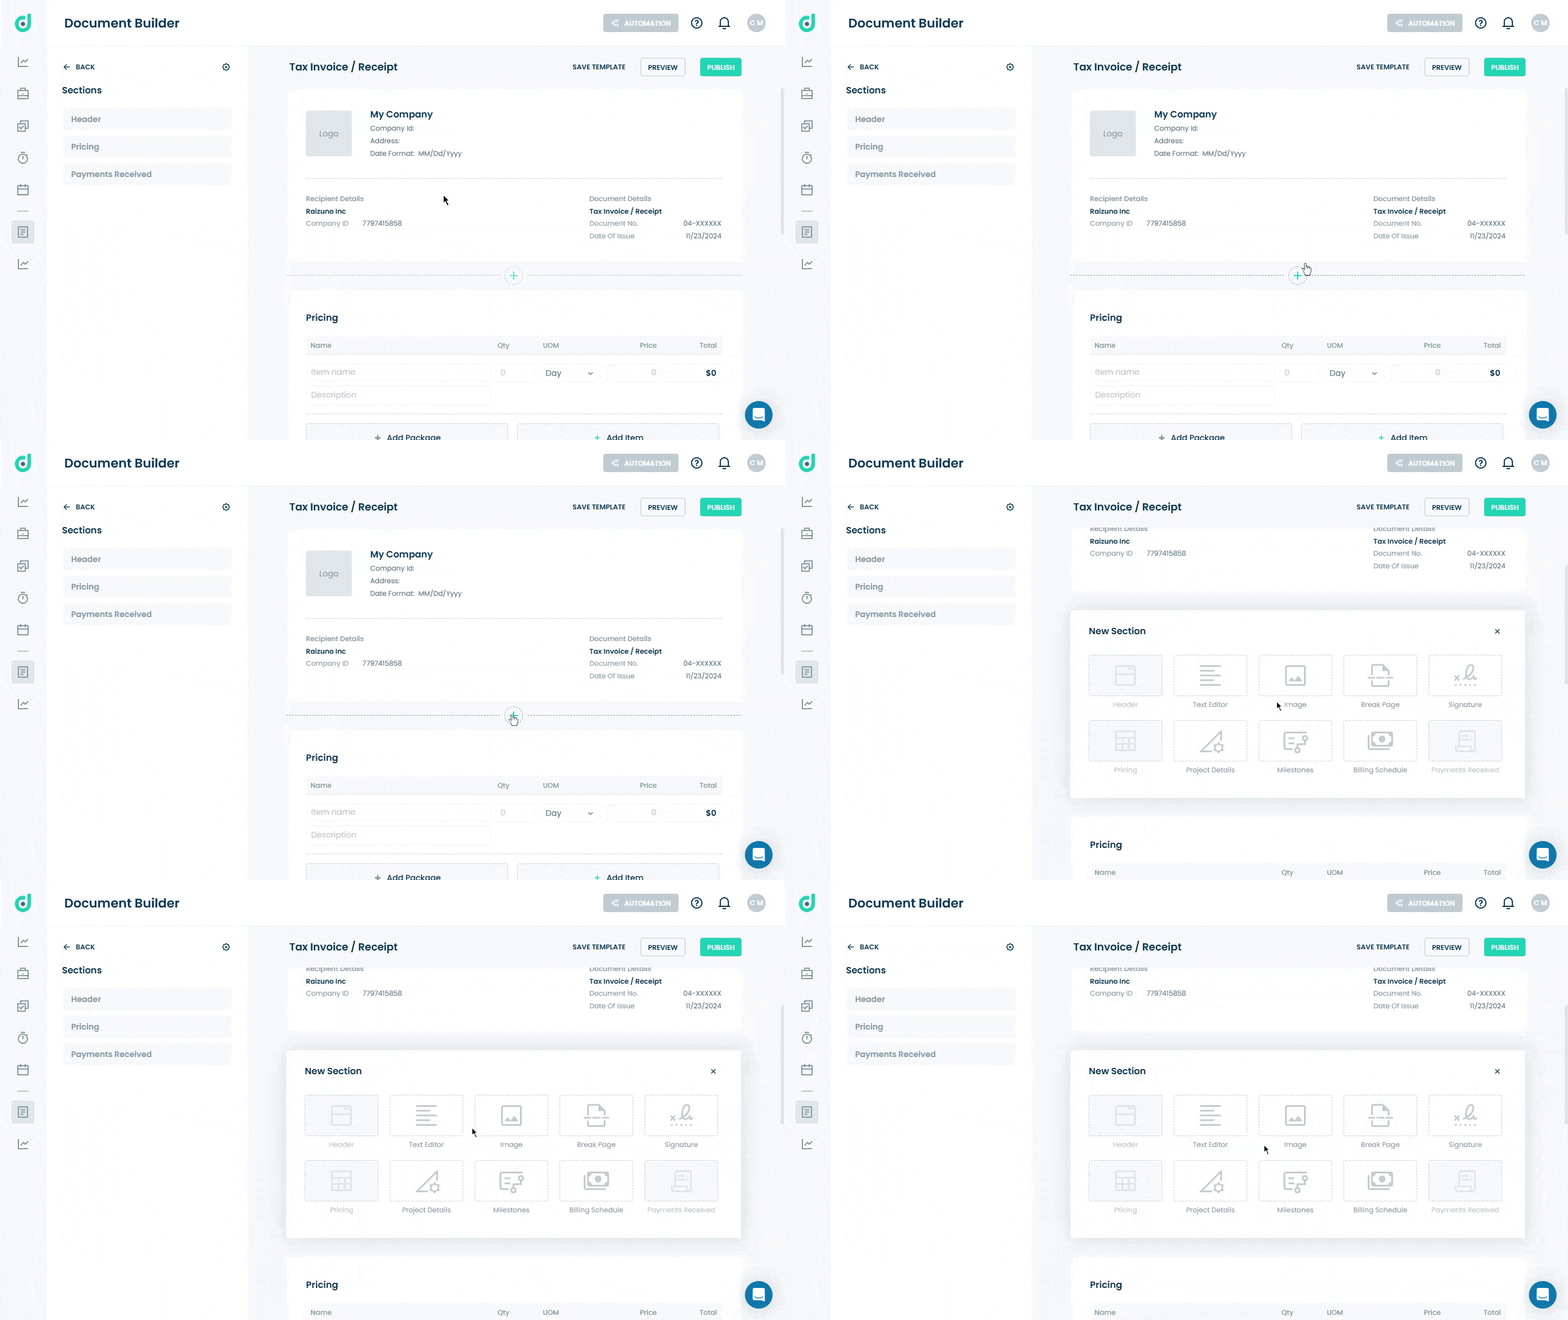
Step 2: Click on any of the following sections to add it on the document which you can customize further.
- Text Editor
- Image
- Break Page
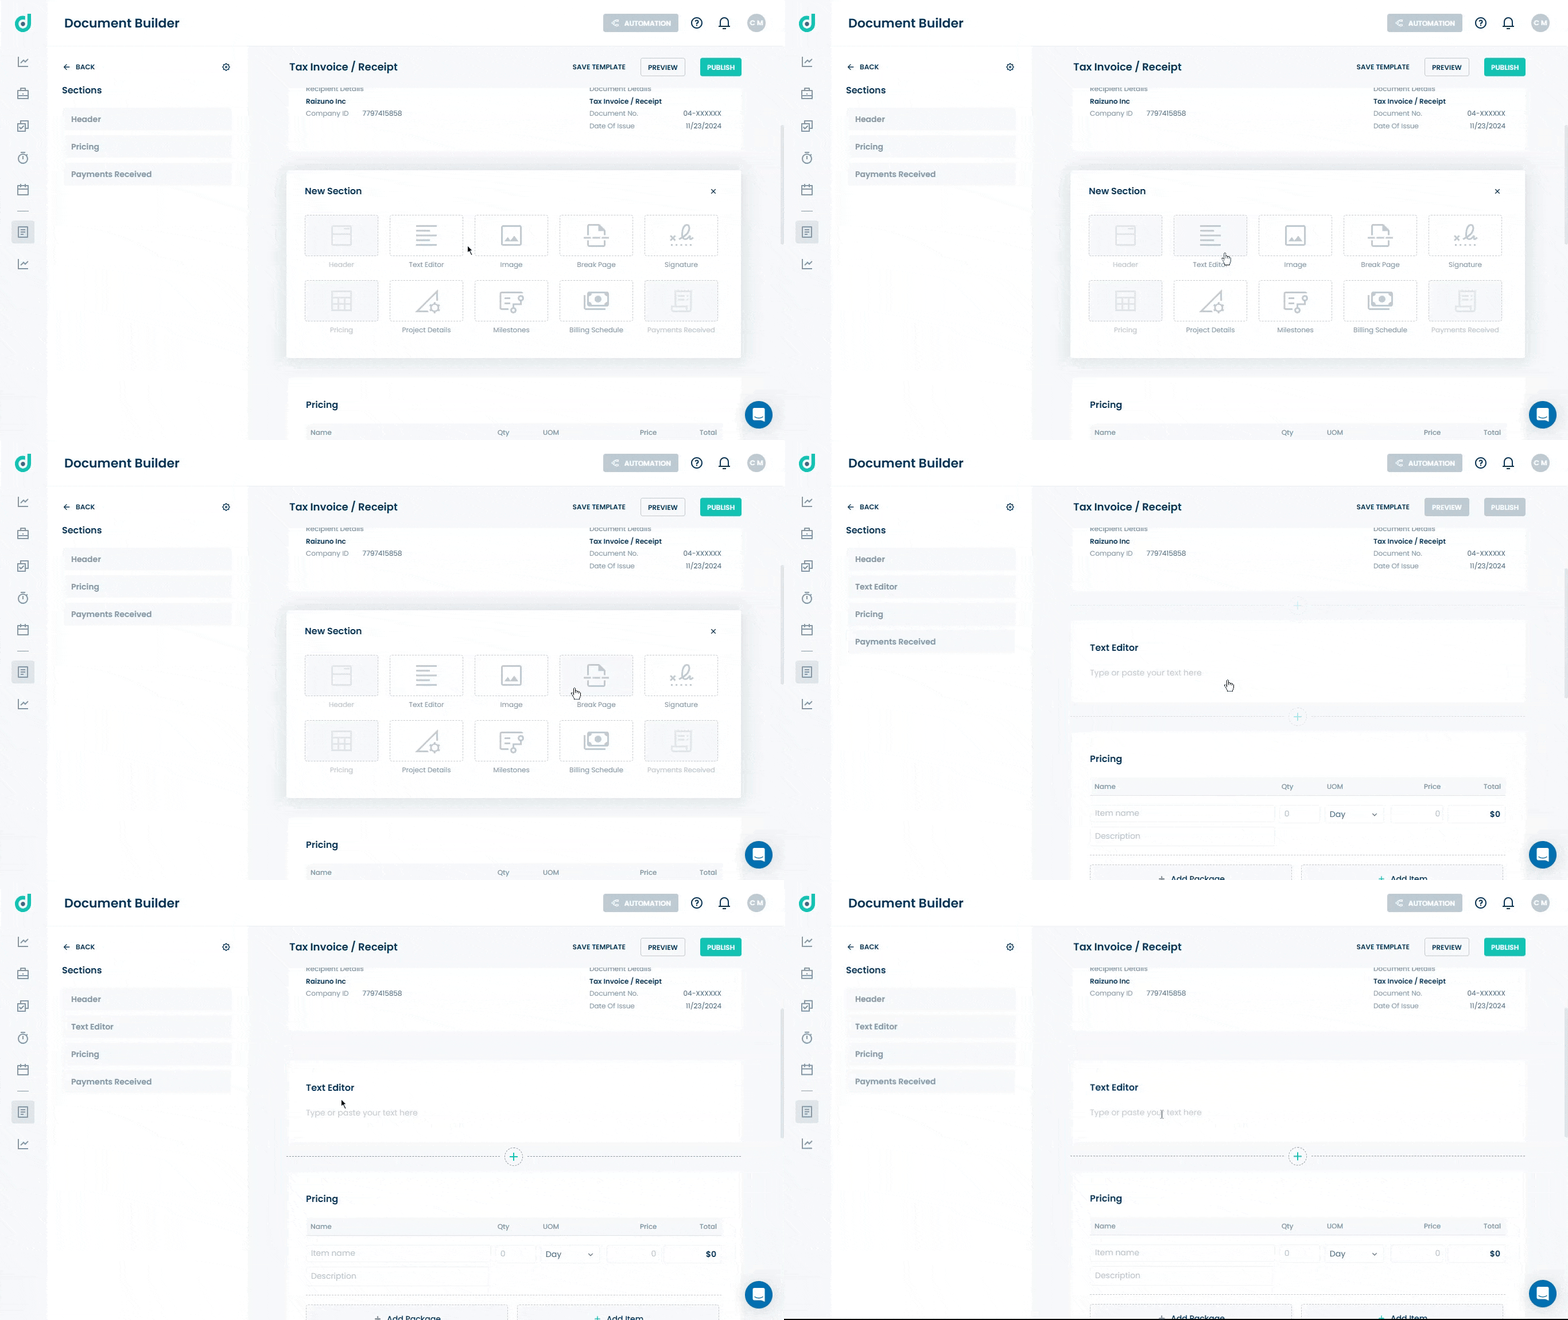
Use Text Editor/Image/Break Page
Text Editor
Provides a space for inserting and formatting custom text. This includes rich text formatting options like bold, italics, and bullets.
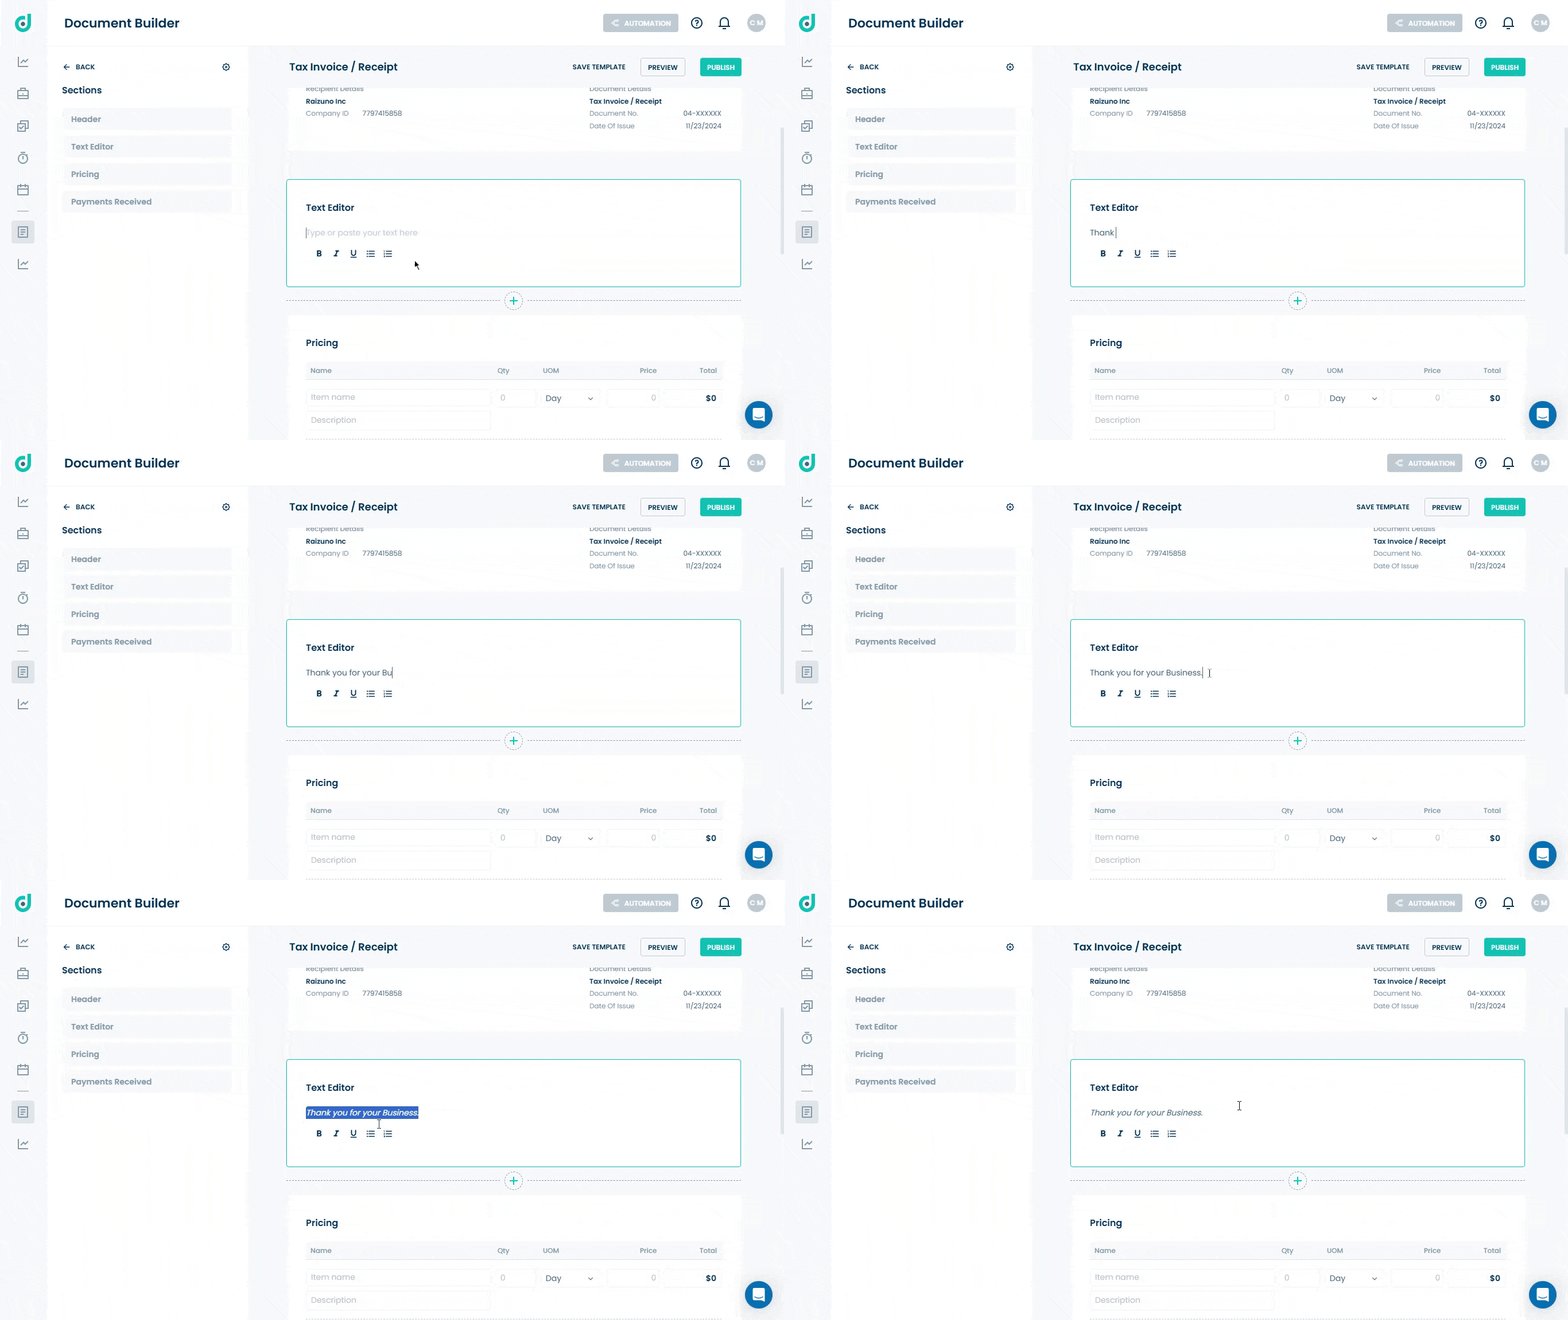
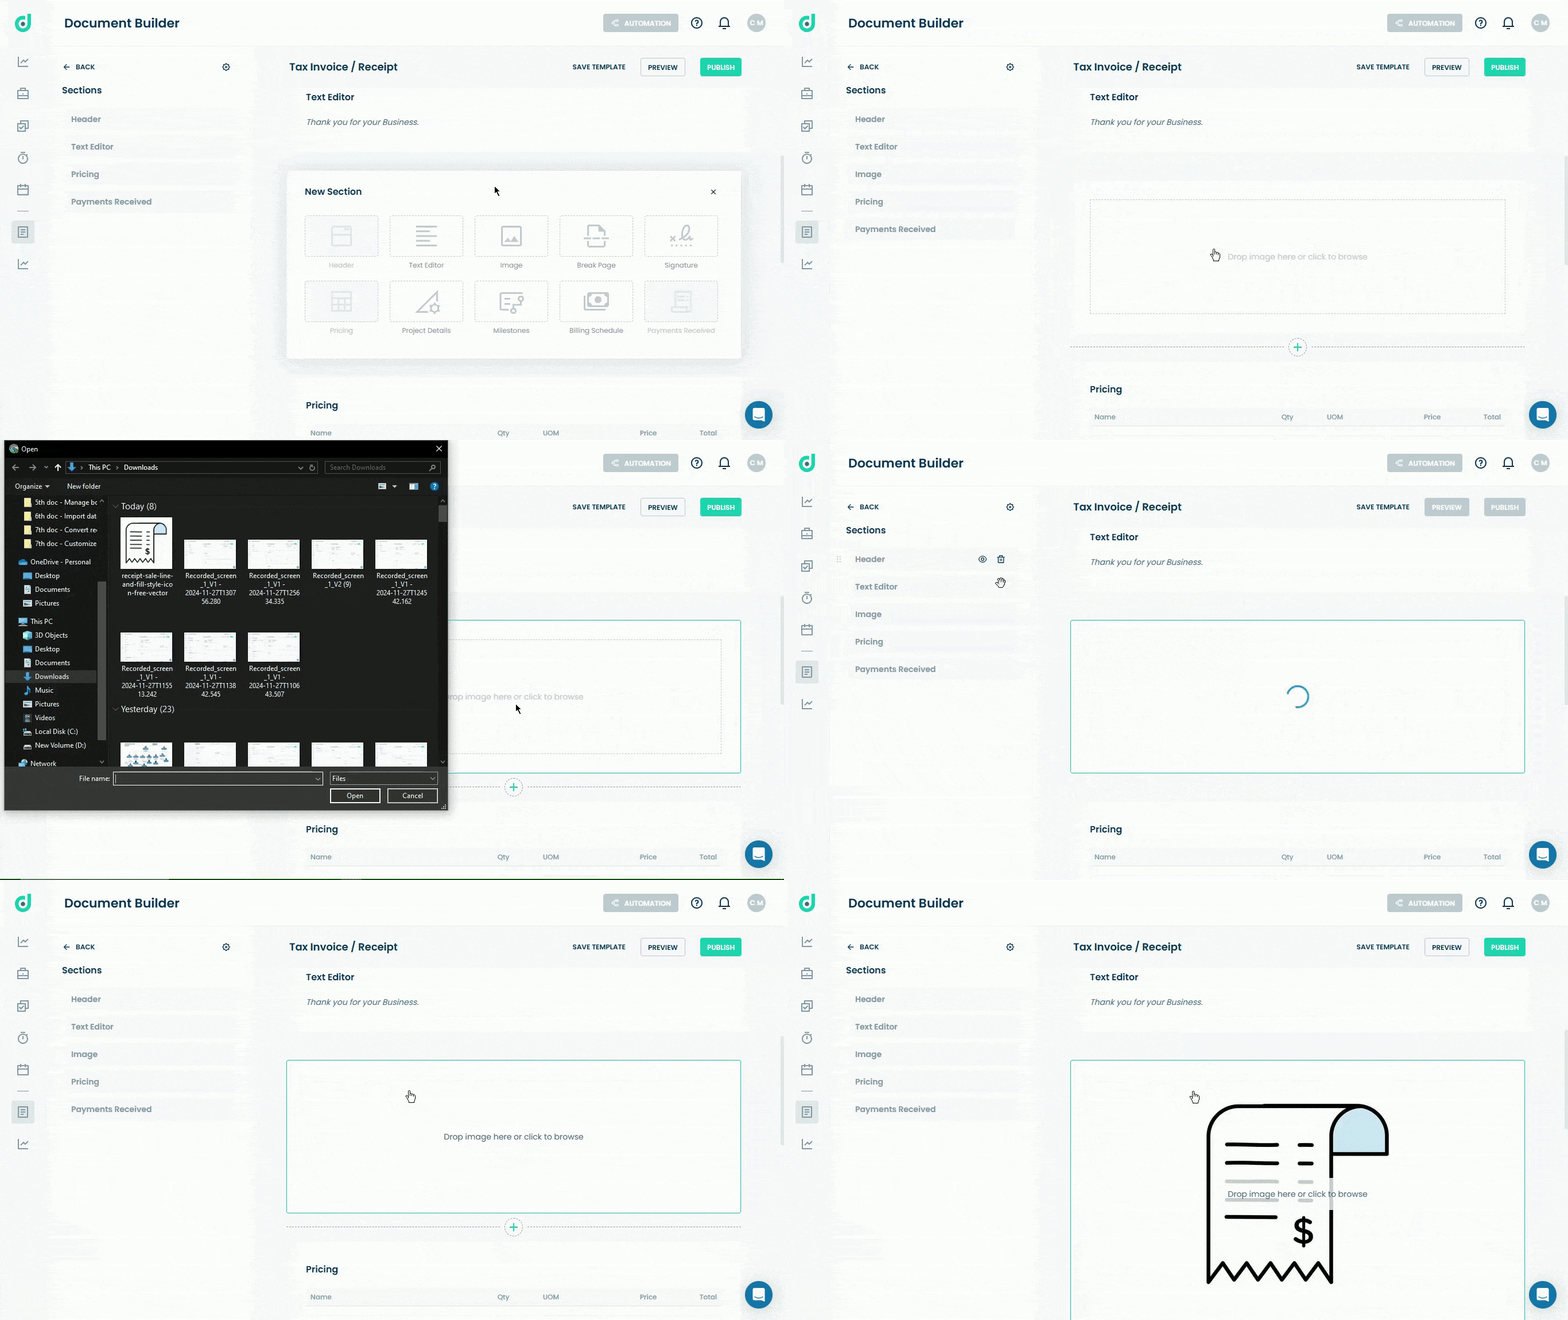
Image
Allows users to upload or insert images into the document, such as logos, graphics, or photos in PNG or JPG format. Click on the Image section and upload the image from your local computer.
Break Page
Insert a page break to separate sections in the document, ensuring the content after the break starts on a new page in the PDF format. Click on the Break Page section to add it between sections.
