OneDeck Help Center
Documents Templates
In OneDeck's Document Builder, once you have added and configured various sections such as Header, Pricing, Milestone, Payment Received, or Signature, you can save that document as a template or make it default. This is particularly beneficial for businesses that require consistency in their documentation processes.
In this documentation, we’ll walk you through the steps to save documents as templates.
Let’s get started 🚀
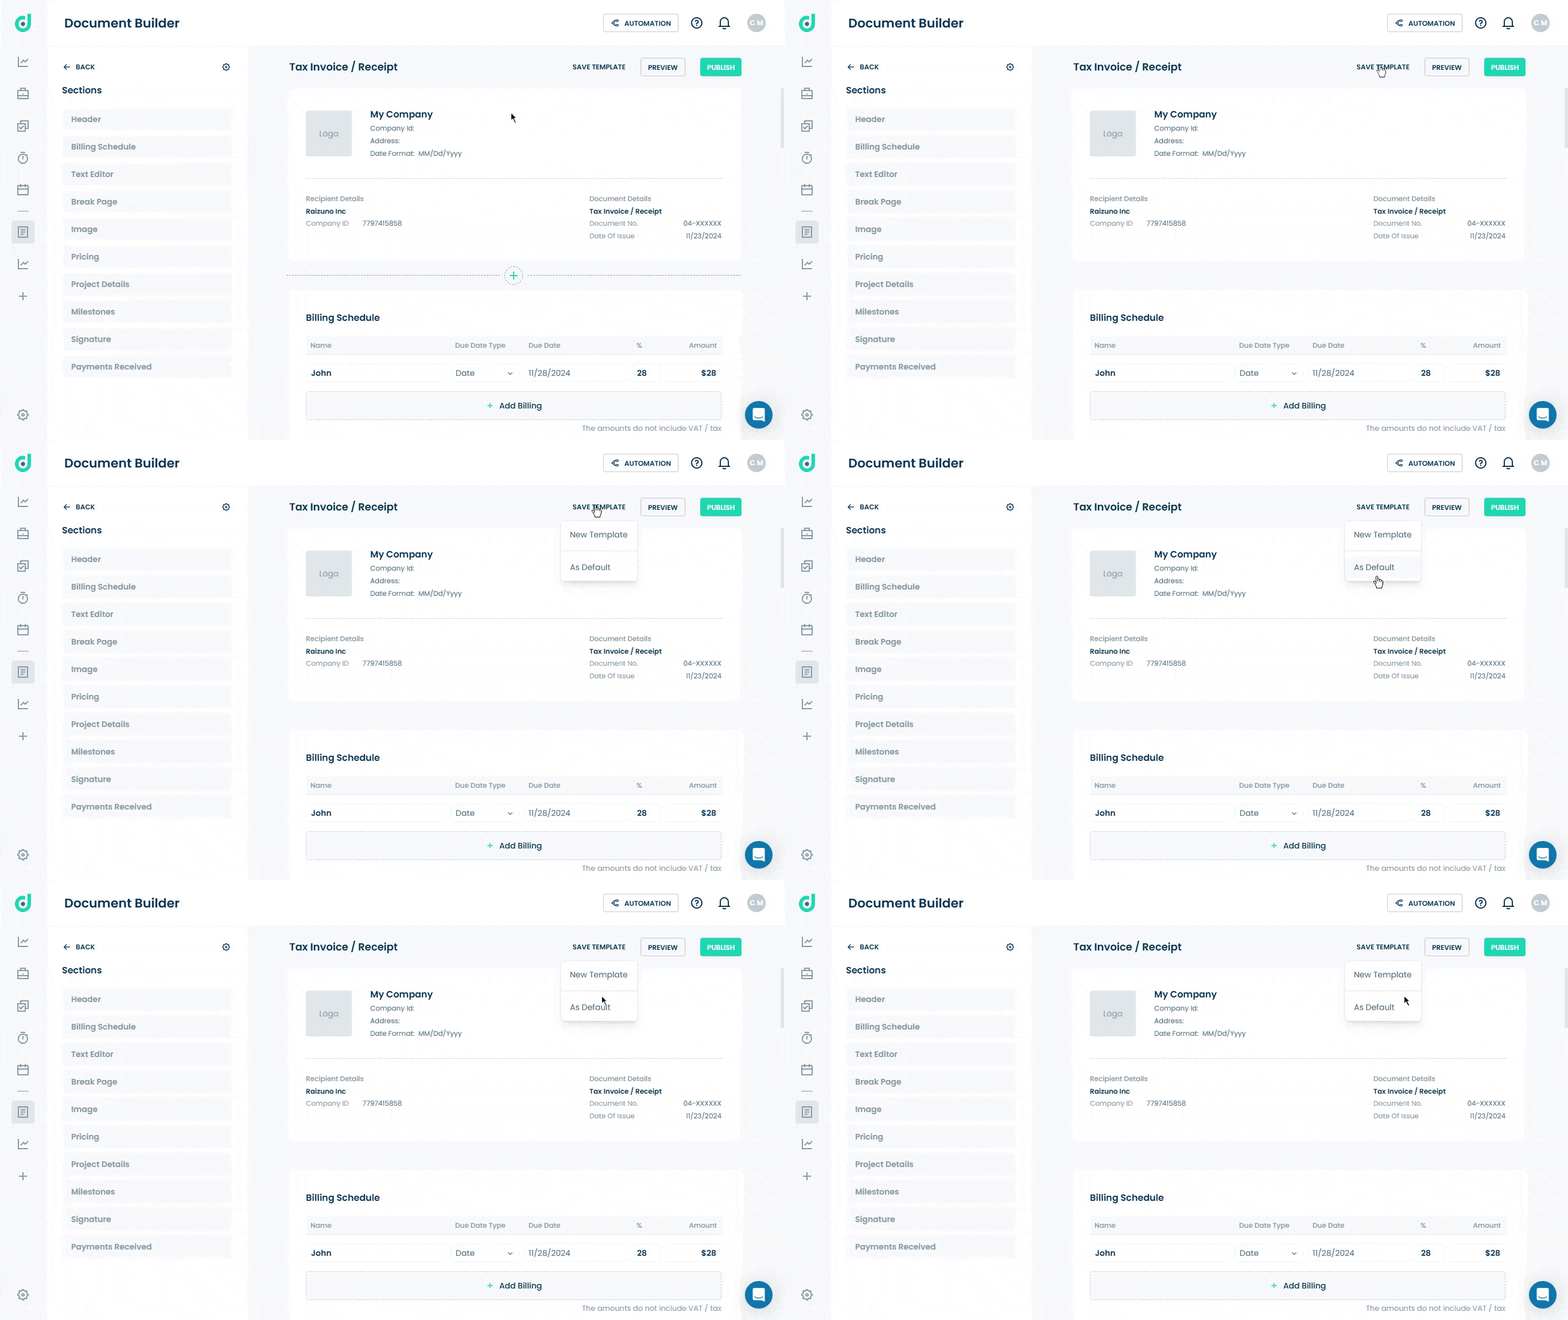
Step 1: In the Document Builder page, click on the Save Template button.

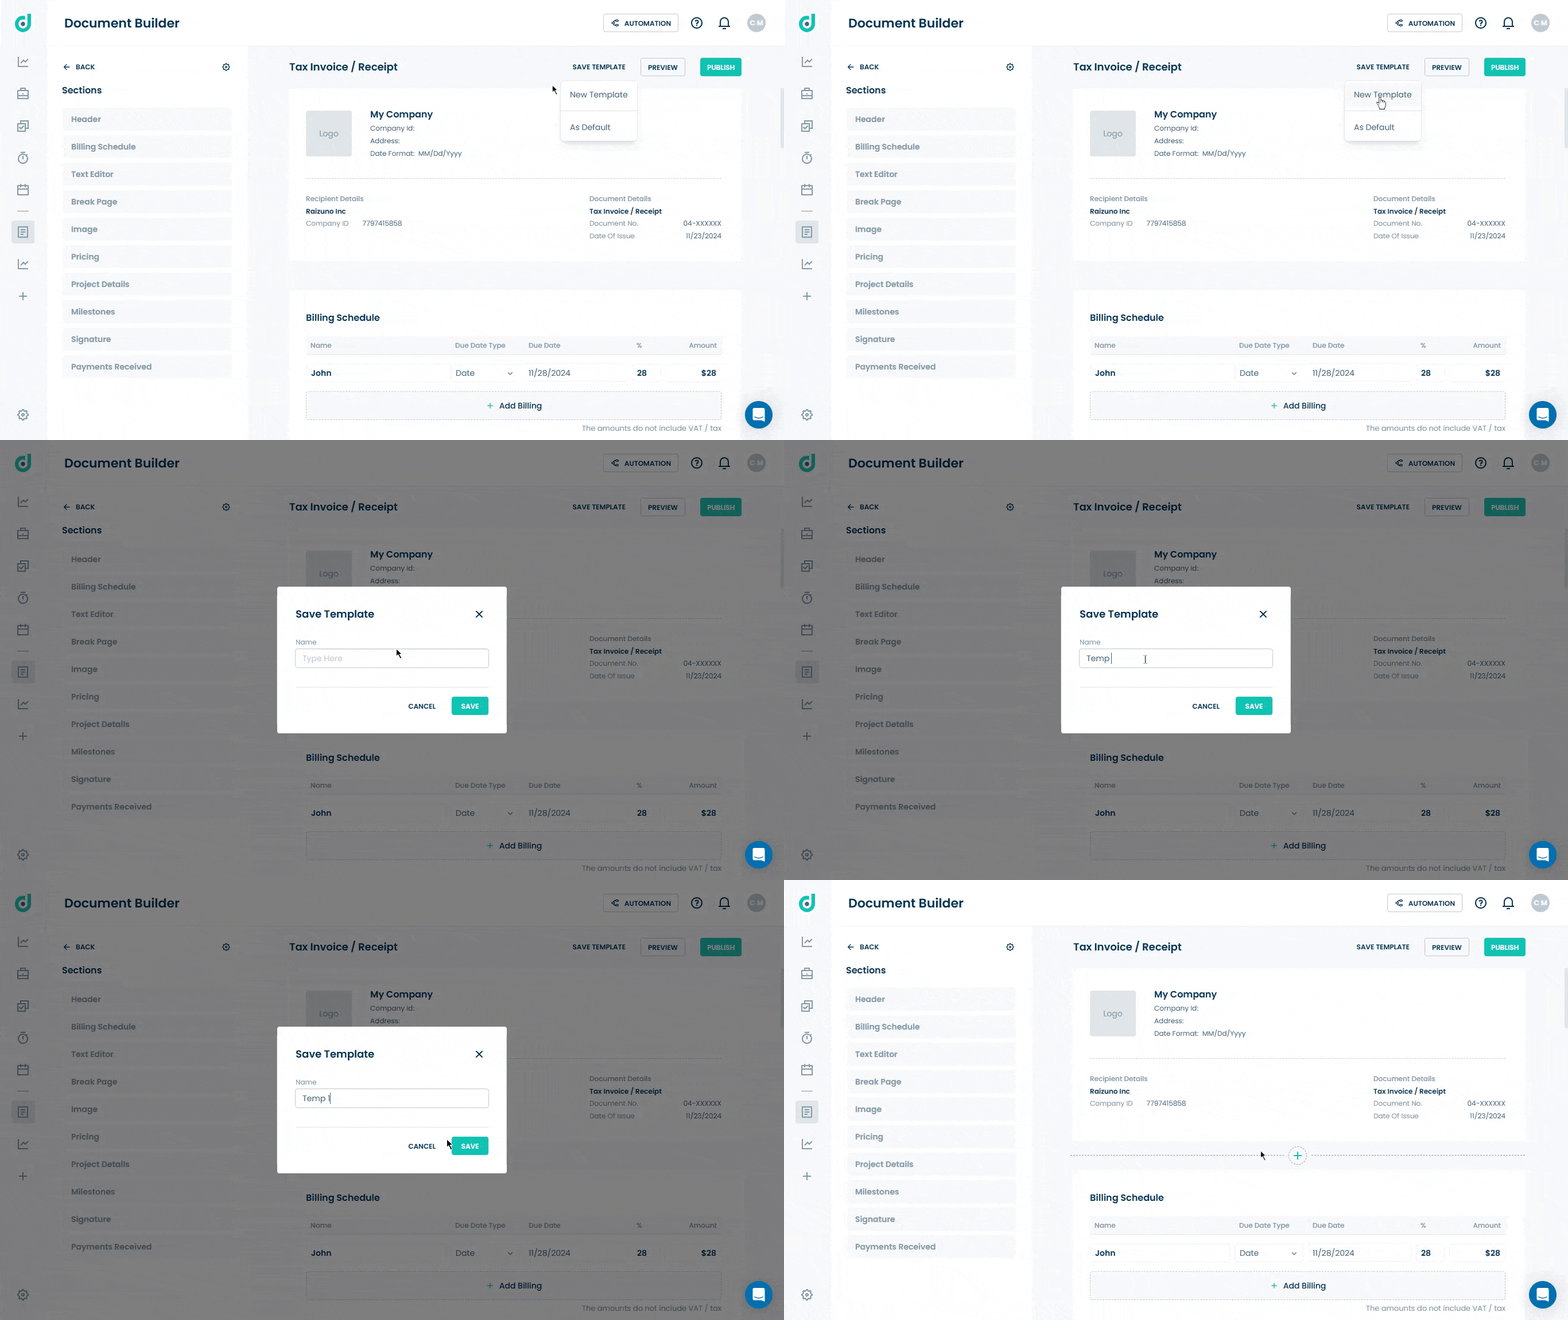
Step 2: Select from the following options for managing document templates within the Document Builder.
- New Template
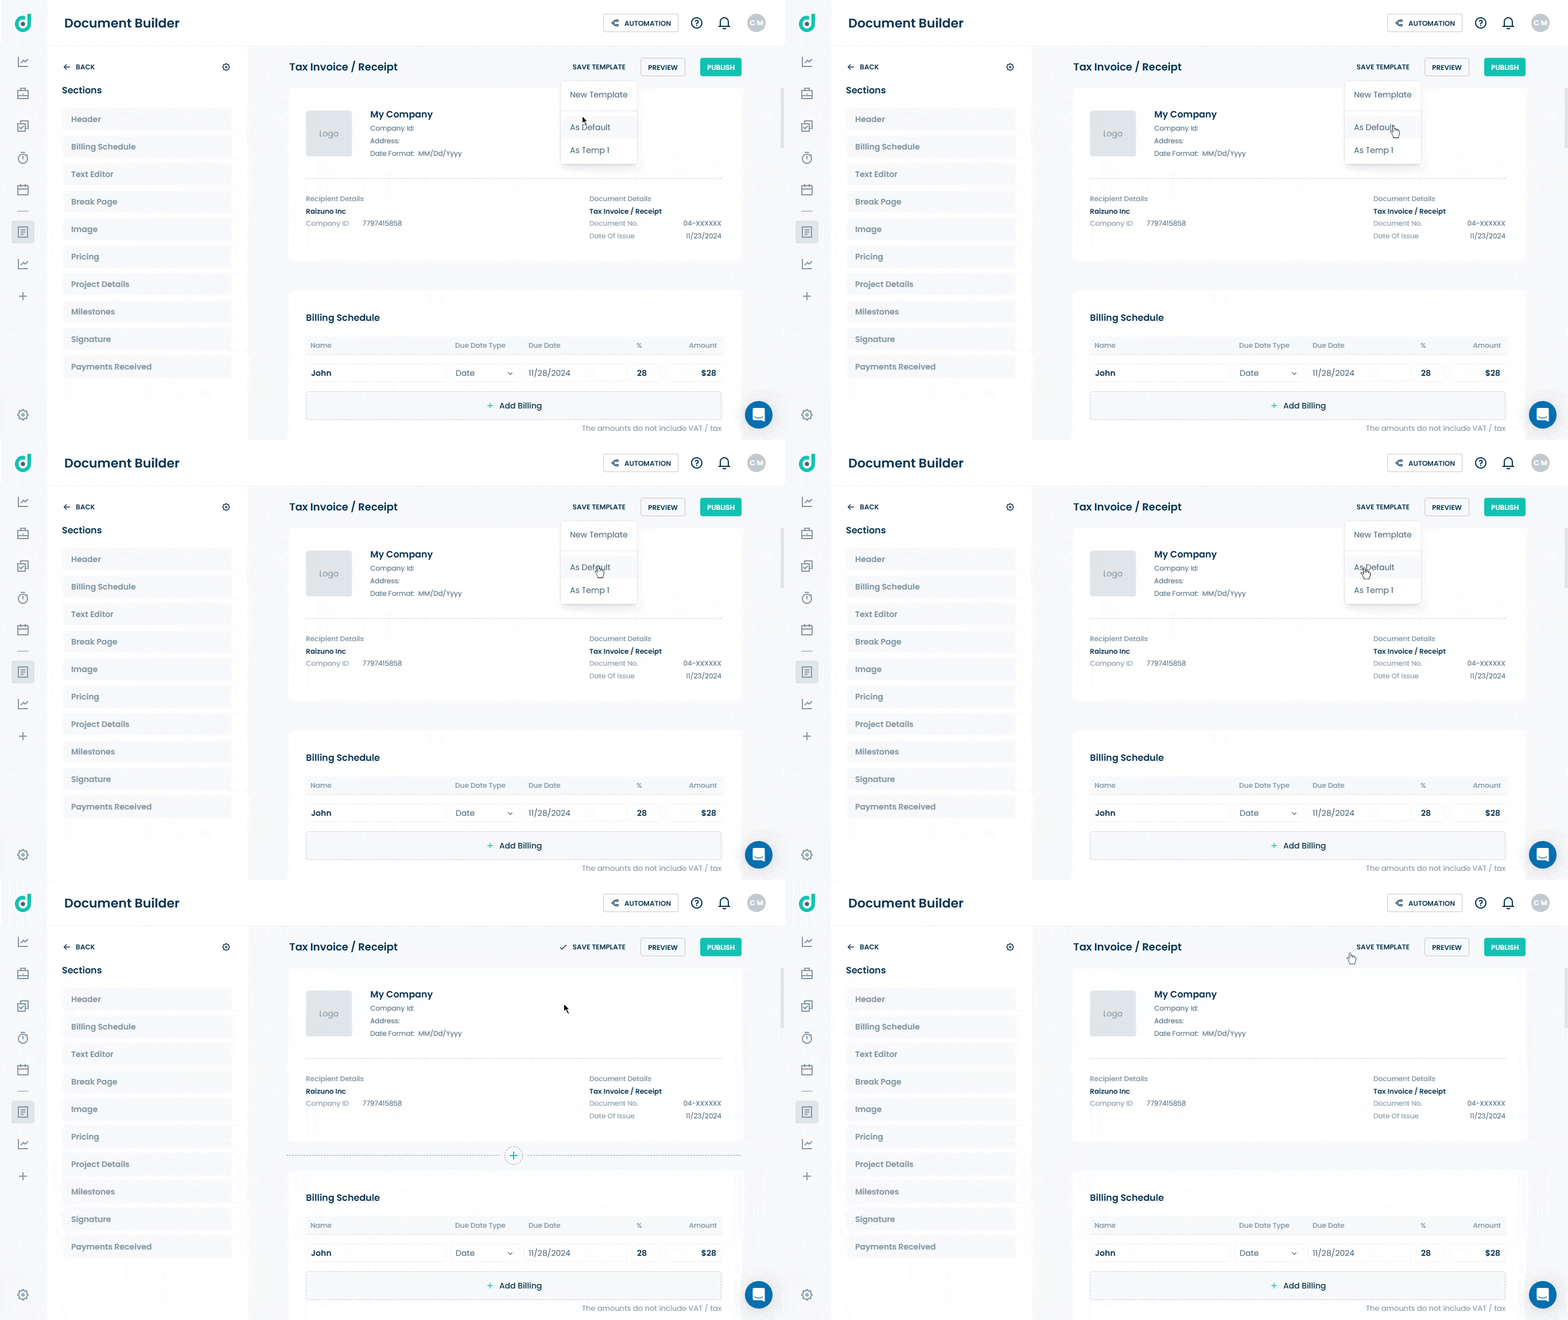
- As Default
Note: You can also “save as” the document to any existing template, provided you have already saved it as a “New Template”, allowing it to be reused for future documents.
New Template
Allows you to save the current document layout and settings as a new template. It can be reused for similar documents in the future, avoiding the need to recreate the structure from scratch. Enter a name for the template and save it.

As Default
Allows you to set the current document template as the default template. When creating new documents of this type, the system will automatically load this template for convenience.

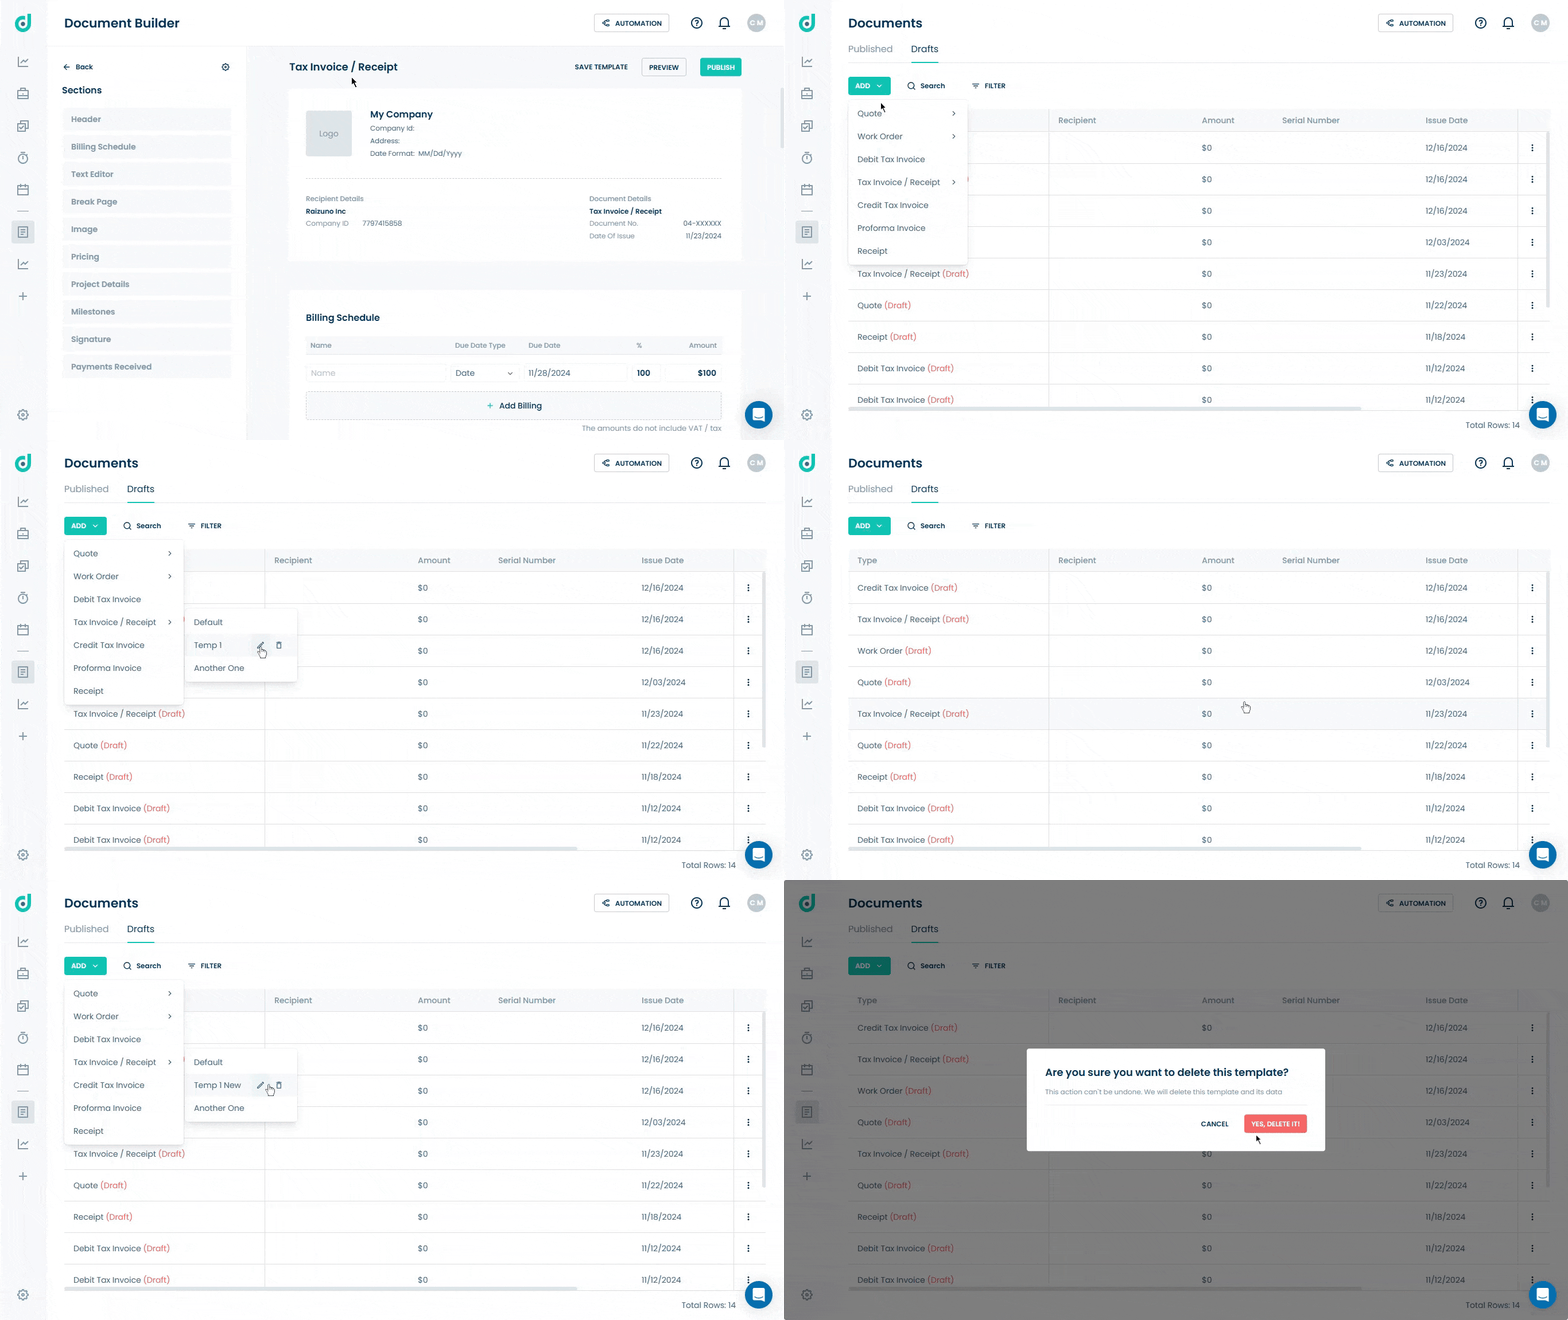
You can also edit the document template name or delete the document templates you’ve saved. Go back, click on the Add + button, and select the document type where you will see your saved template to edit or delete it.

Note: If the user wants to update the document template data or sections, you can save them with the same template name from the document builder.


