OneDeck Help Center
How to Create Board Views
OneDeck offers customizable board view types - Table, Kanban, Calendar, and Timeline - allowing you to visualize records in multiple ways, making tracking and management more efficient. These highly customizable view types help businesses of all sizes stay organized, streamline workflows, and keep boards on track.
Let’s get started 🚀
Step 1: Click on the Workspace button from the side navigation menu bar.
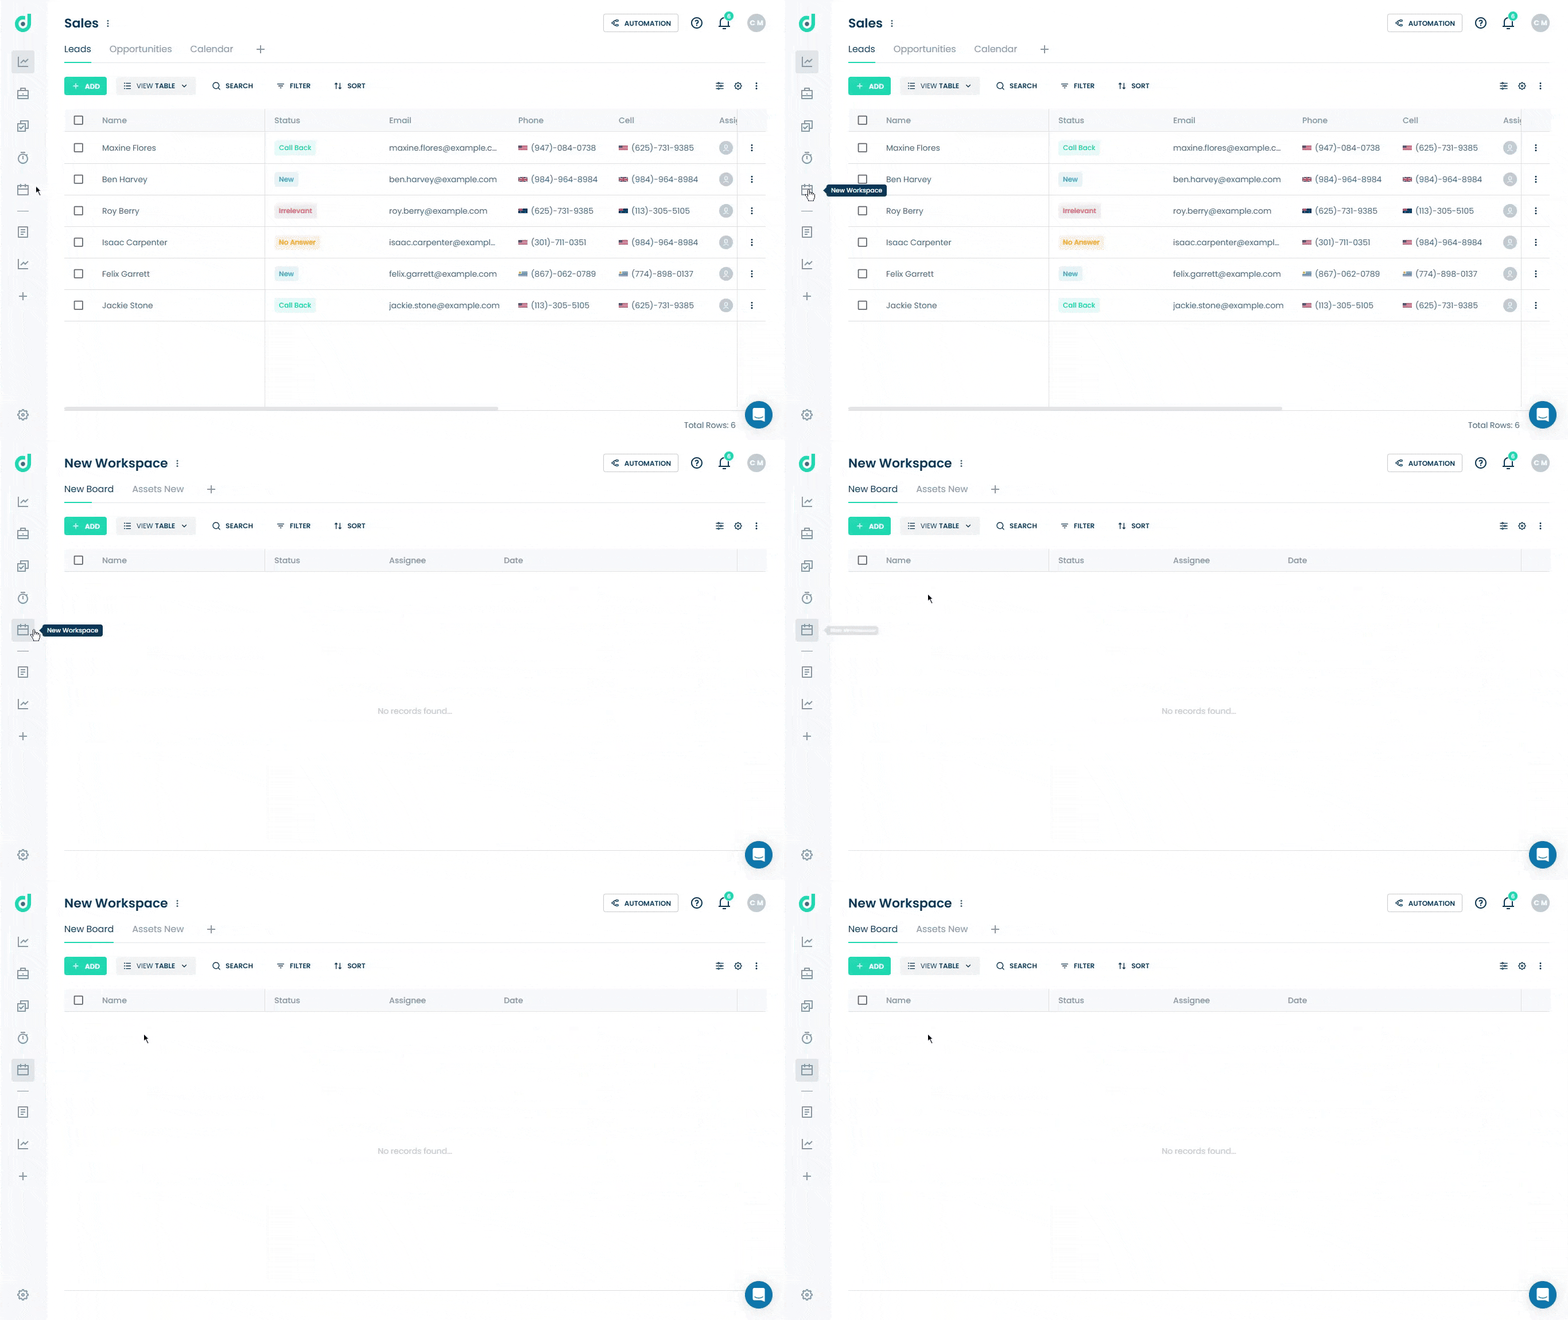
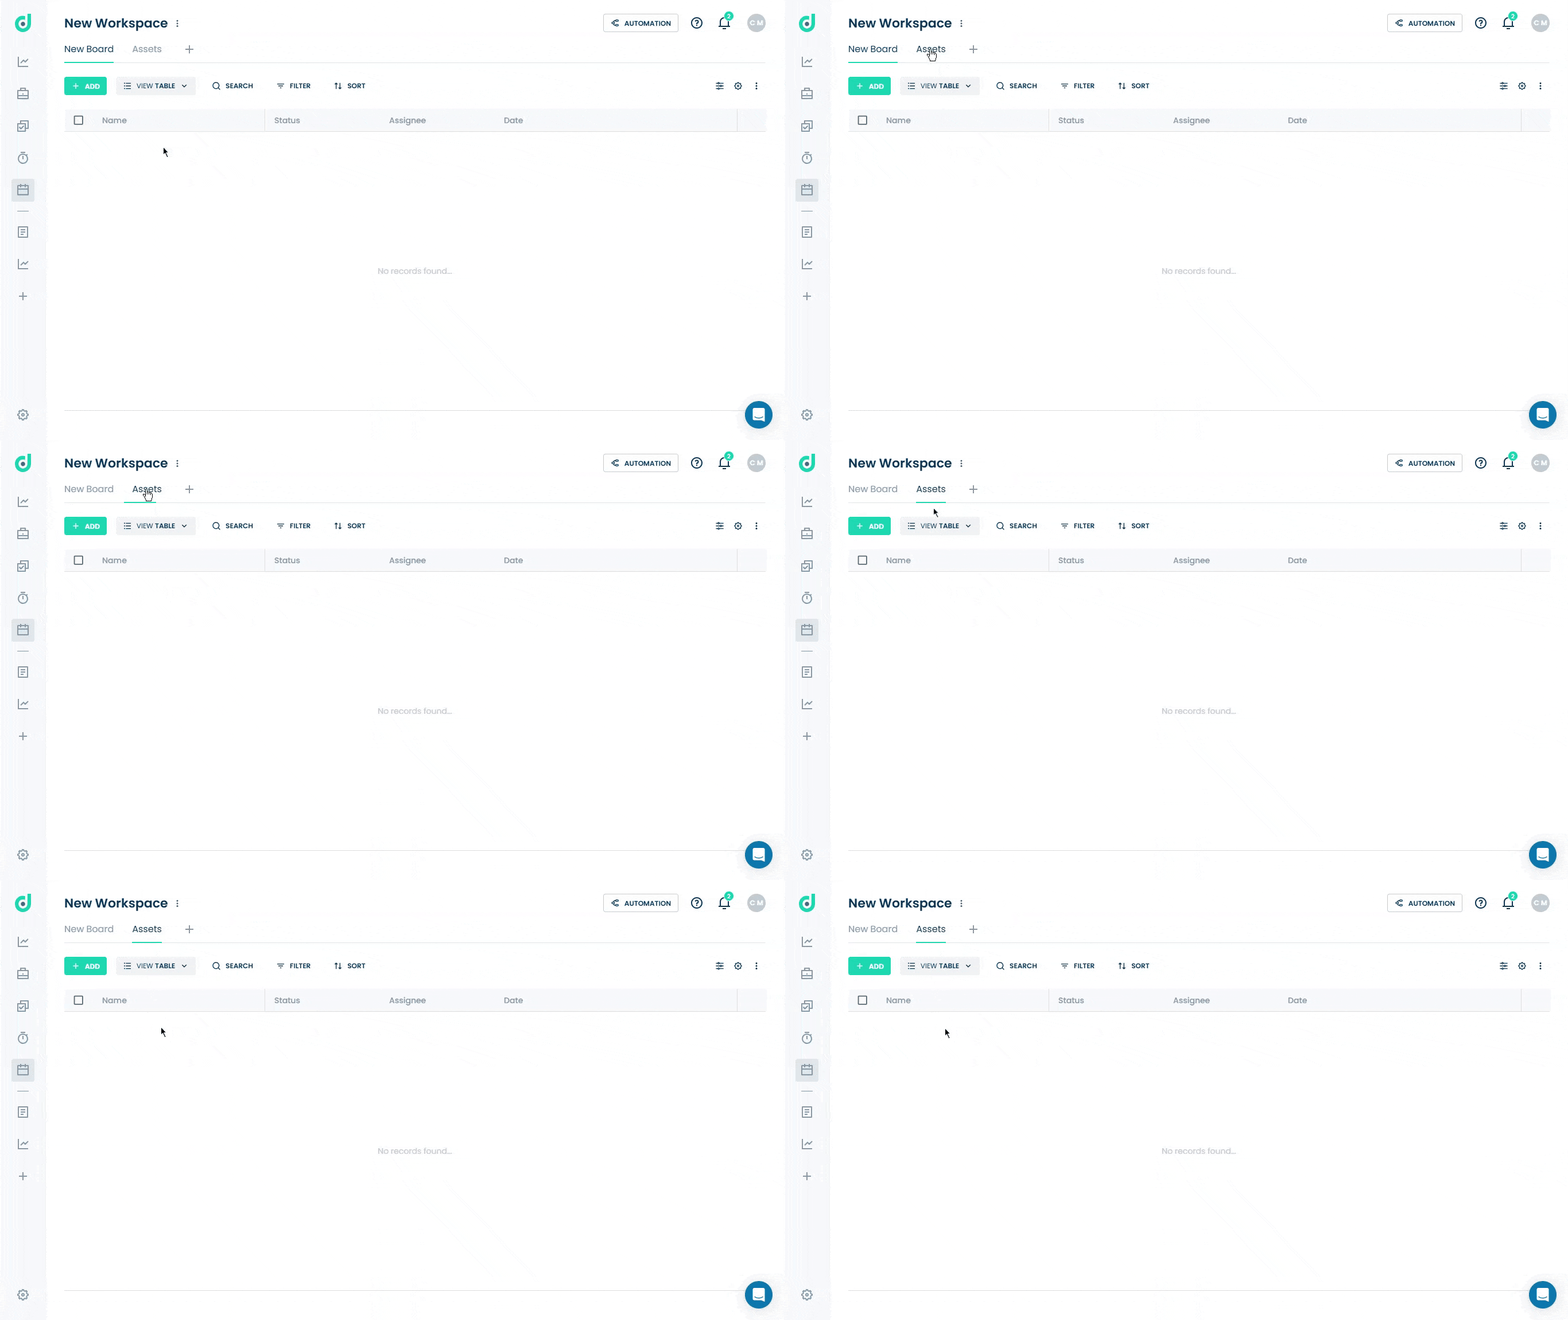
Step 2: Select the board where you want to create new views.
Step 3: Click on the ≡ VIEW TABLE dropdown from the toolbar on the top.
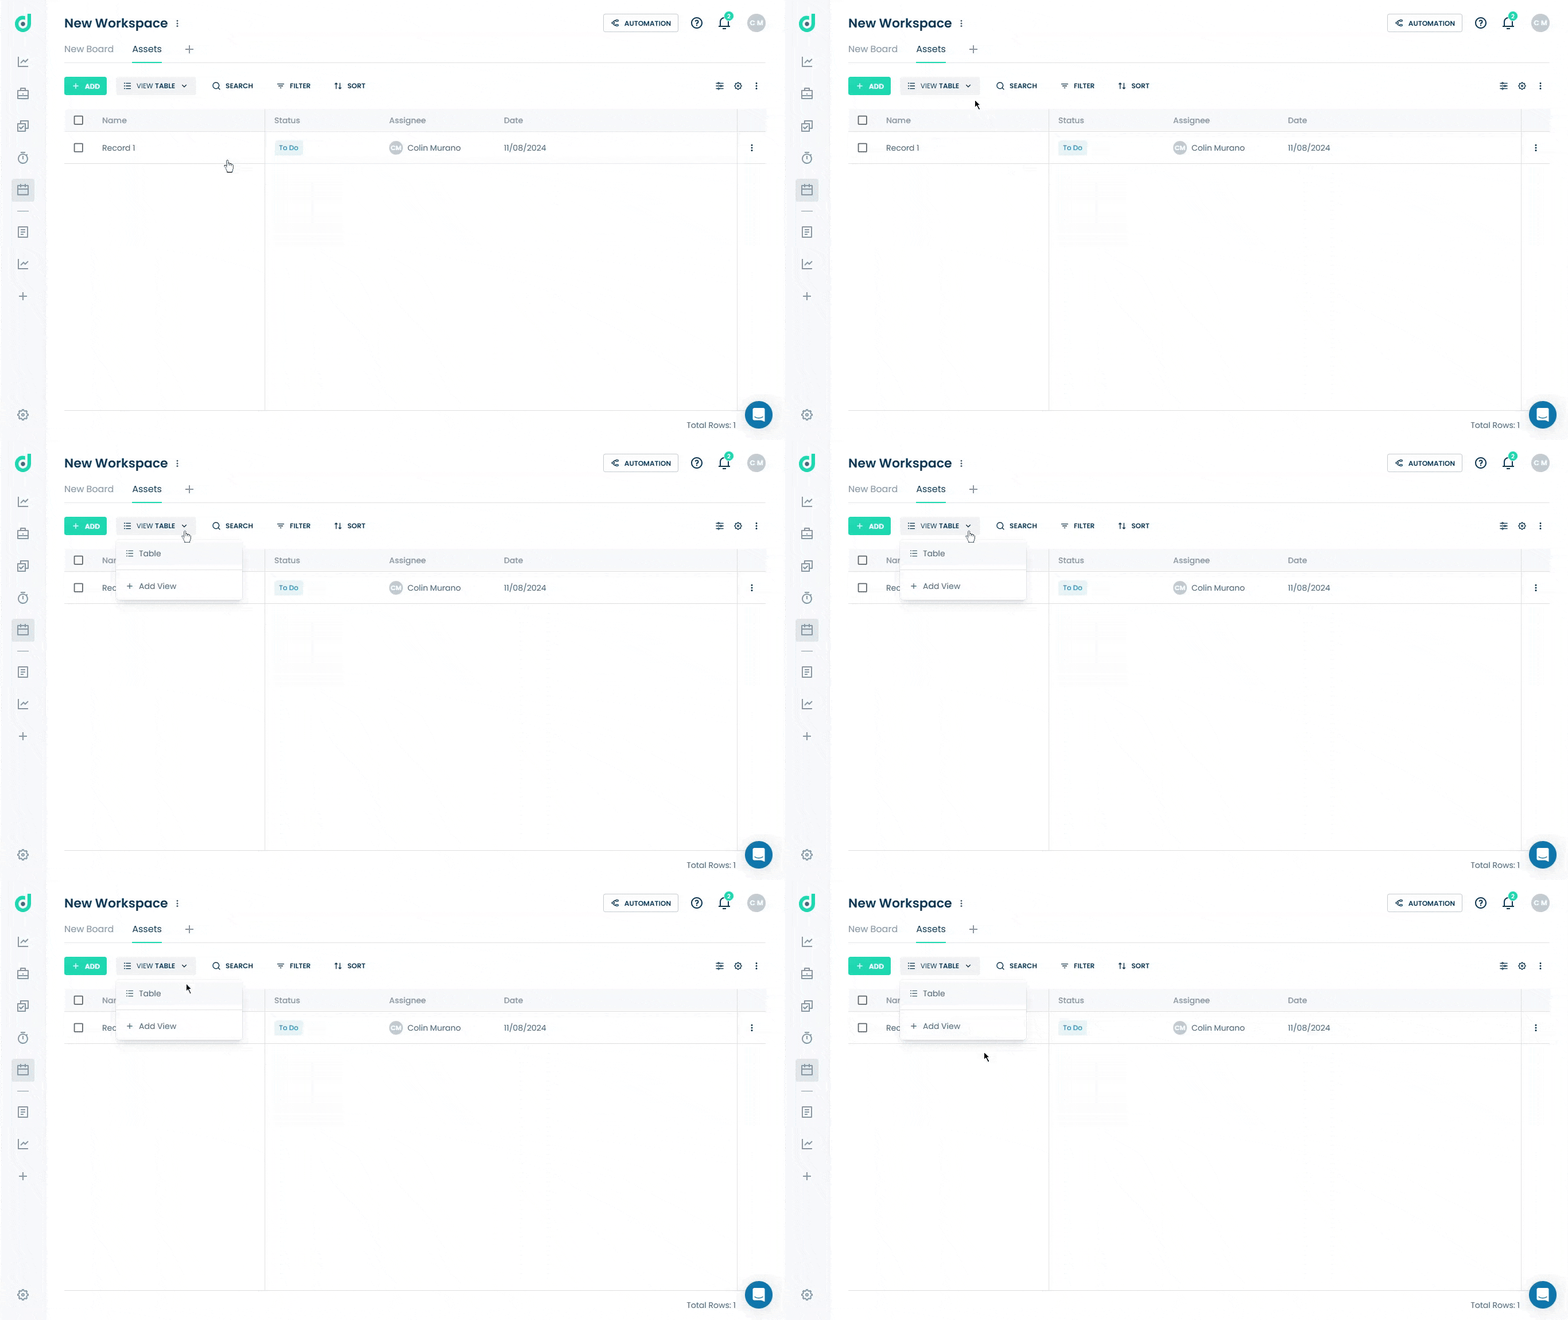
Step 4: Select the + Add View option from the dropdown list.
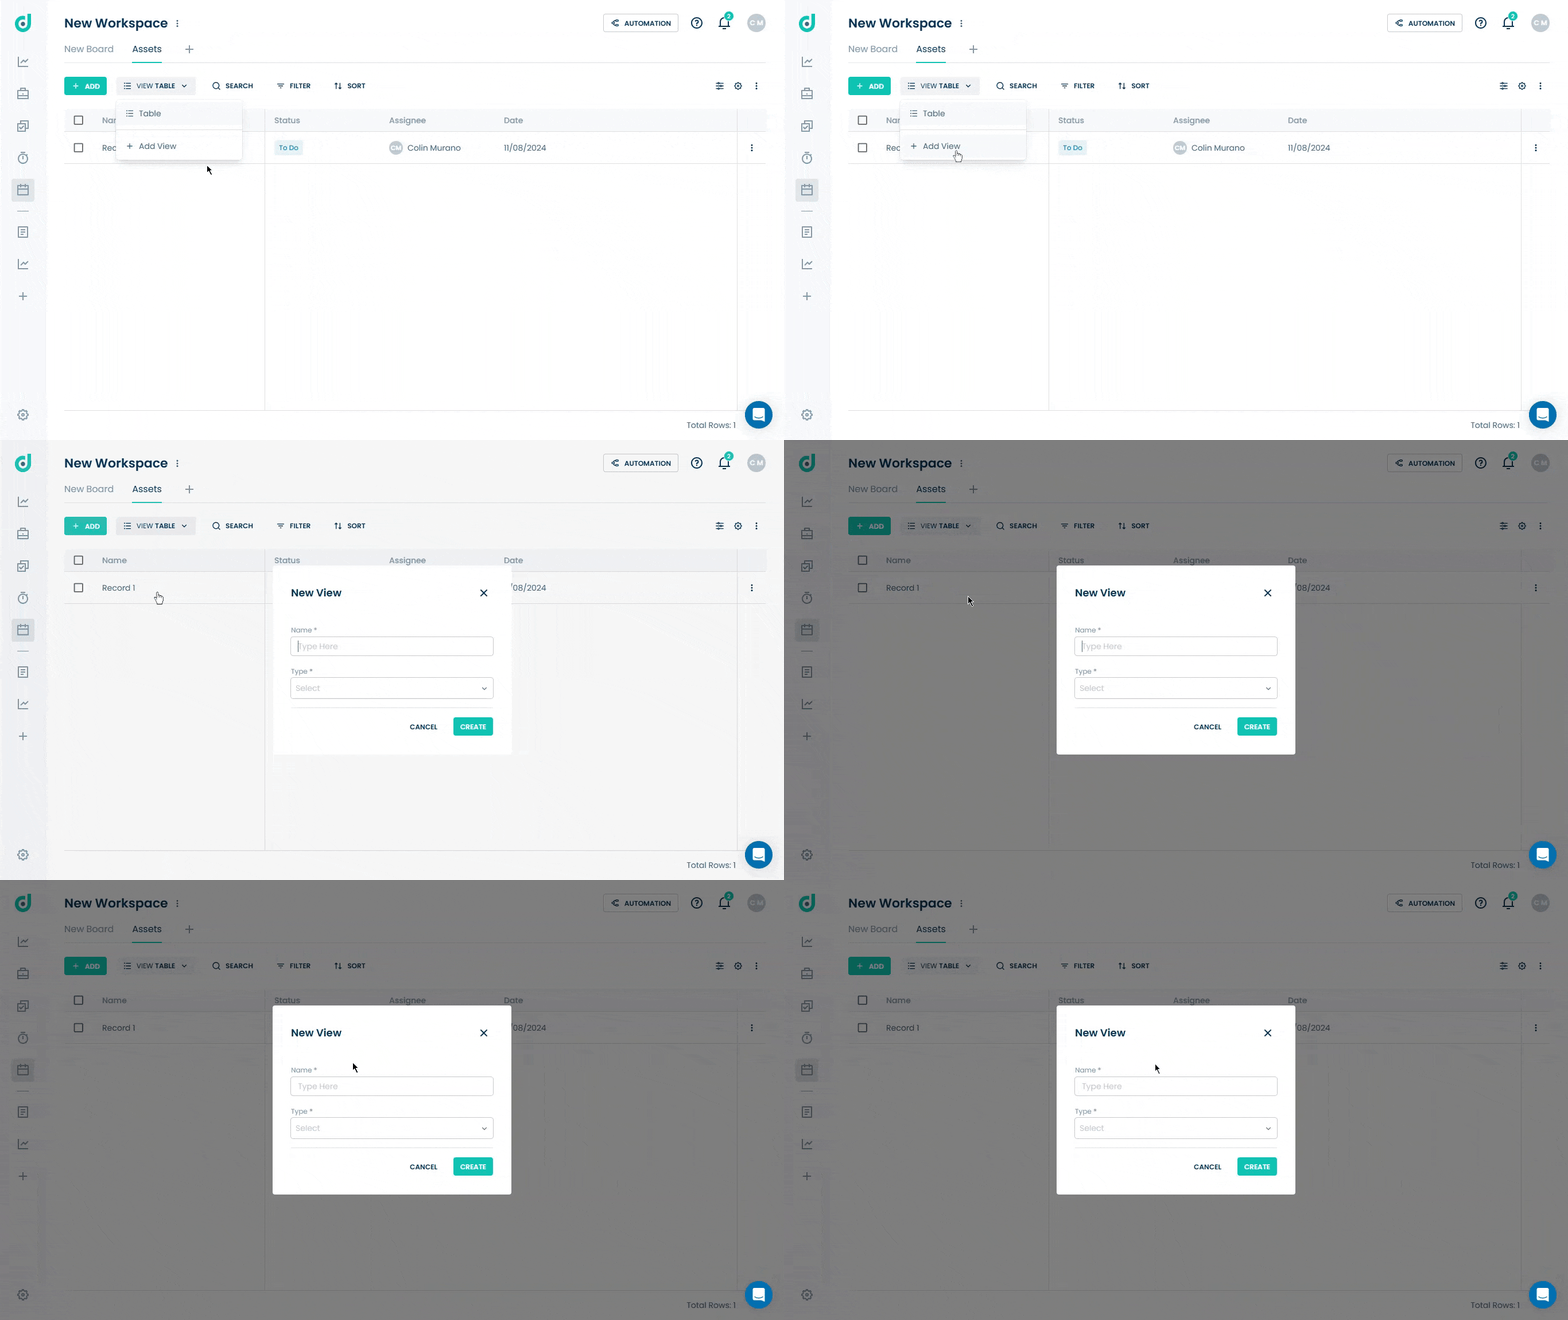
Step 5: A pop-up window will appear, prompting you to name your board view and select a view type from the following:
| Types | Description |
| Table | An organized view of all record details in the board. |
| Kanban | A visual workflow showing record progress. |
| Calendar | Displays records and deadlines in calendar format. |
| Timeline | Shows records over time to track progress and relationships. |
Note: Users can create as many views as they wish. In each view, they can filter the records and save the filters specific to that view.
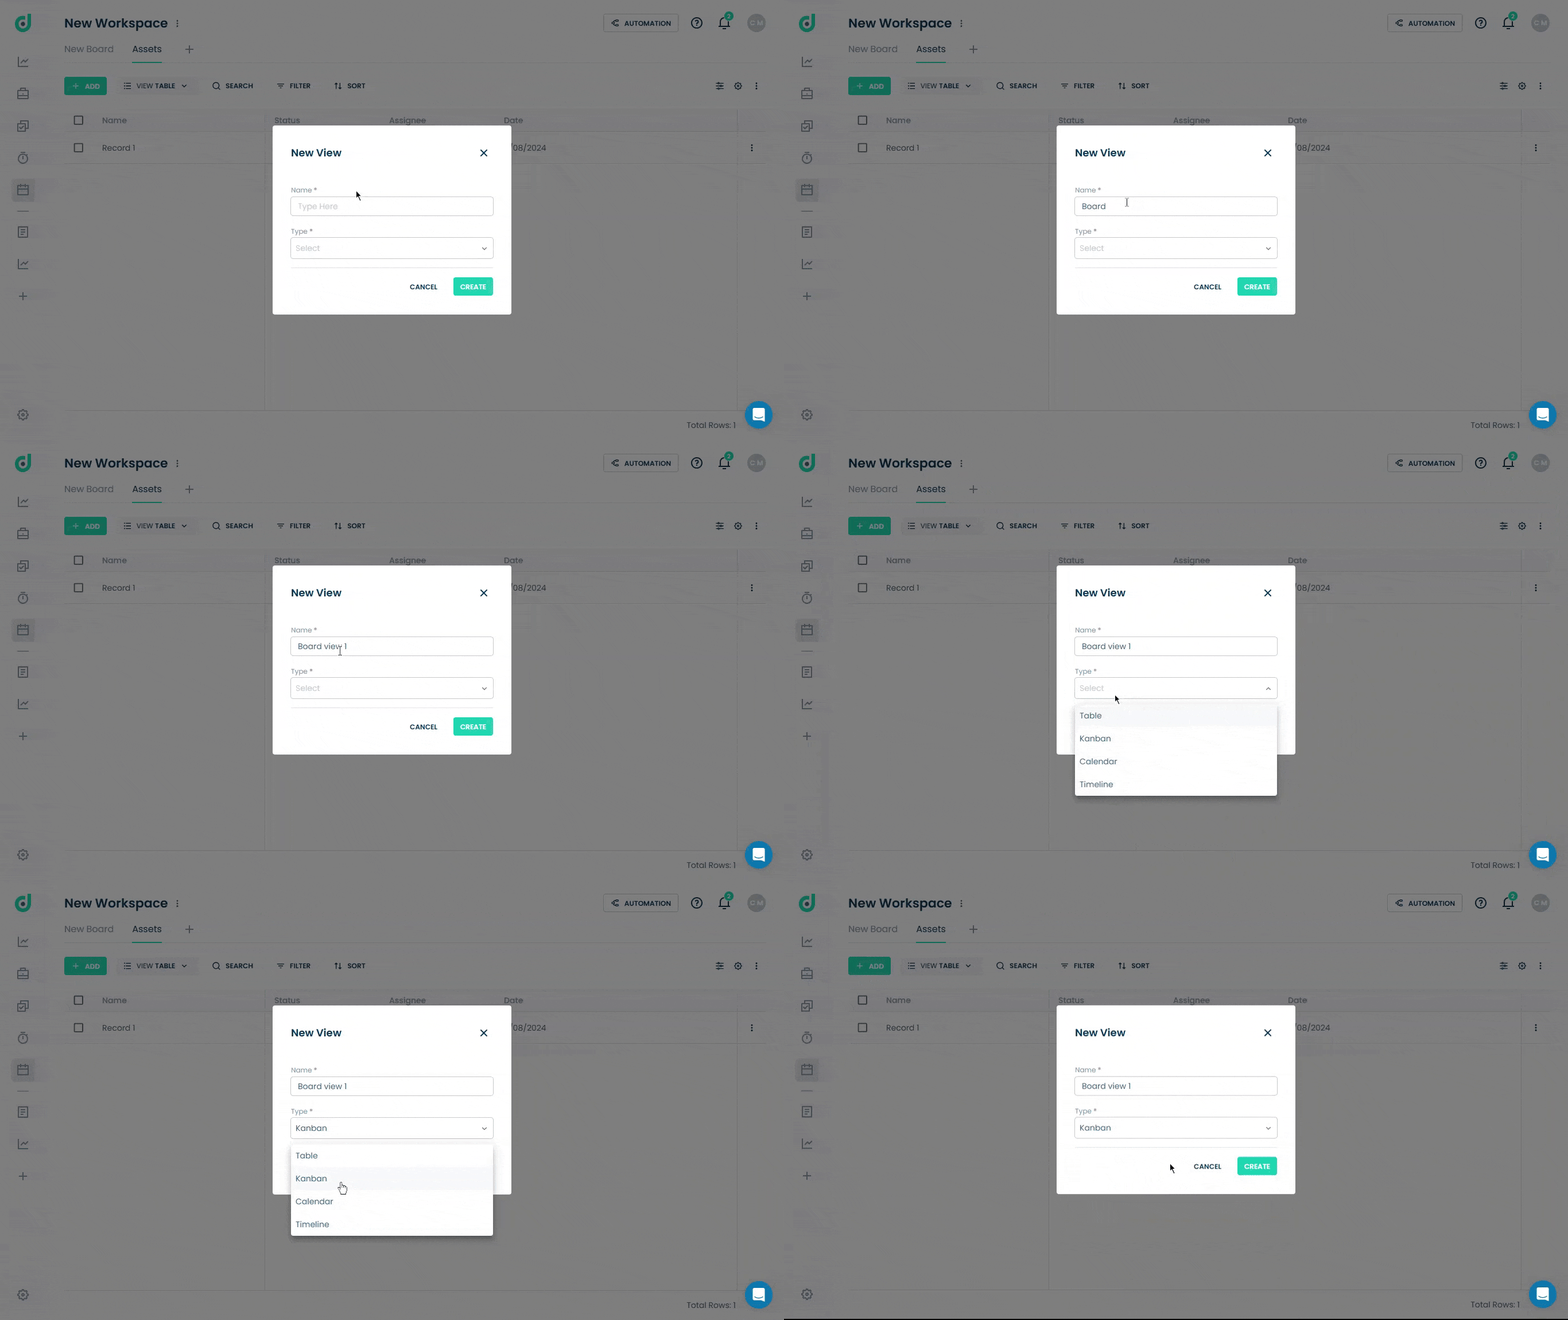
Step 6: Once done, click on the CREATE button.
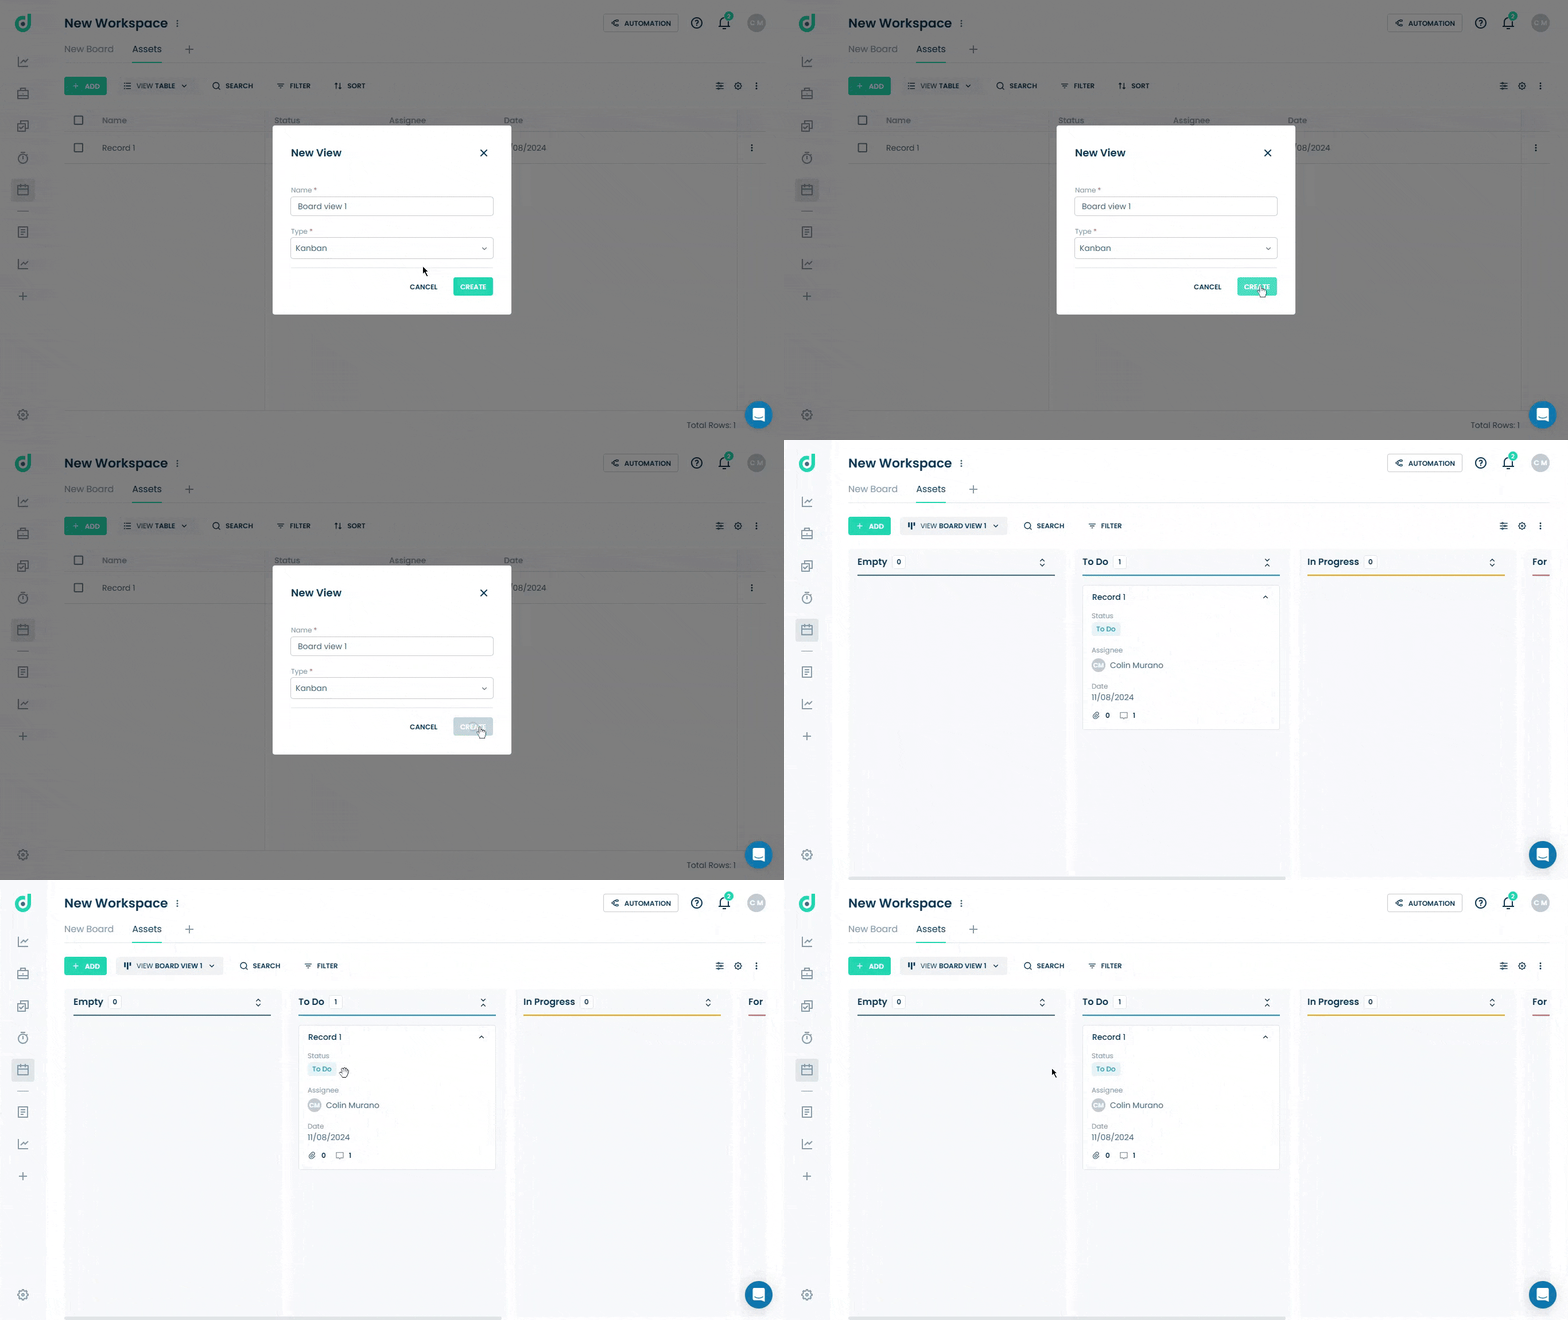
This creates the board view (e.g. Kanban) with your entered name, enabling efficient record tracking, bottleneck identification, and workflow management.
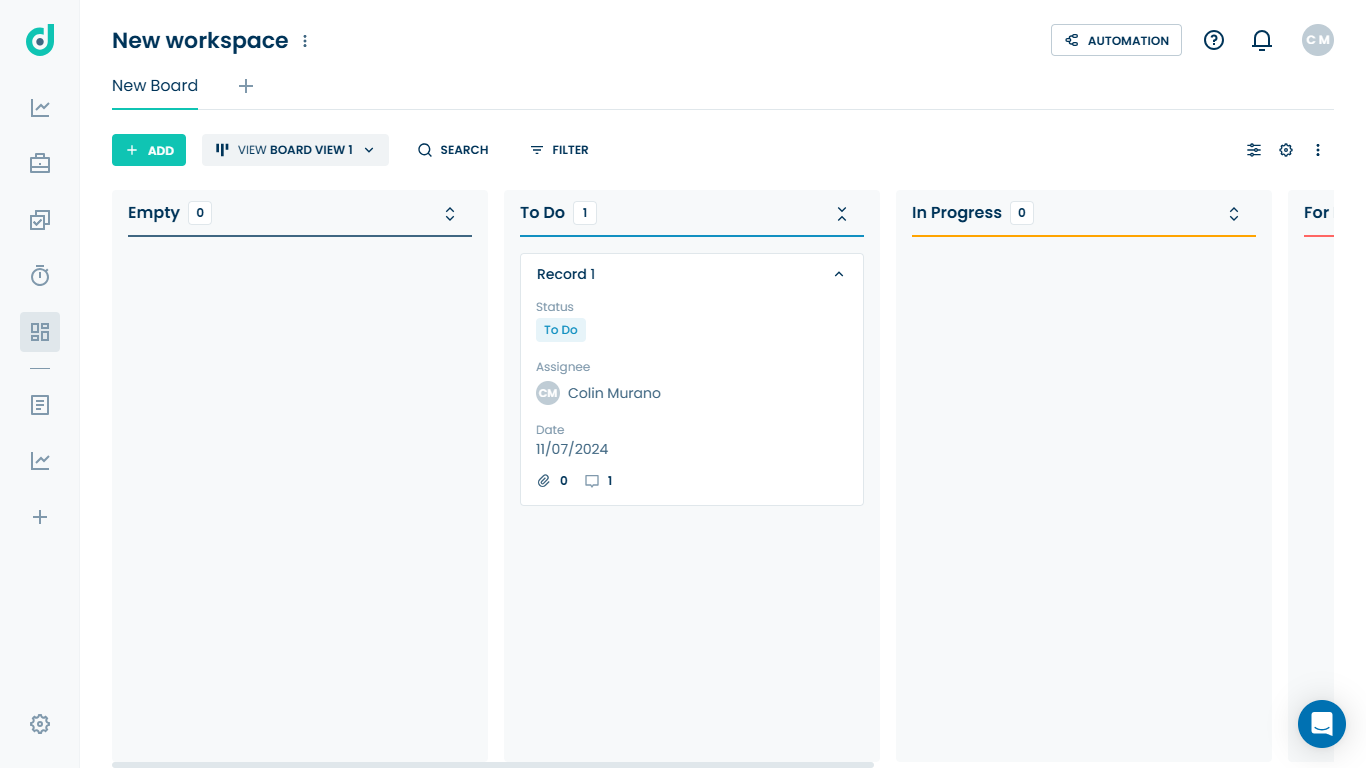
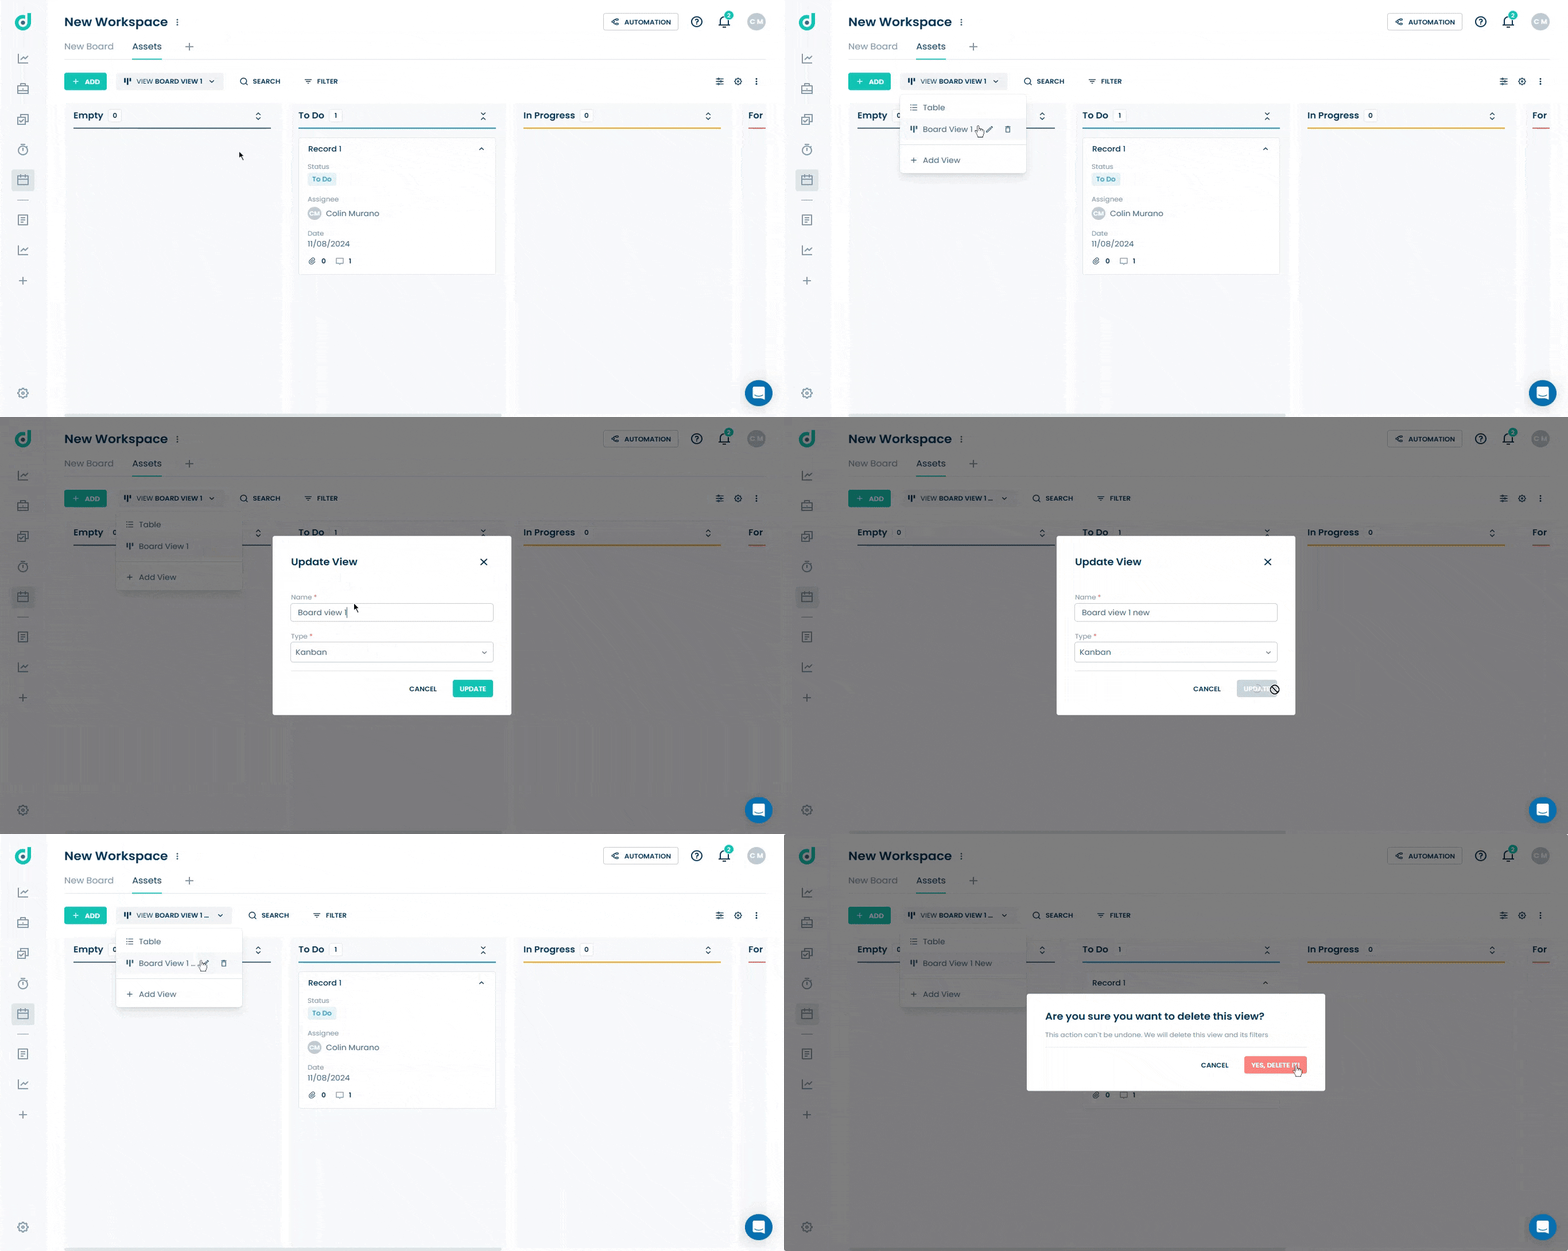
You can also manage your board views by editing or removing them as needed.
