OneDeck Help Center
How to Create a New Board
OneDeck enables you to create customizable boards that visually organize and manage all types of information, customers, leads, projects, tasks or any other data you need to manage. With an intuitive interface, you can easily tailor boards to your needs, using all types of fields to keep everything organized and accessible for seamless business management and collaboration.
In this documentation, we’ll walk you through the steps to create a new board in OneDeck.
Let’s get started 🚀
Step 1: In the side navigation menu, click on the Workspace where you want to add a board.
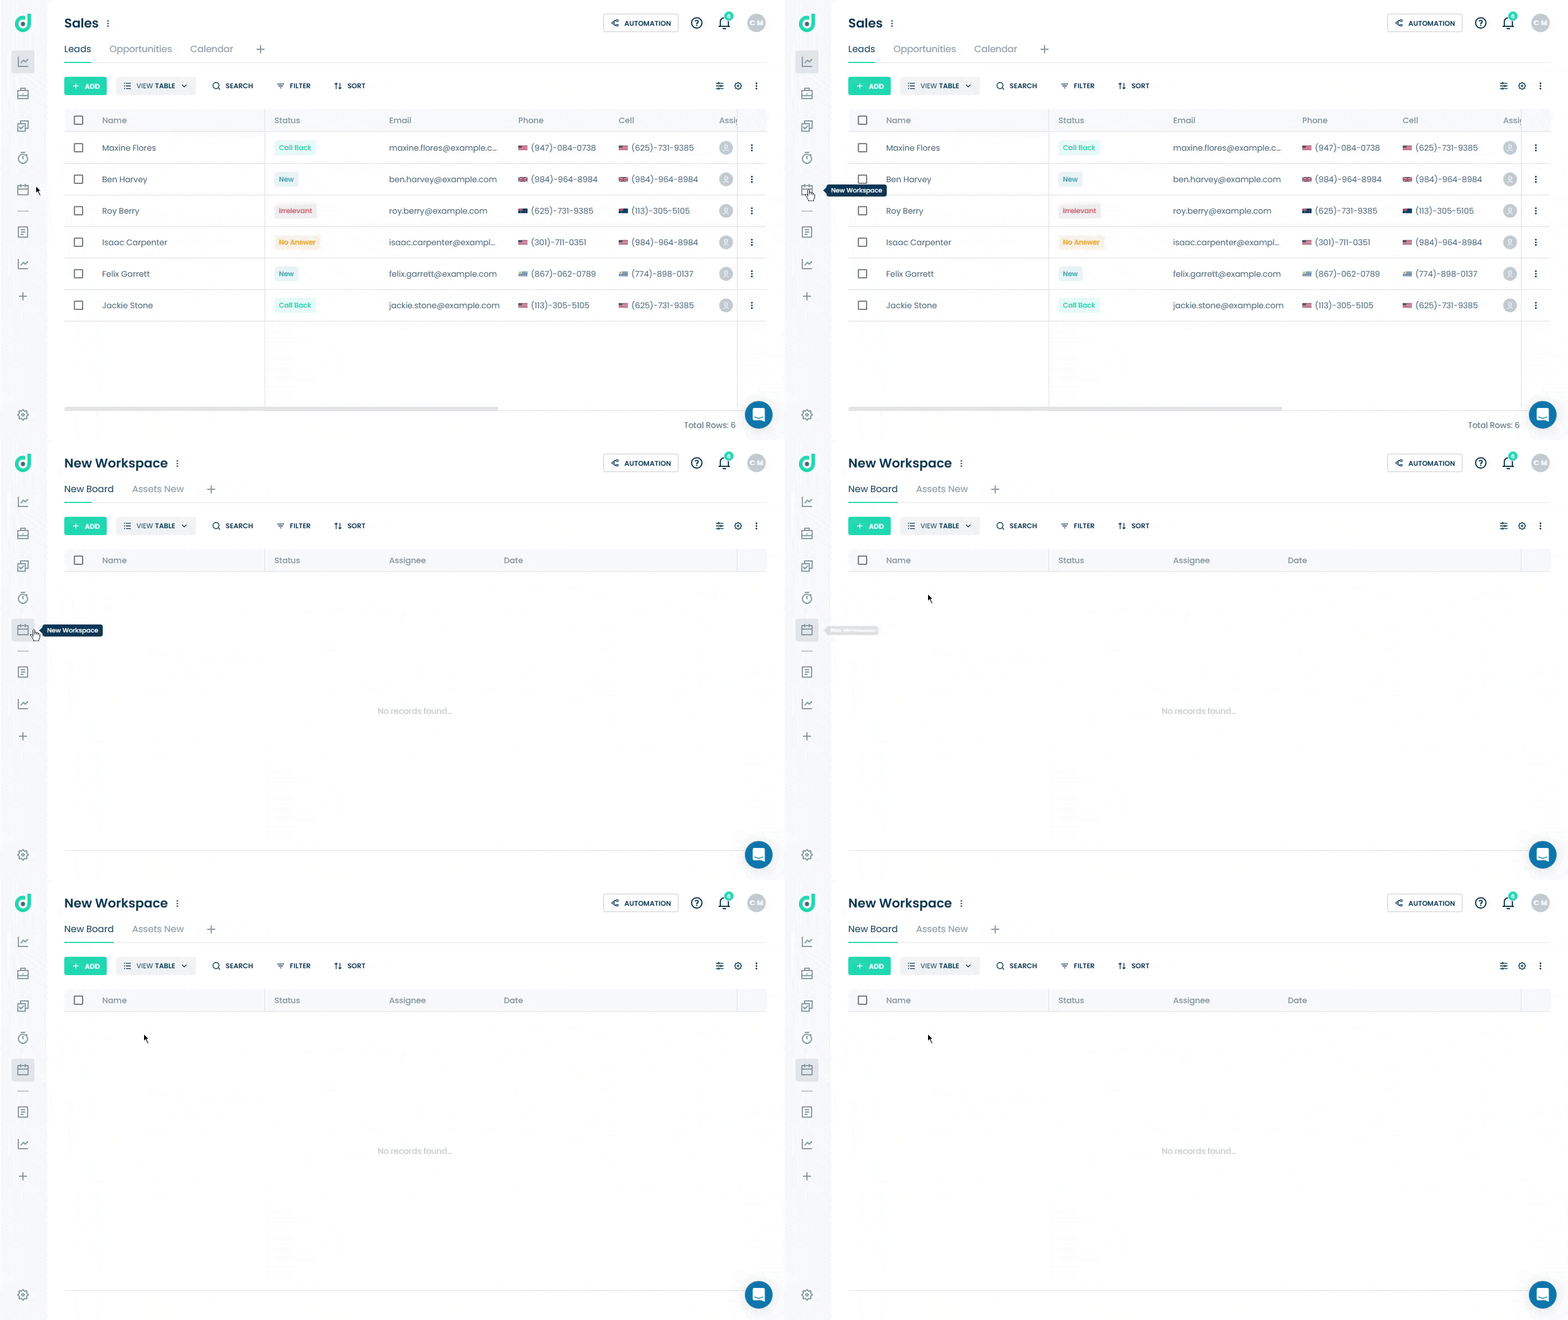
Step 2: Click on the “+” button from in the boards tabs menu.

Step 3: A new modal window will appear, asking you to enter the board name.
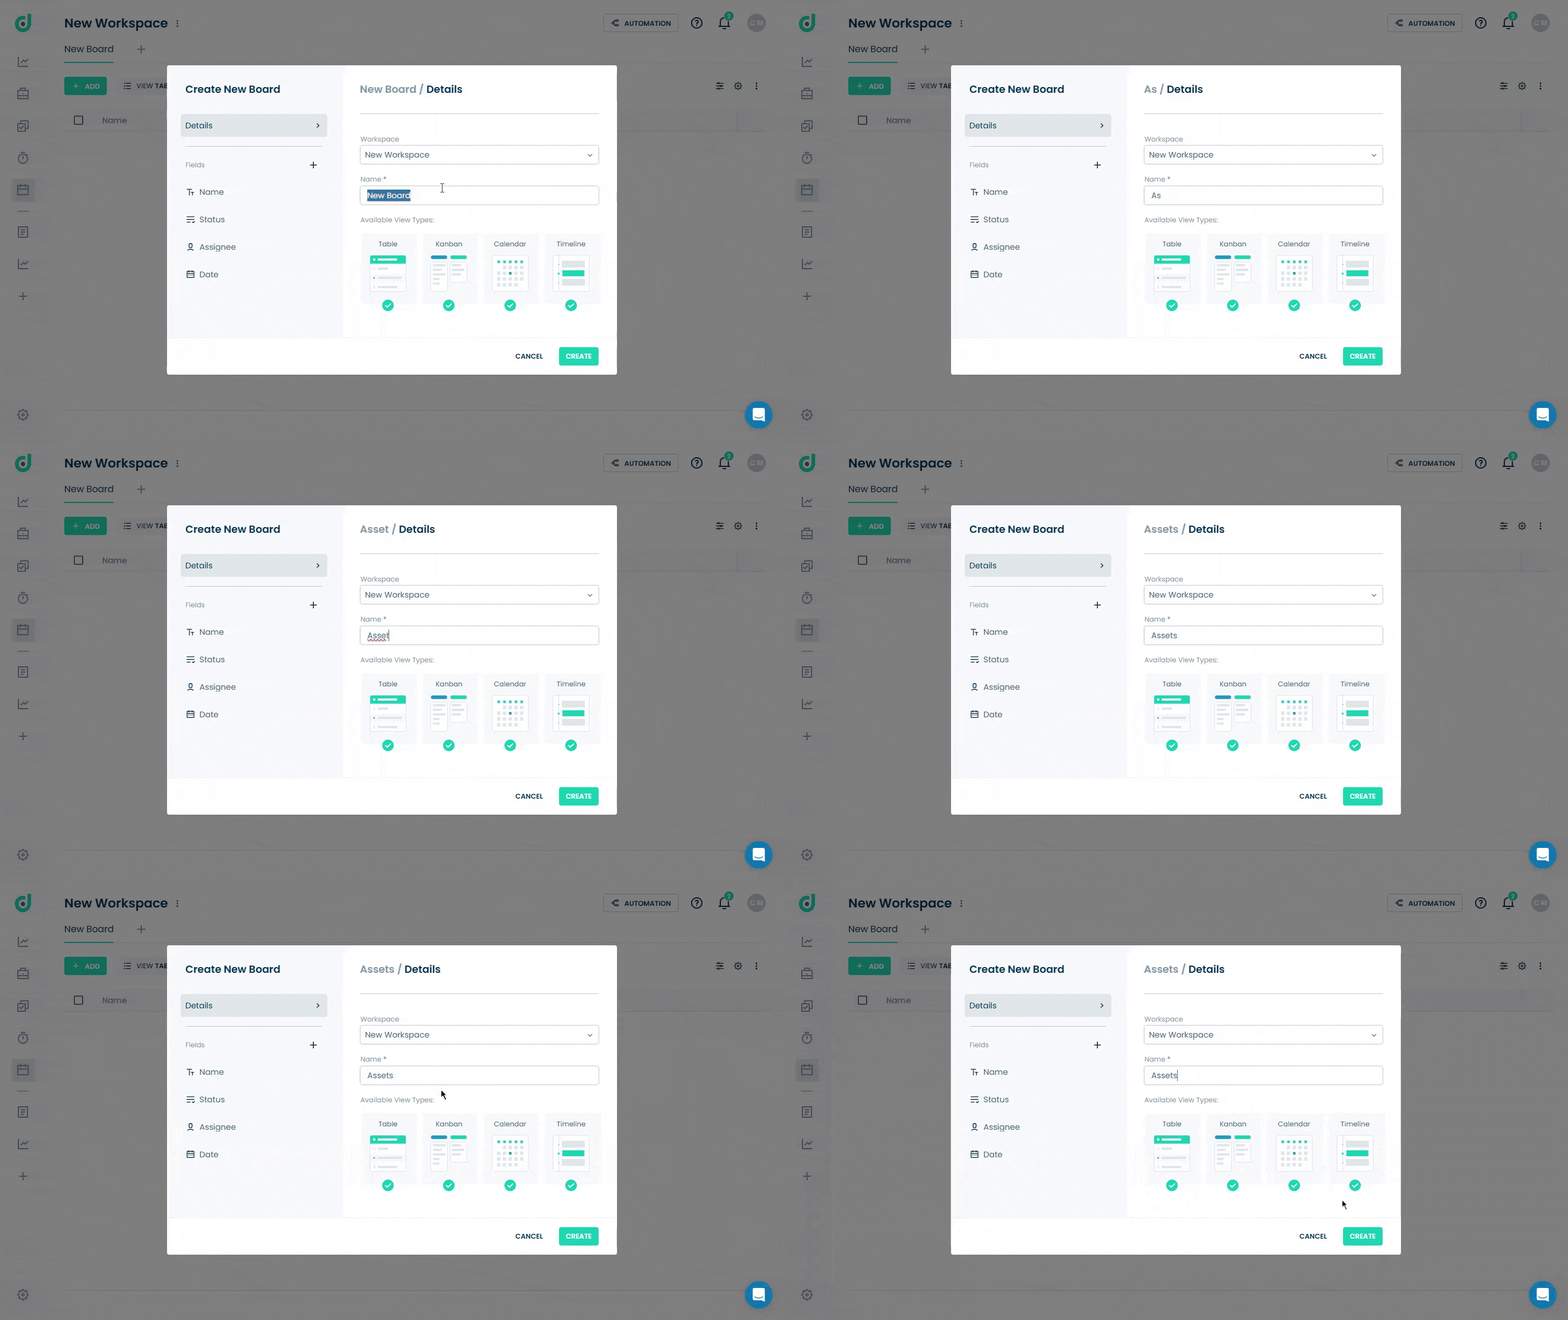
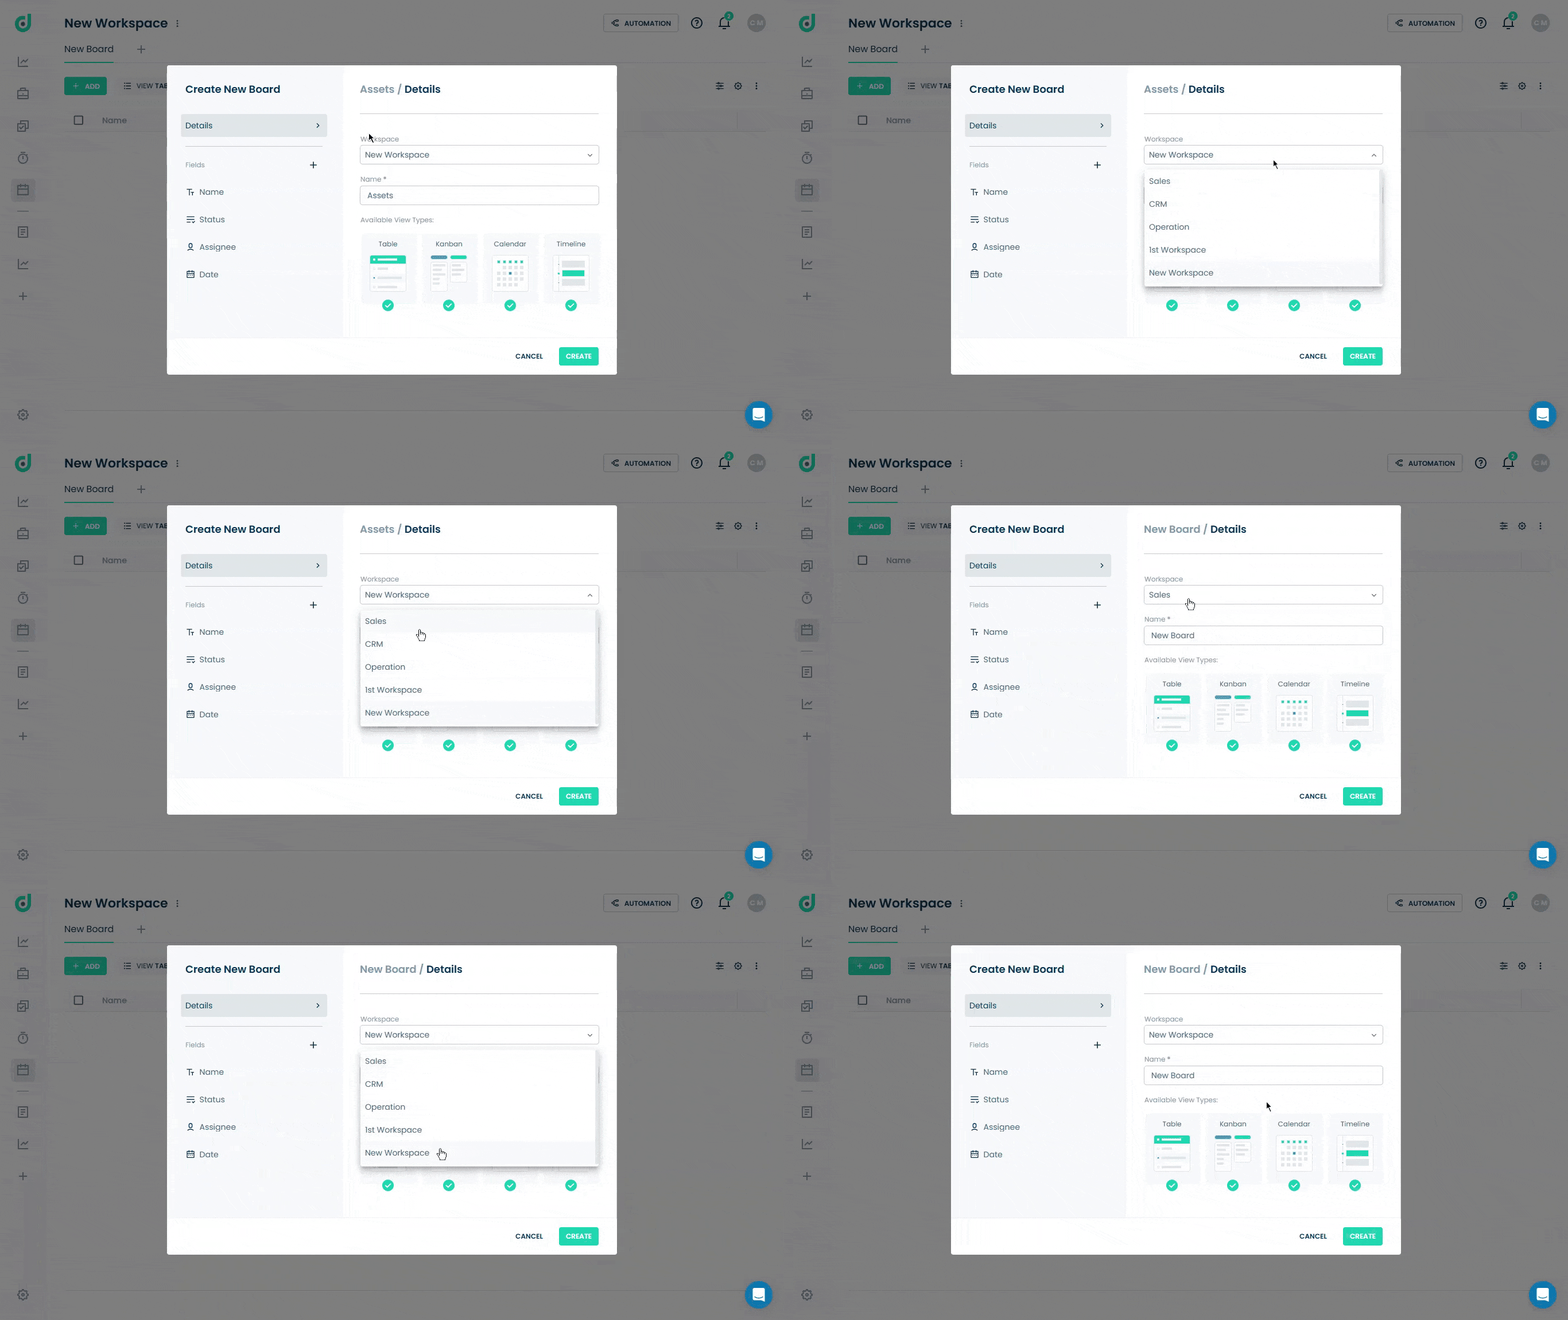
Note: By default, the current workspace will be selected for your new board. However, you can choose a different workspace by selecting it from the dropdown menu.
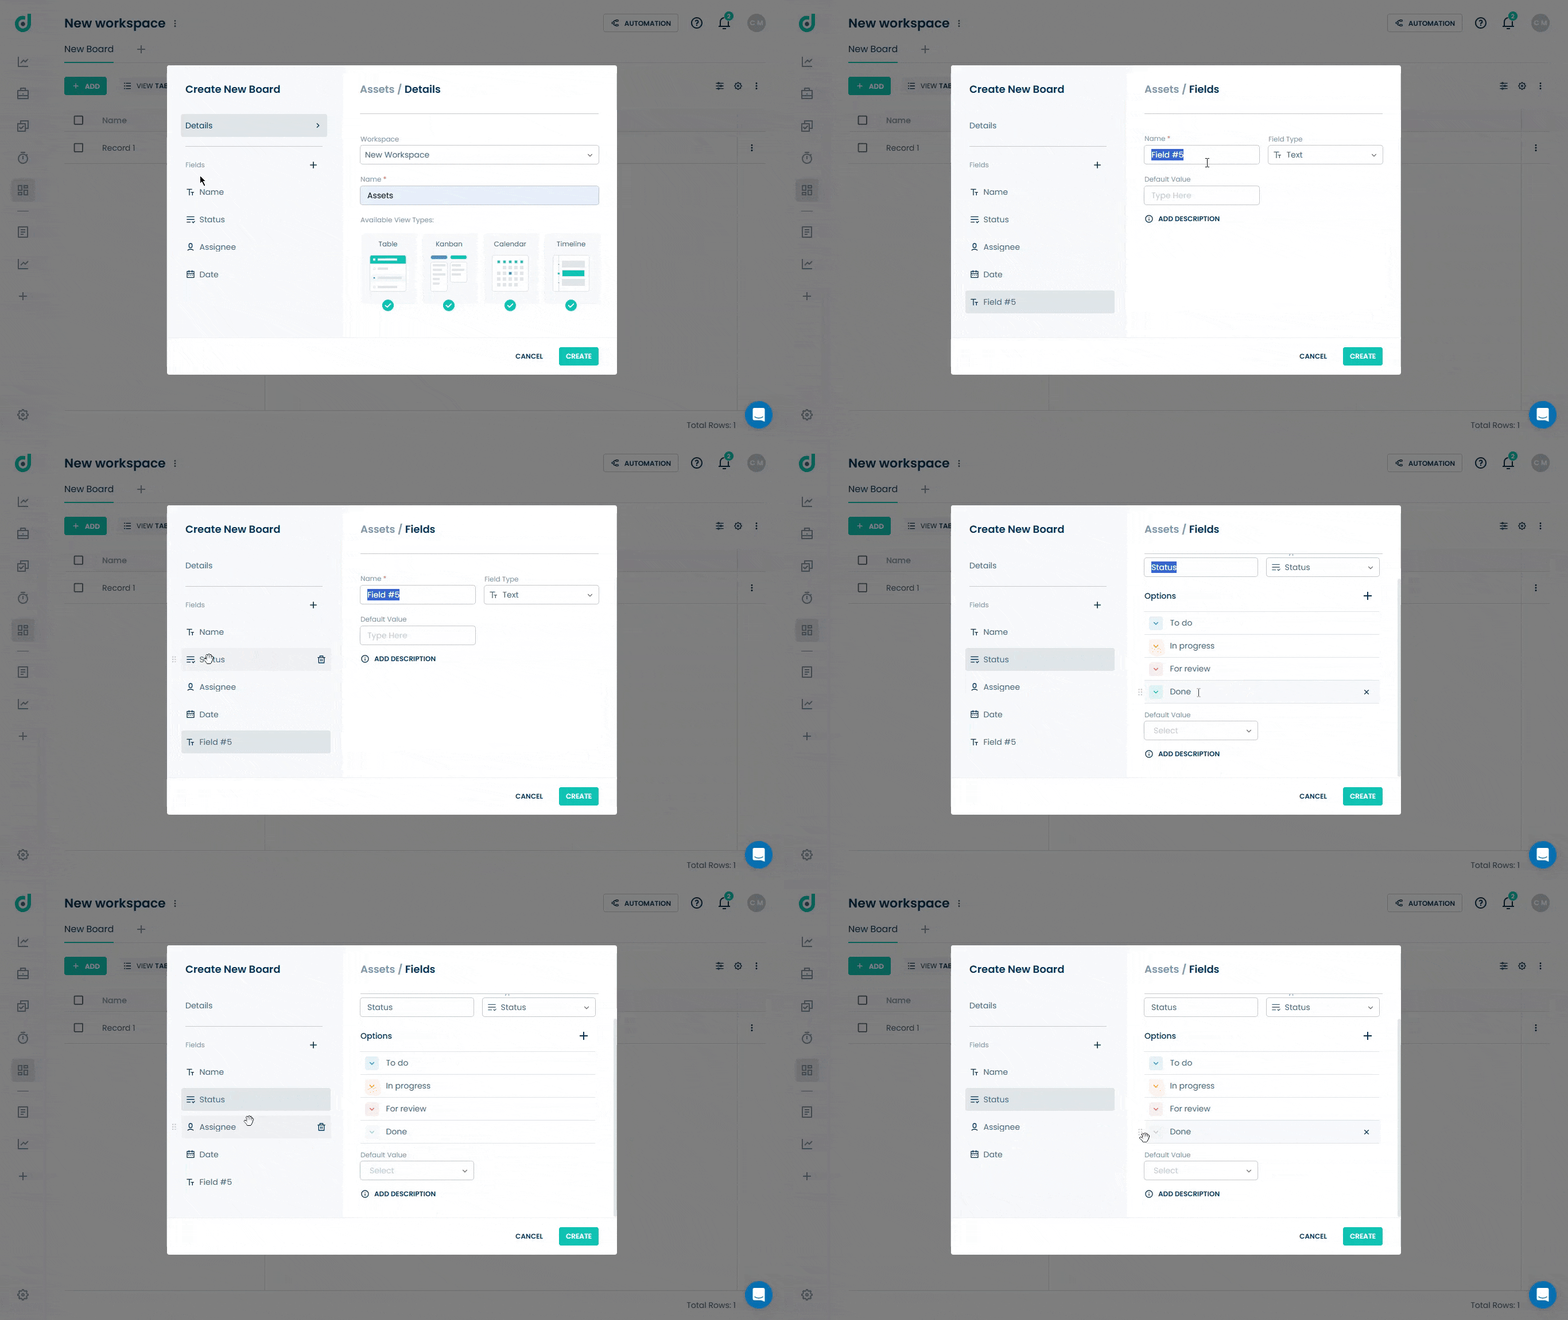
You can manage your fields by adding new ones, editing existing fields, or removing them as needed. For more information, refer to the Manage Board settings document.
Step 4: Click on the CREATE button after making the changes.
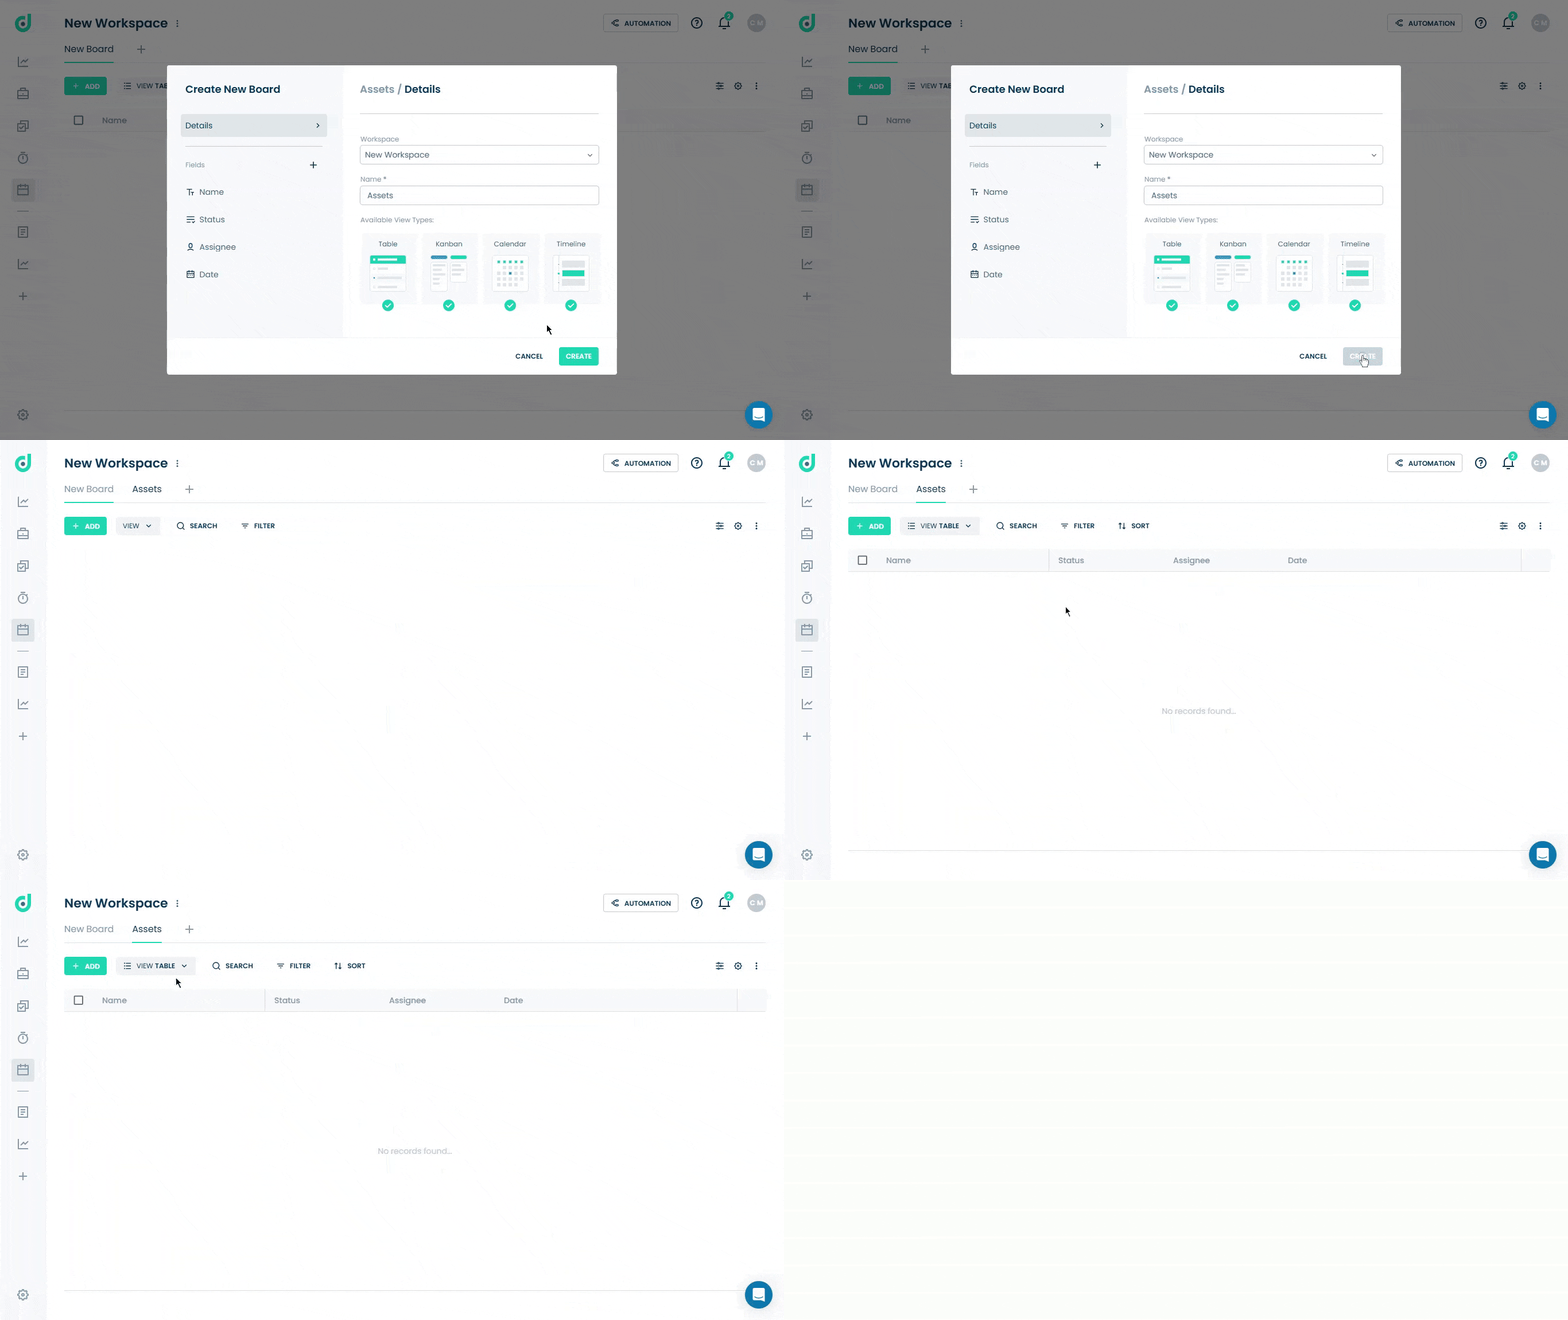
Once the new board is added to your workspace, you can add new records to it.


