OneDeck Help Center
How to Convert Records
In OneDeck, you can seamlessly convert records across different boards, making data management adaptable to your business needs. This minimizes manual data entry and reduces errors from copying and pasting, allowing you to transfer records between boards - for example, converting a Lead to a Customer.
In this documentation, we’ll walk you through the steps to convert a record in OneDeck.
Let’s get started 🚀
Step 1: Click on the Workspace button from the side navigation menu bar.
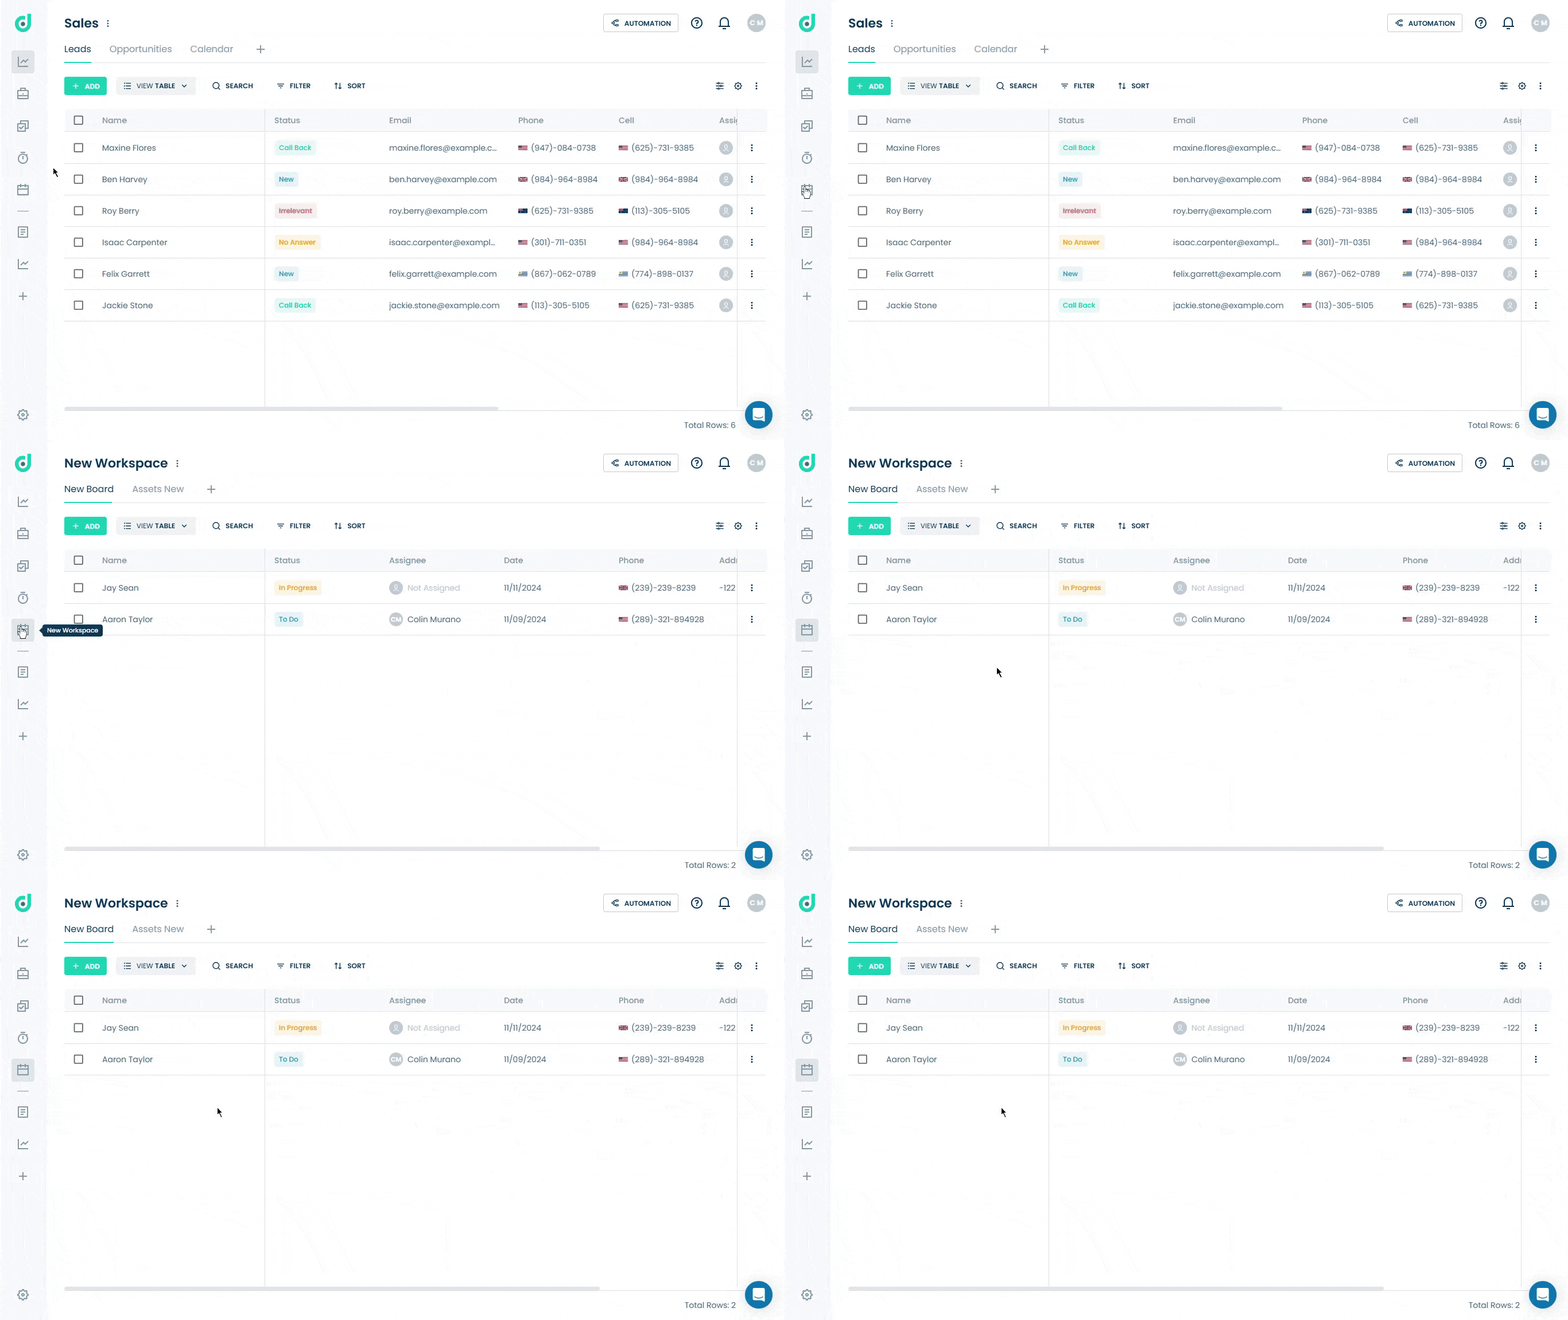
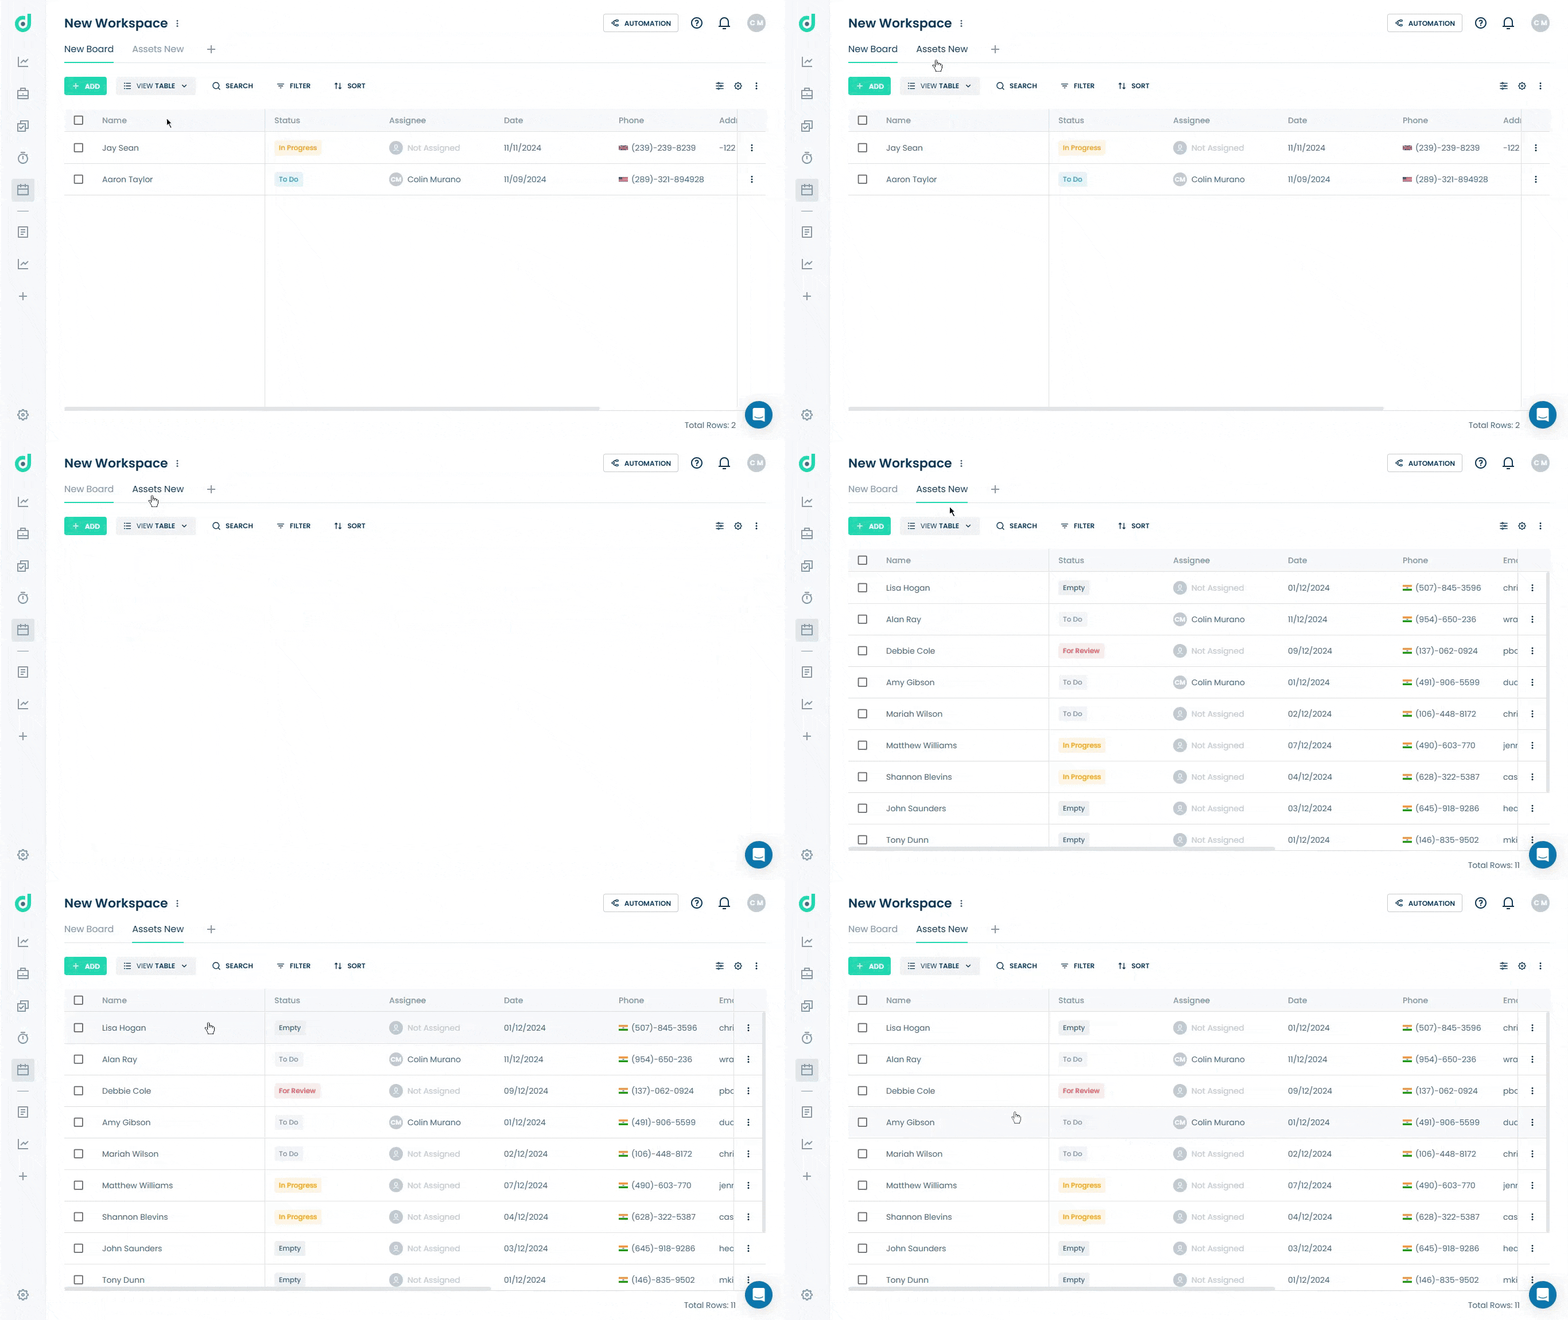
Step 2: Select the board where you want to convert the record to.
Step 3: Click on the Vertical ellipsis (three dots) alongside the record you want to convert and select the Convert To option from the dropdown list.
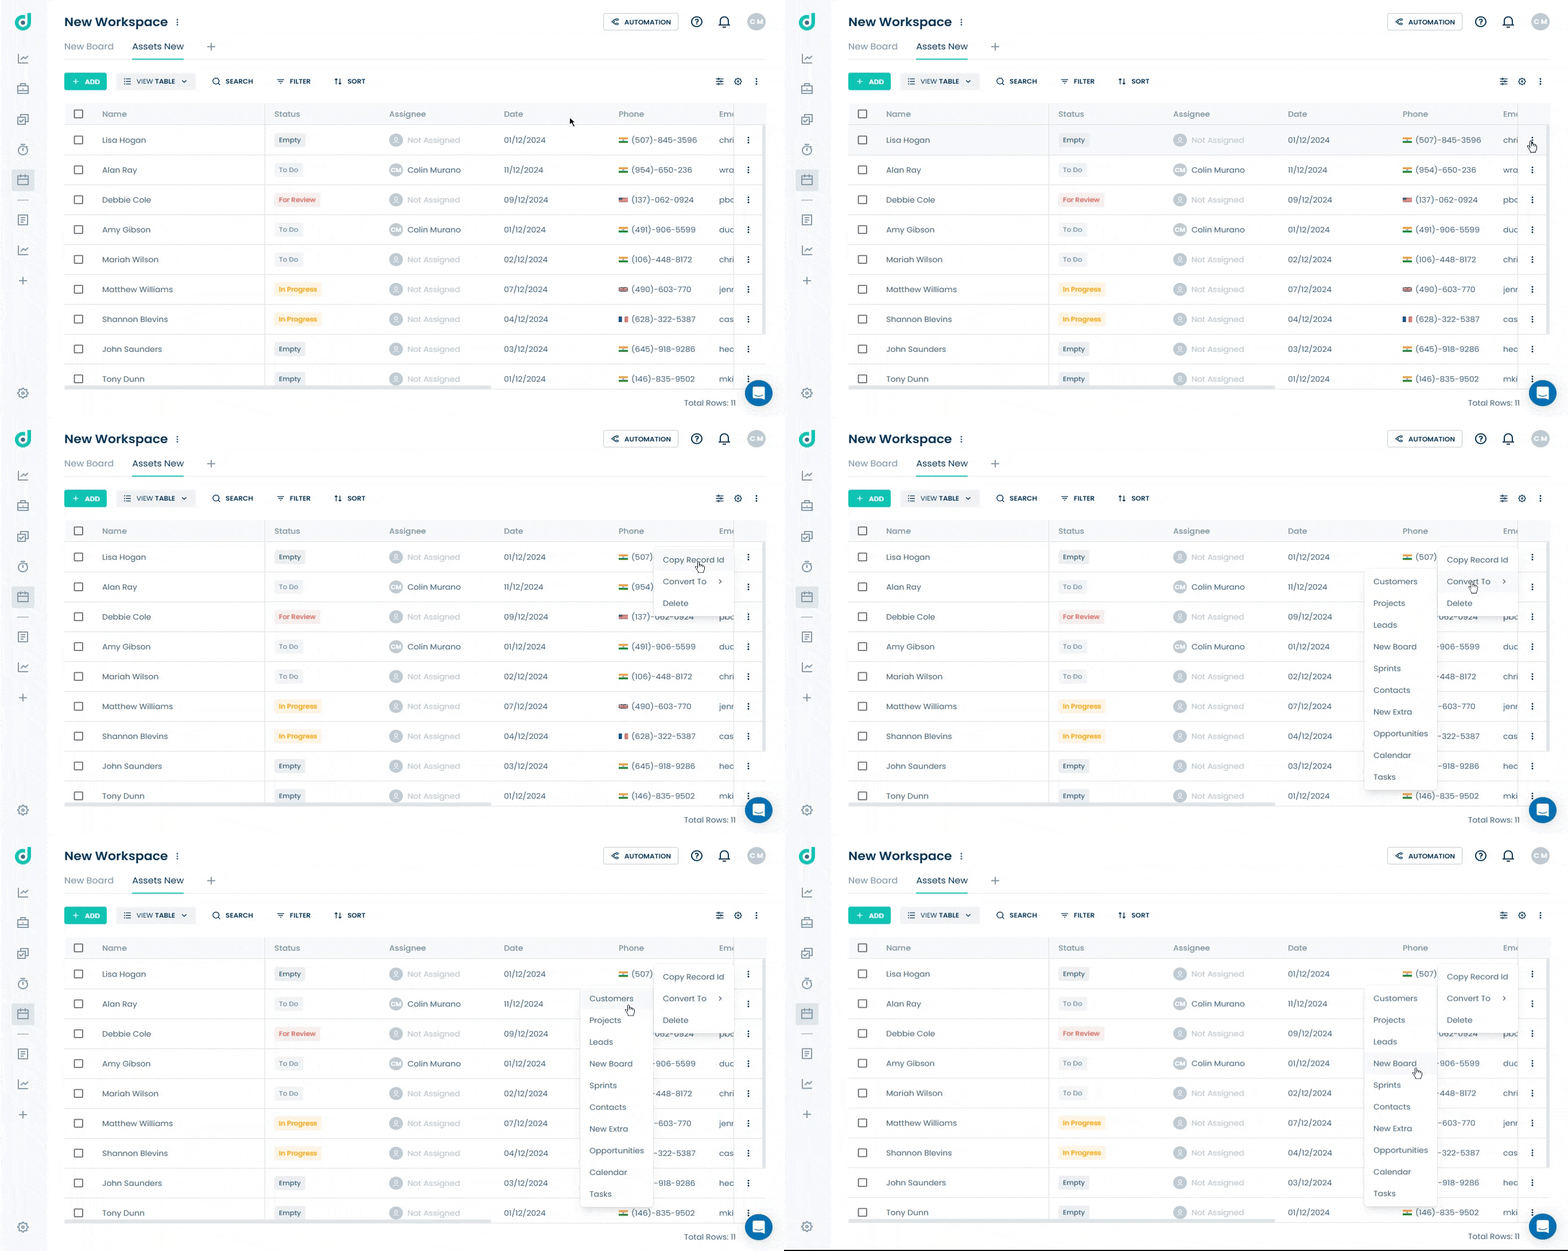
Step 4: Select the board type that you want to convert the record to.
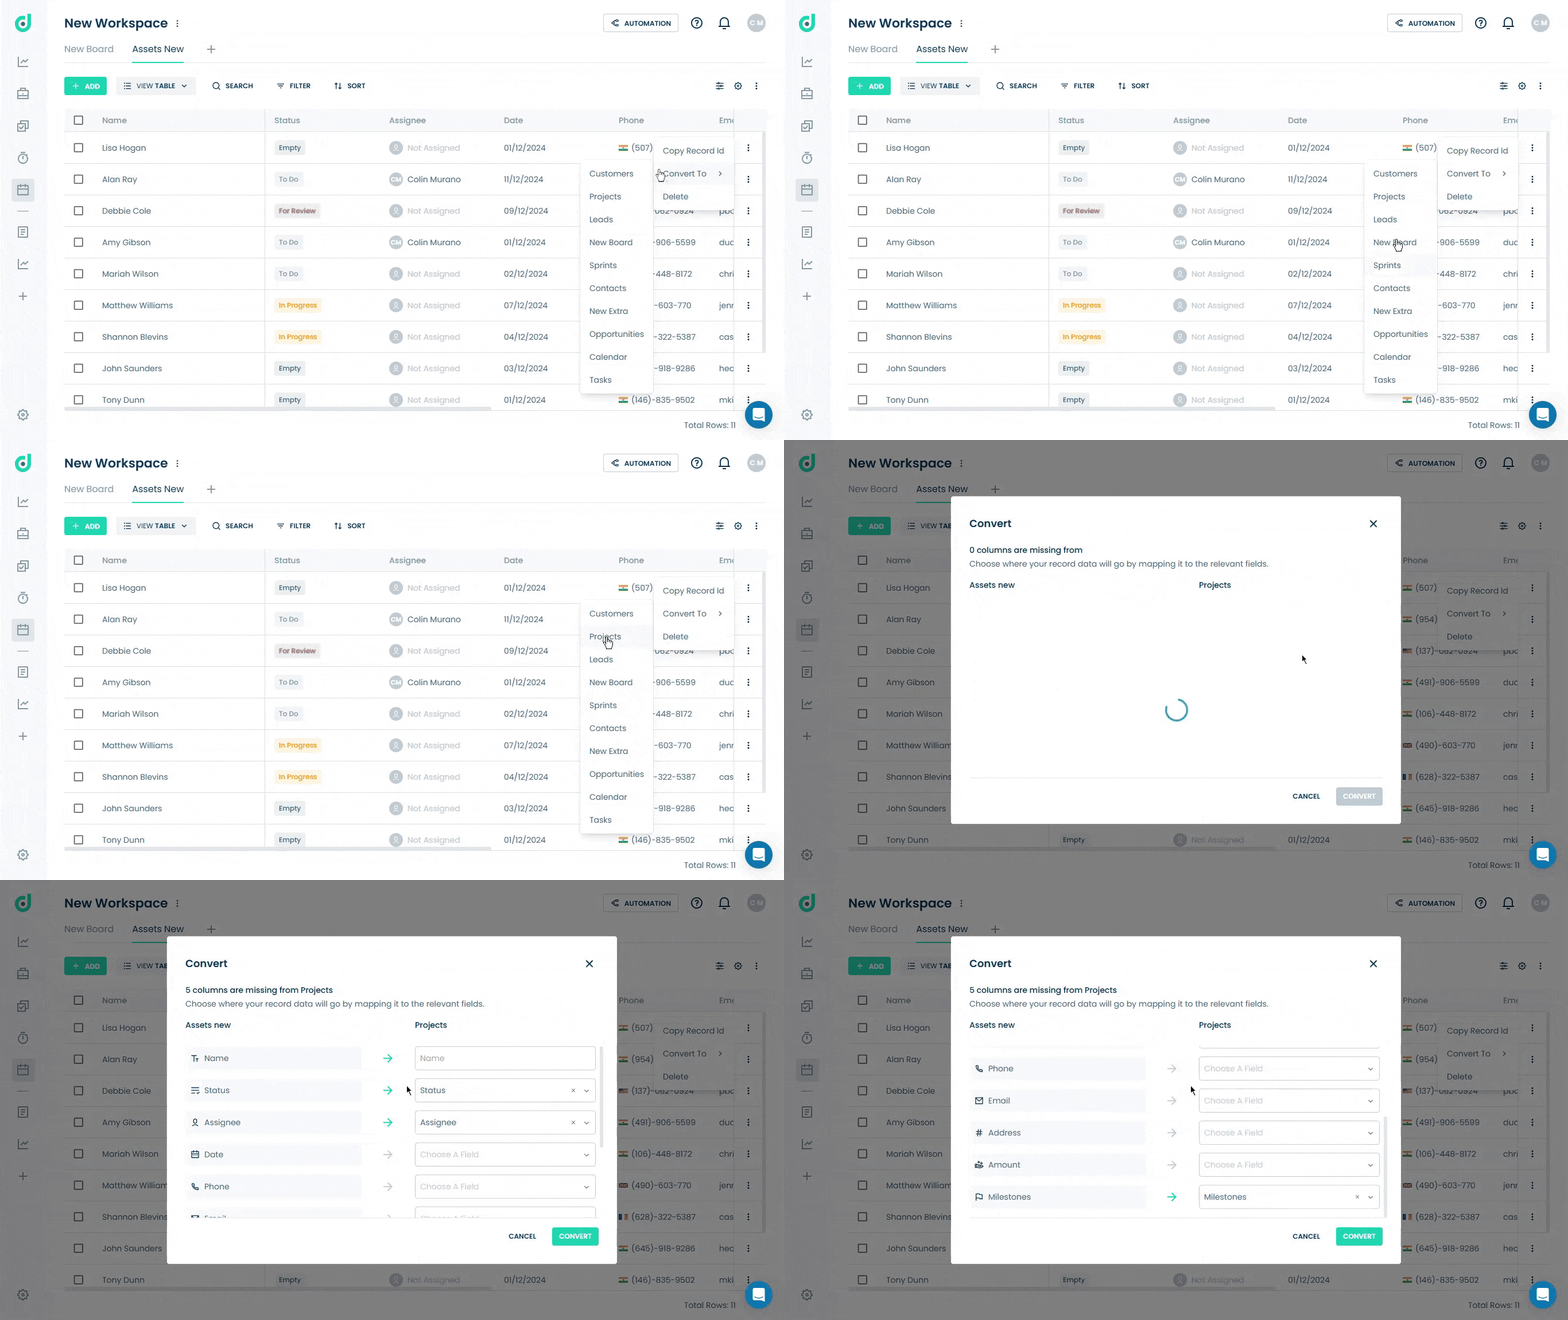
Step 5: A pop-up window will appear, prompting you to map your record data to the relevant fields, allowing you to transfer records between boards.
Note: If the Board fields doesn’t match the converted field then user can add it as a new field.
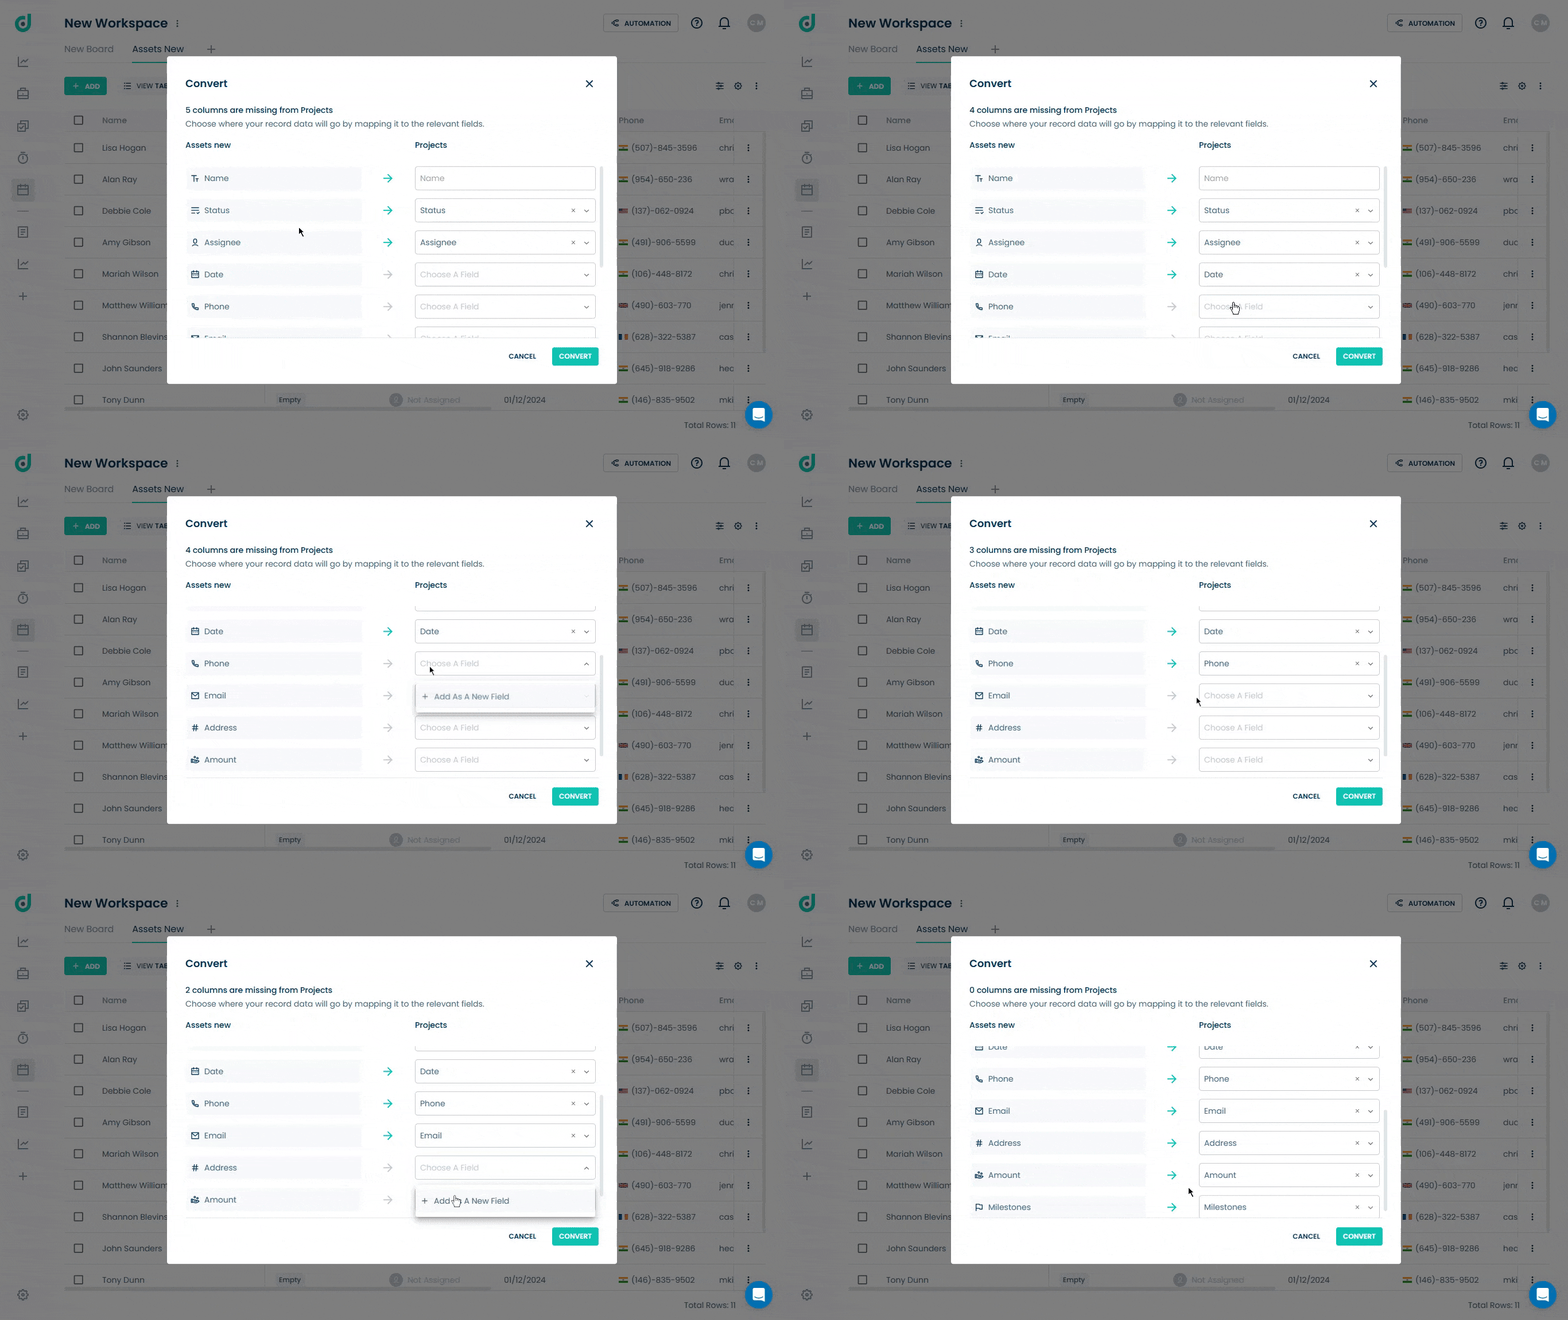
Step 6: Once done, click on the CONVERT button.
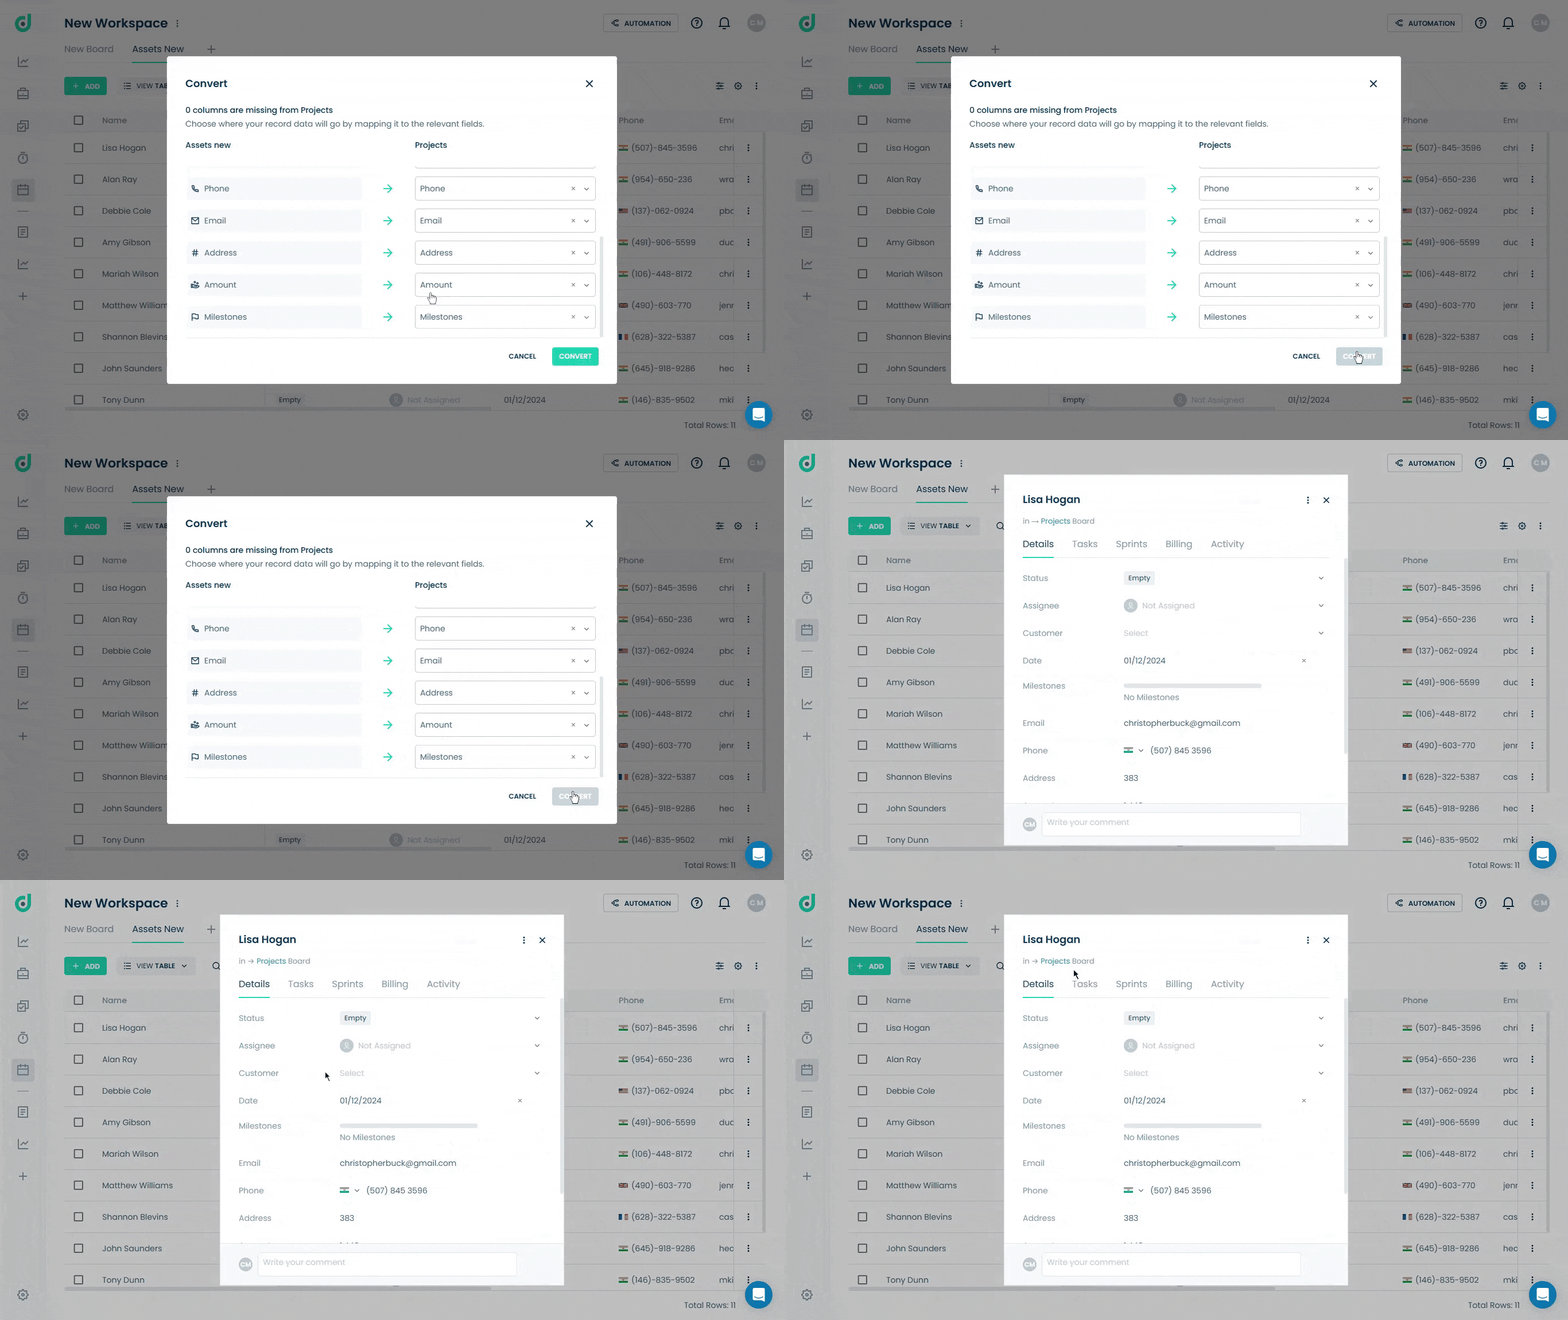
A pop-up window will appear, showing the new record you’ve just converted to.


