OneDeck Help Center
How to Add Records to Board
With OneDeck, you can add records to your board to organize information, whether it's customers, leads, projects, or any other units relevant to your work. A record serves as a customizable entry where you can keep everything organized and accessible. This setup makes it easy to manage details, track updates, and collaborate efficiently across your boards.
In this documentation, we’ll walk you through the steps to add a record to board in OneDeck.
Let’s get started 🚀
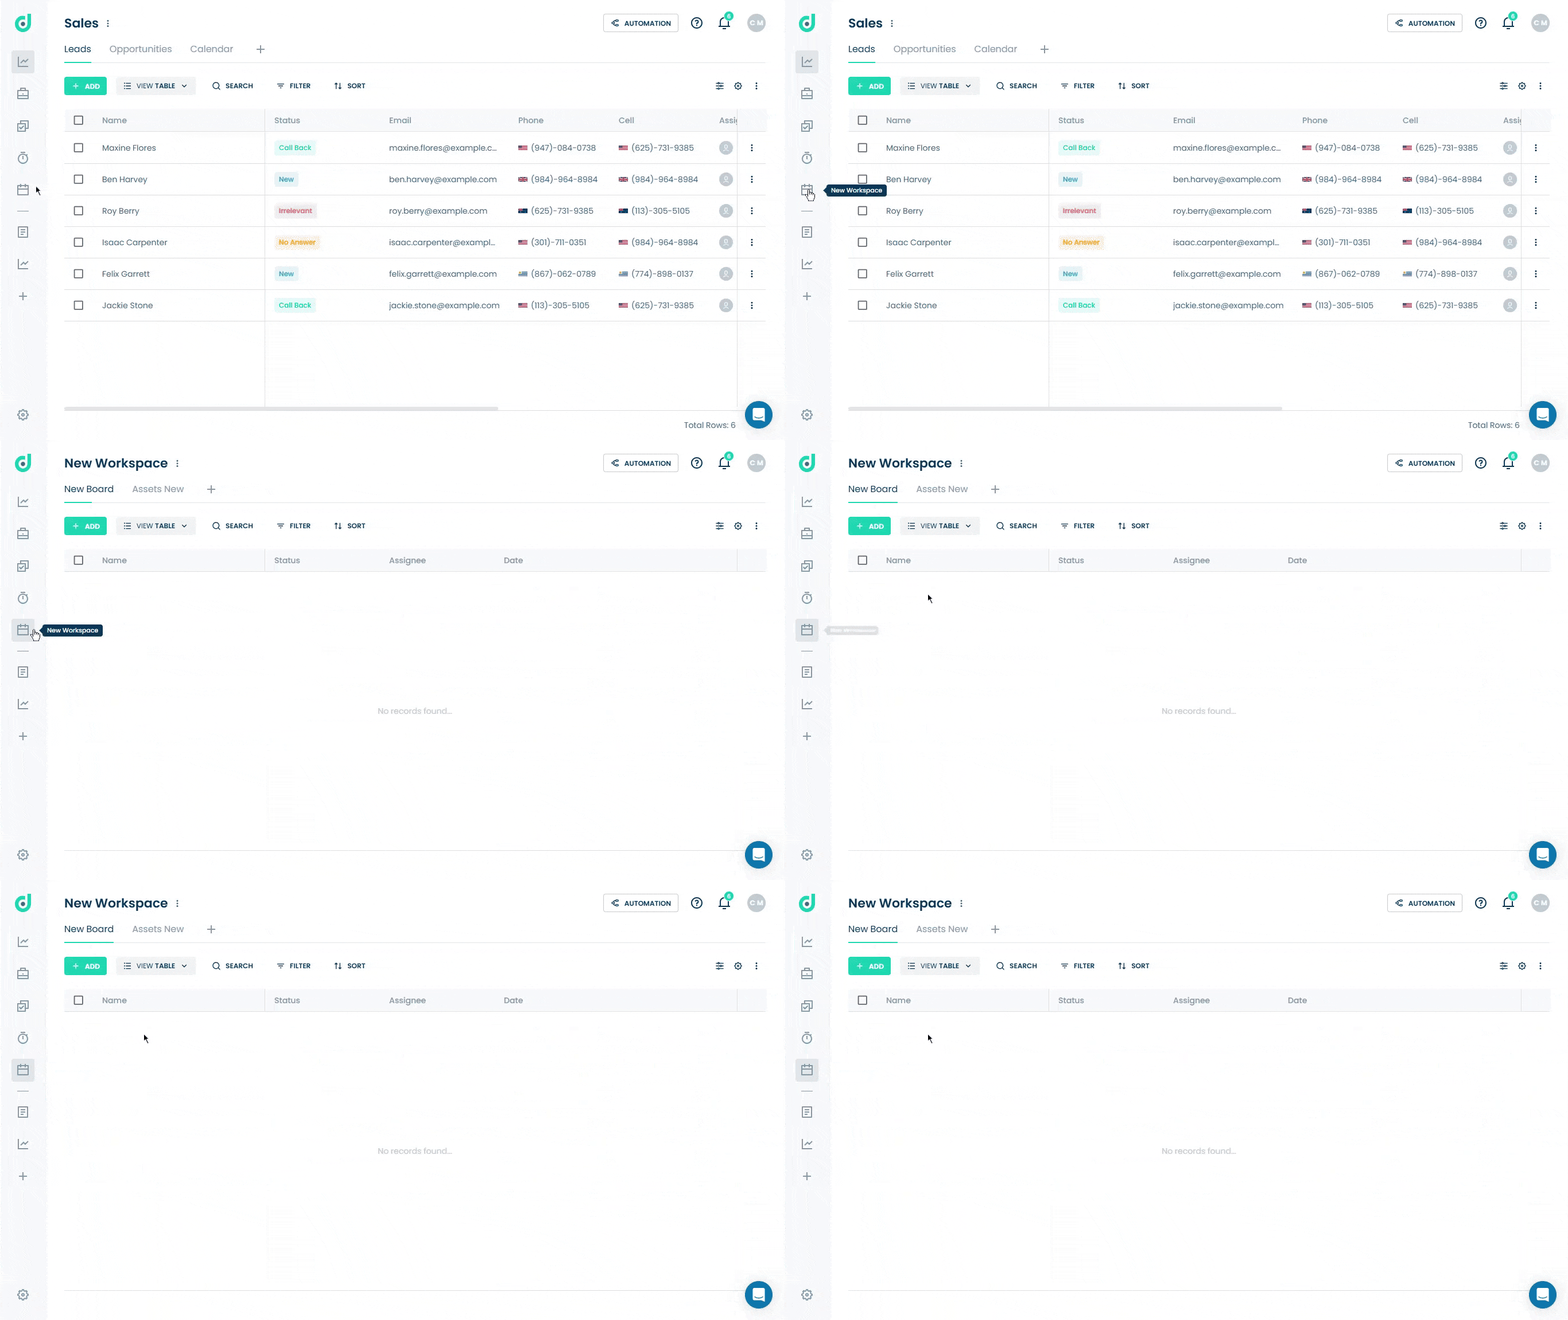
Step 1: Click on the Workspace button from the side navigation menu bar.

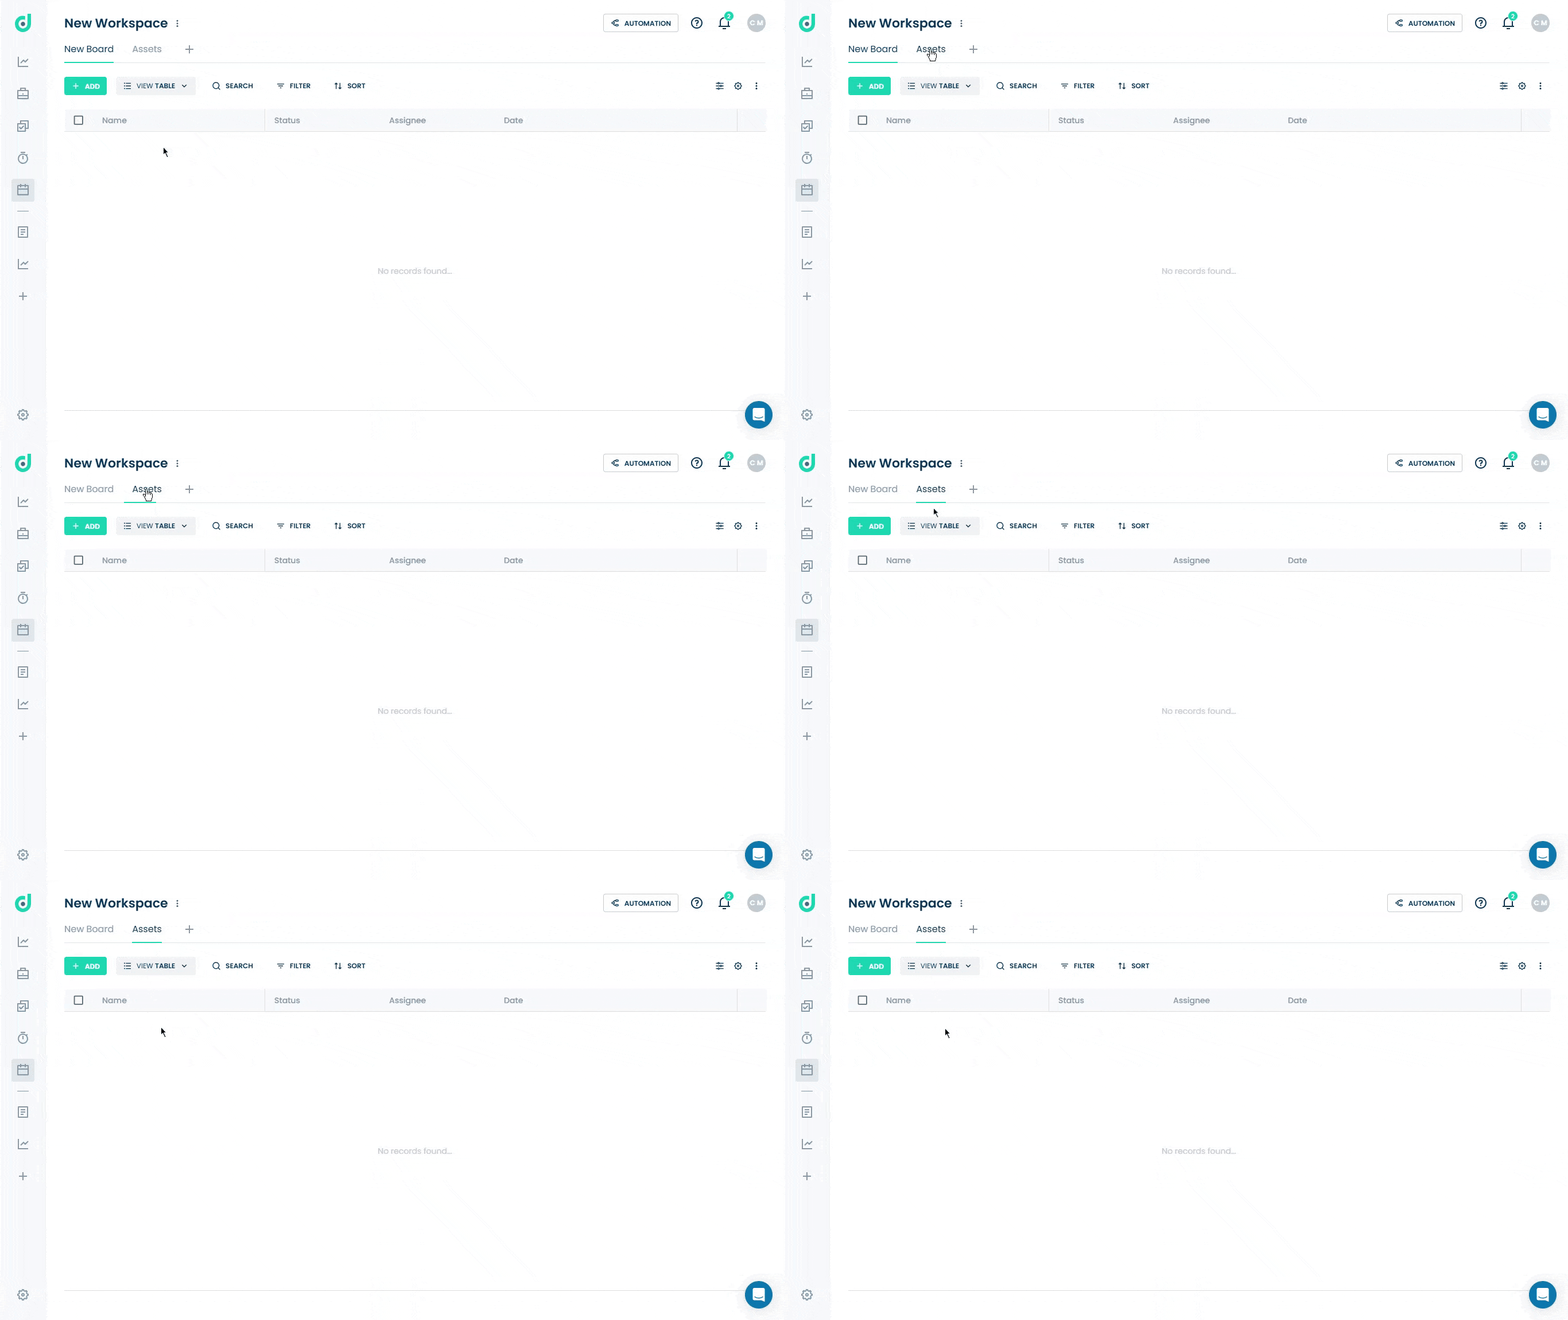
Step 2: Select the board where you want to add a record.

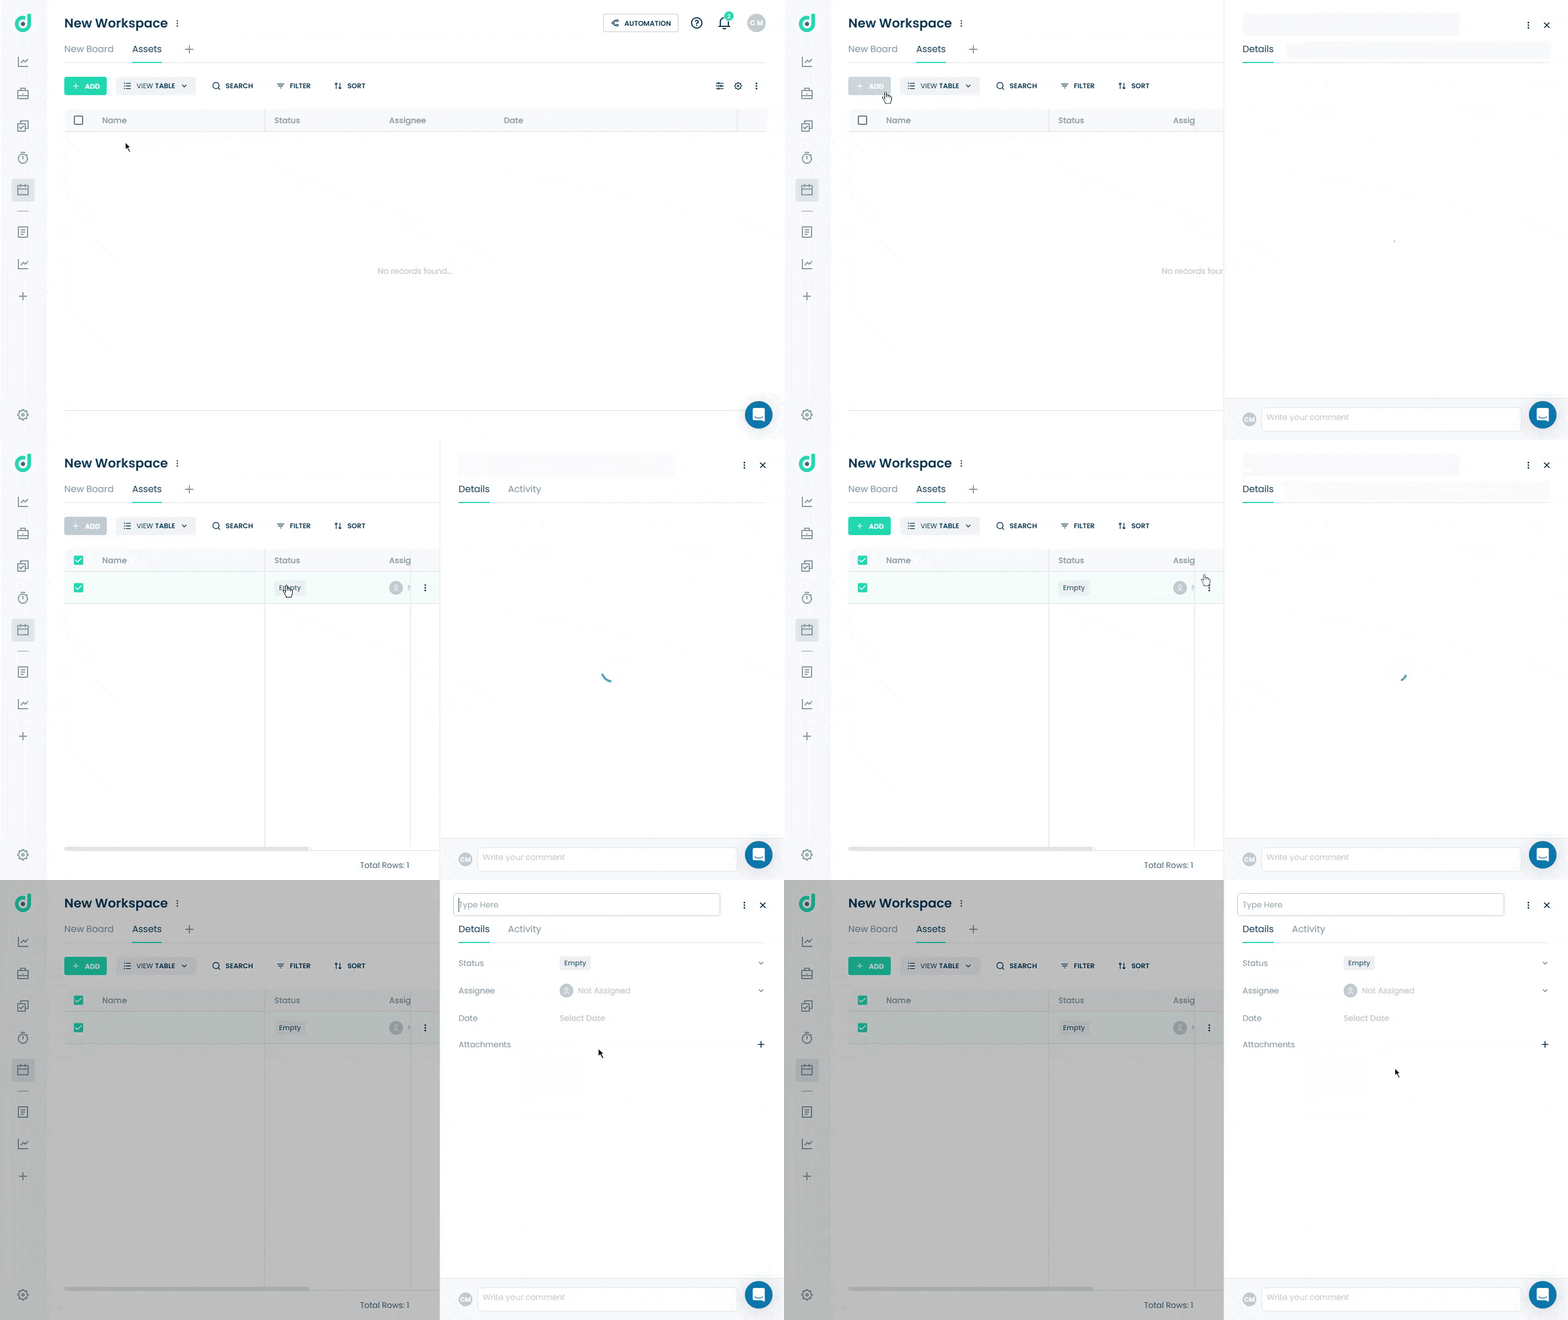
Step 3: Click on the + ADD button from the toolbar on the top.

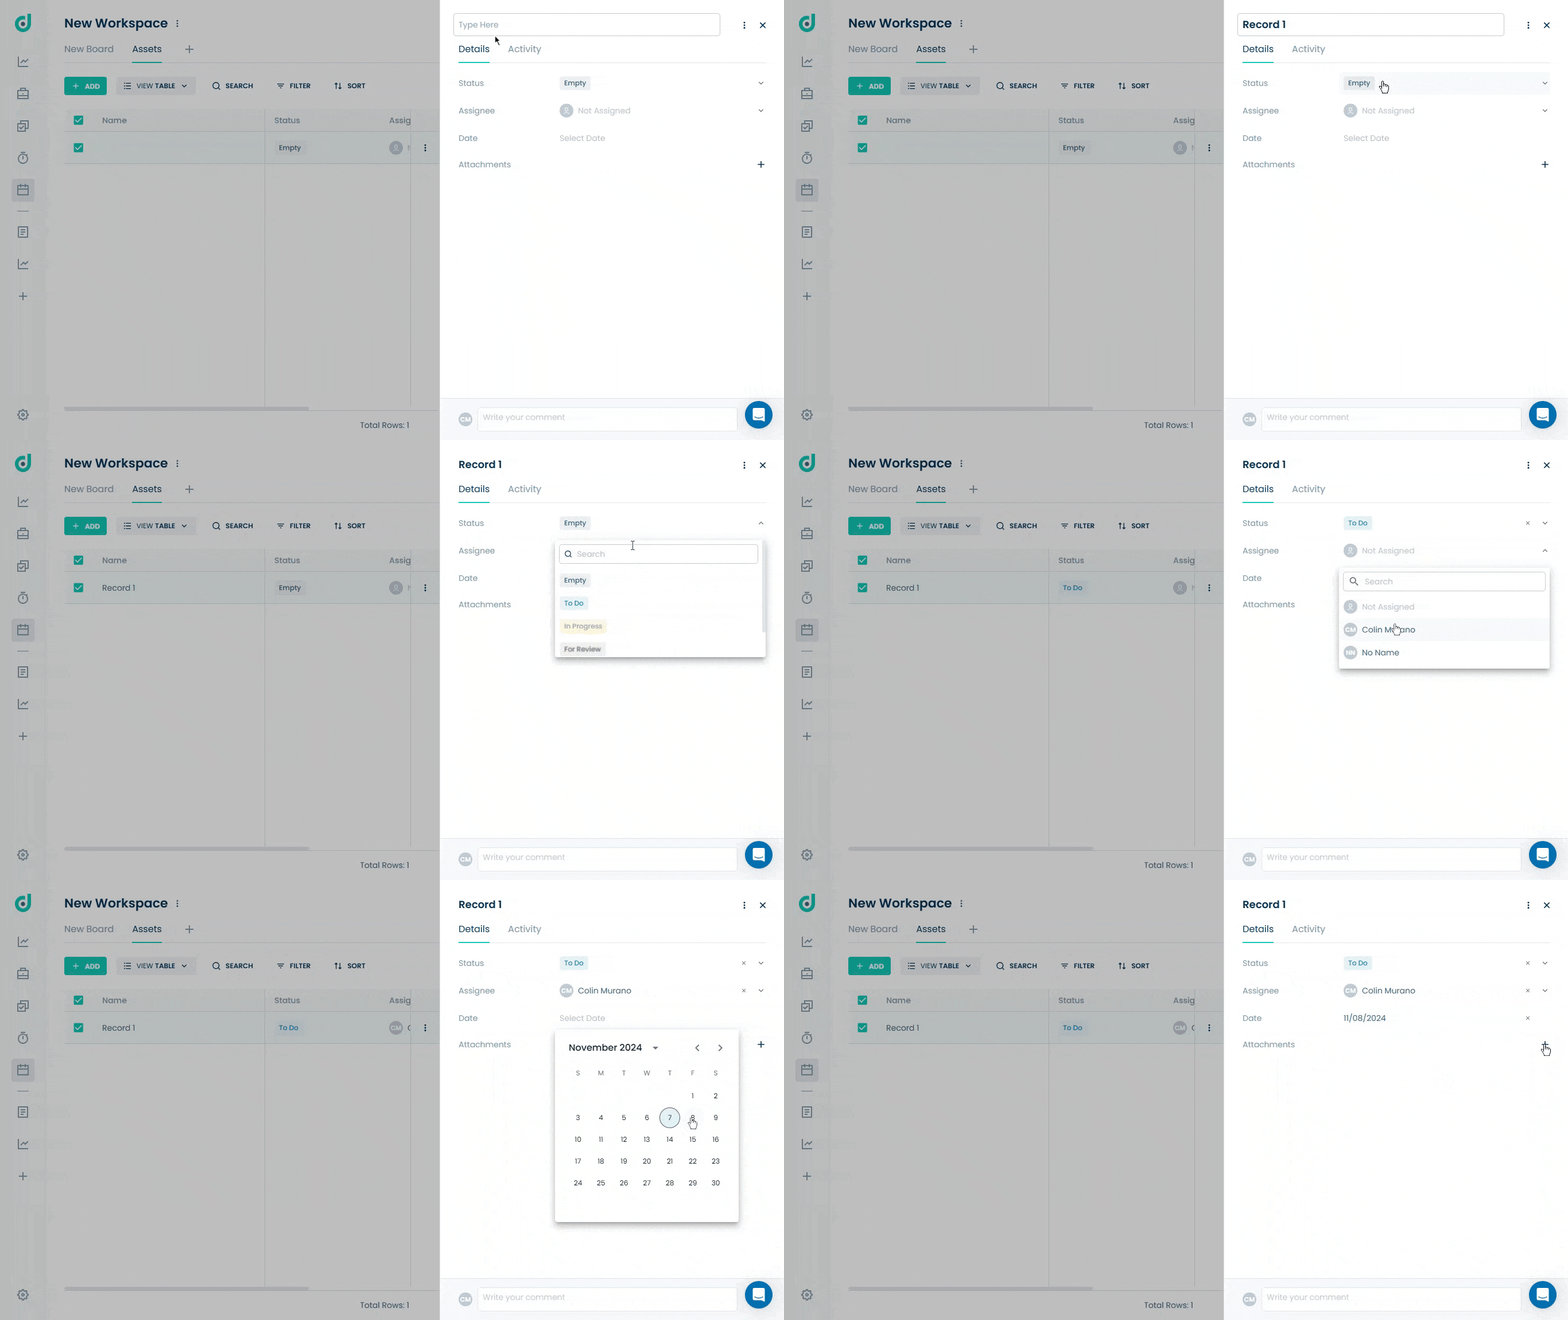
Step 4: A details window will come up, prompting you to enter a name for the record and fill the required information as illustrated in the table below.
| REF. | FIELDS | ACTIONS |
| 1. | Status |
Choose the status of the record from the dropdown list, indicating the task’s progress:
~ To Do |
| 2. | Assignee | Assign the record to a team member, or leave it as "Not Assigned." |
| 3. | Date | Select a due date from the calendar. |
| 4. | Attachments | Click the + icon to upload any relevant files. |
| 5. | Comment | Add notes or updates for the task in the comment box at the bottom. |
Note: When a user adds a new field type to their board, it will change the available customization options, such as Multi-select, Board connection, Phone, Email, etc. For more information on additional fields, refer to this document.

The data is automatically saved as you enter it. There is no need to click save, as changes are saved instantly.


