OneDeck Help Center
Timer Field
With the Timer field, you can track time spent on individual records within your boards. Start and stop the timer with a click to capture time accurately on each record. Ideal for tracking billable hours, this feature simplifies time management across various boards, whether you’re working with customers, opportunities, or other categories.
In this documentation, we’ll walk you through the steps on how to:
- Add Timer Field
- Use Timer Field
Let’s get started 🚀
Add Timer Field
Step 1: Click on the Workspace button from the side navigation menu bar.
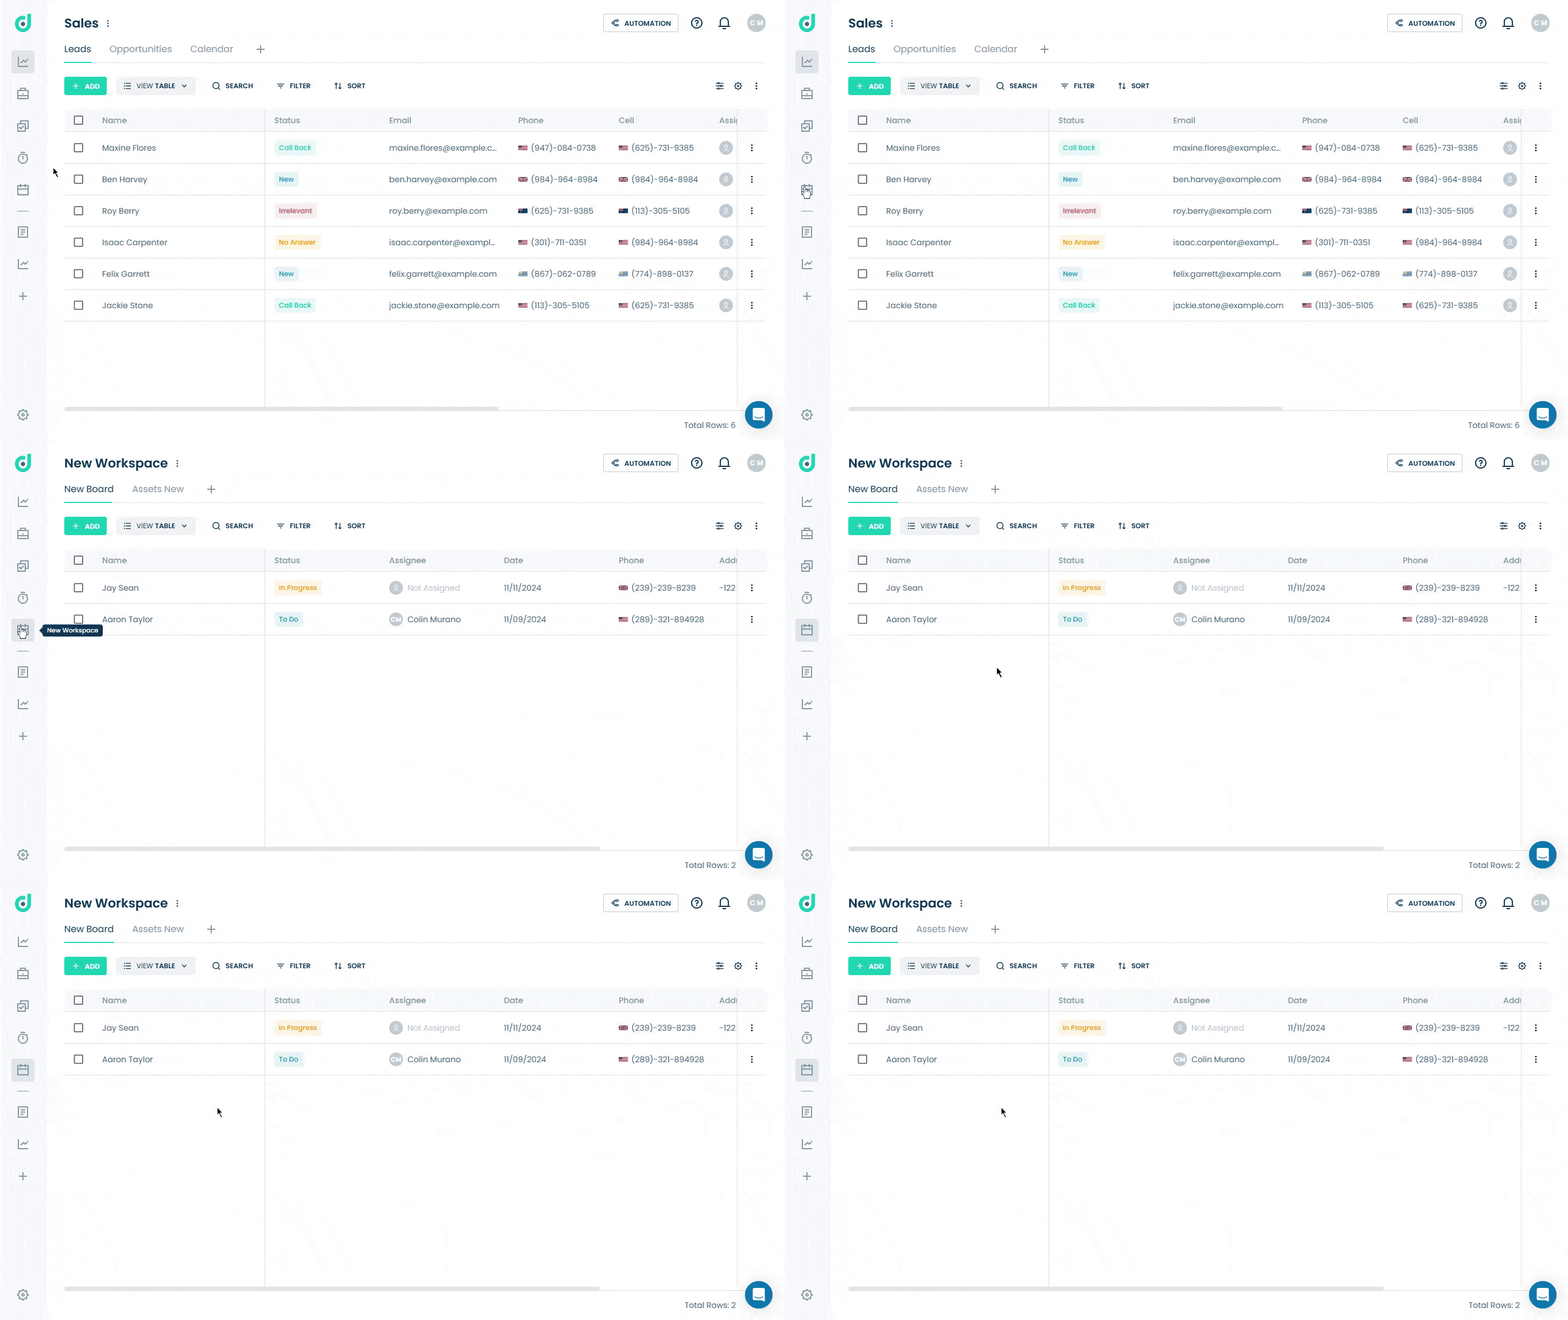
Step 2: Select the board where you want to add the timer field.
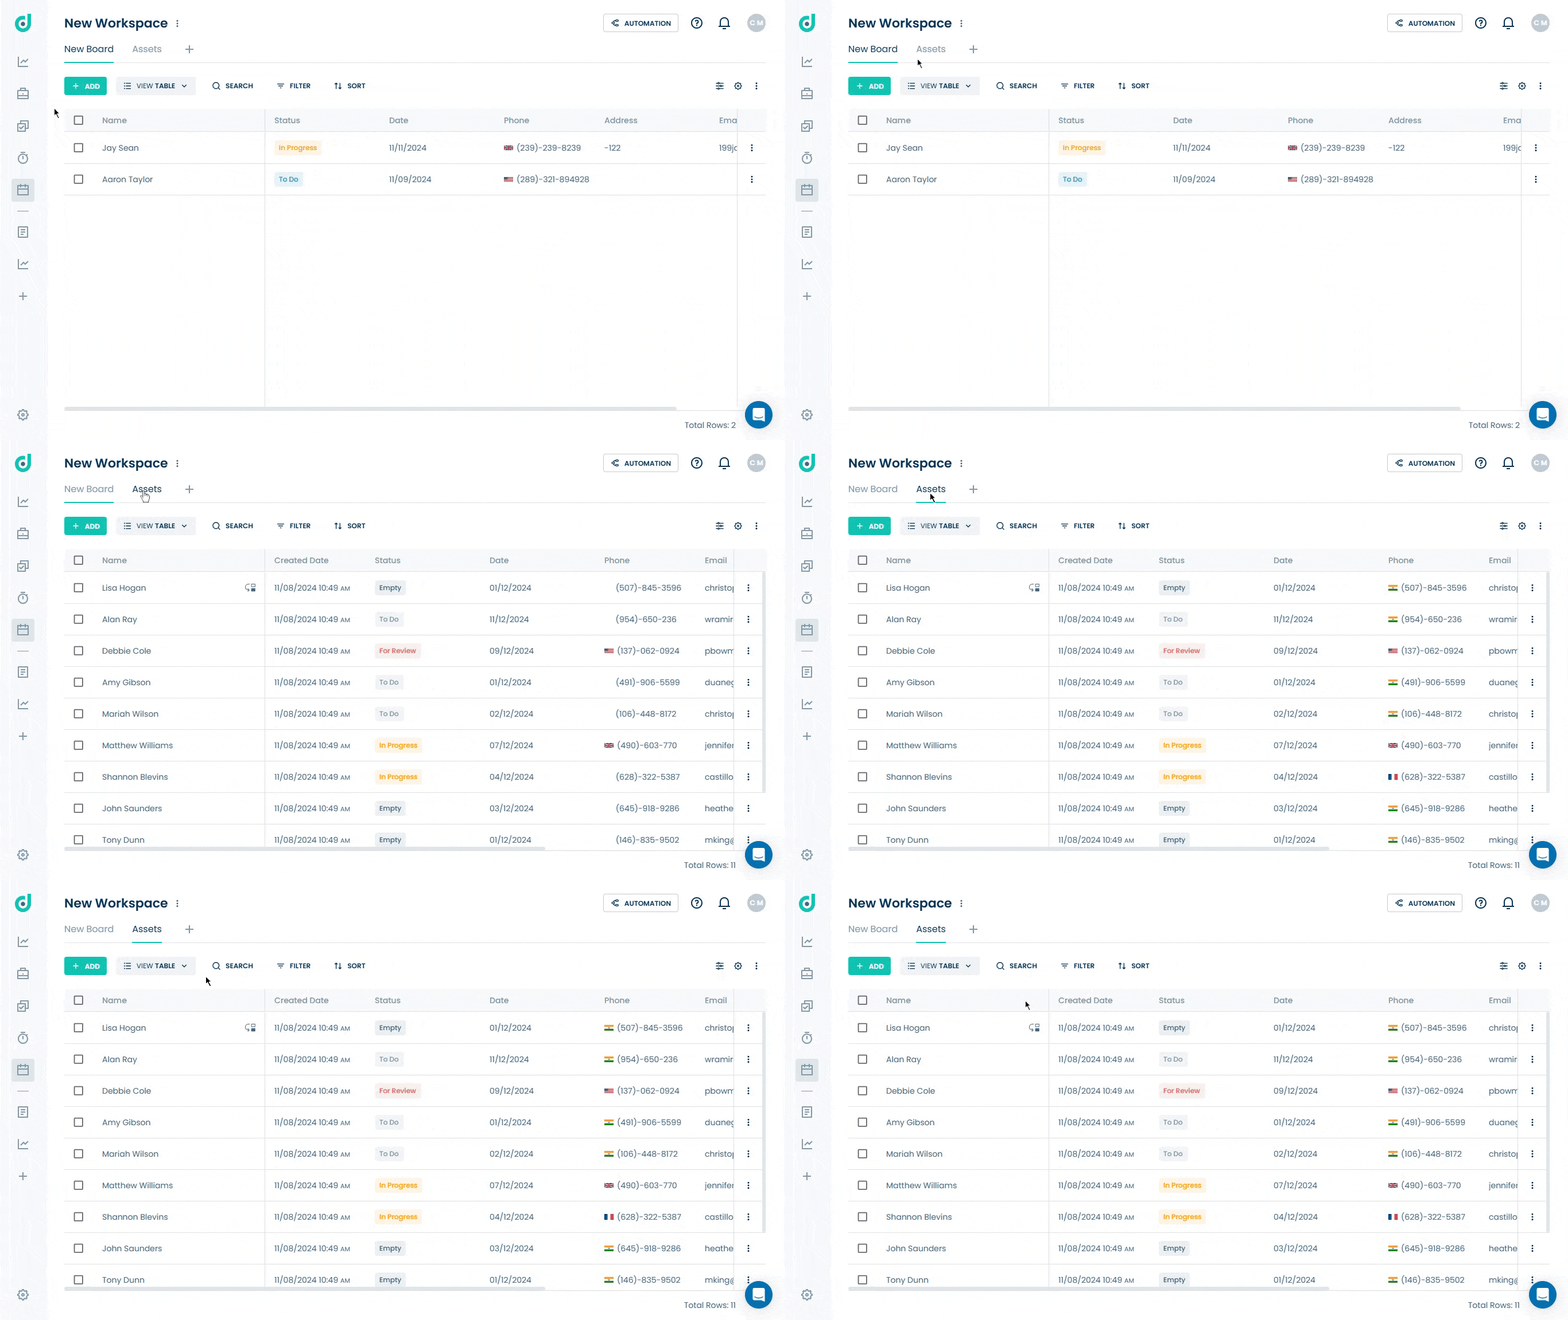
Step 3: Click on the Setting icon from the right side of the interface.
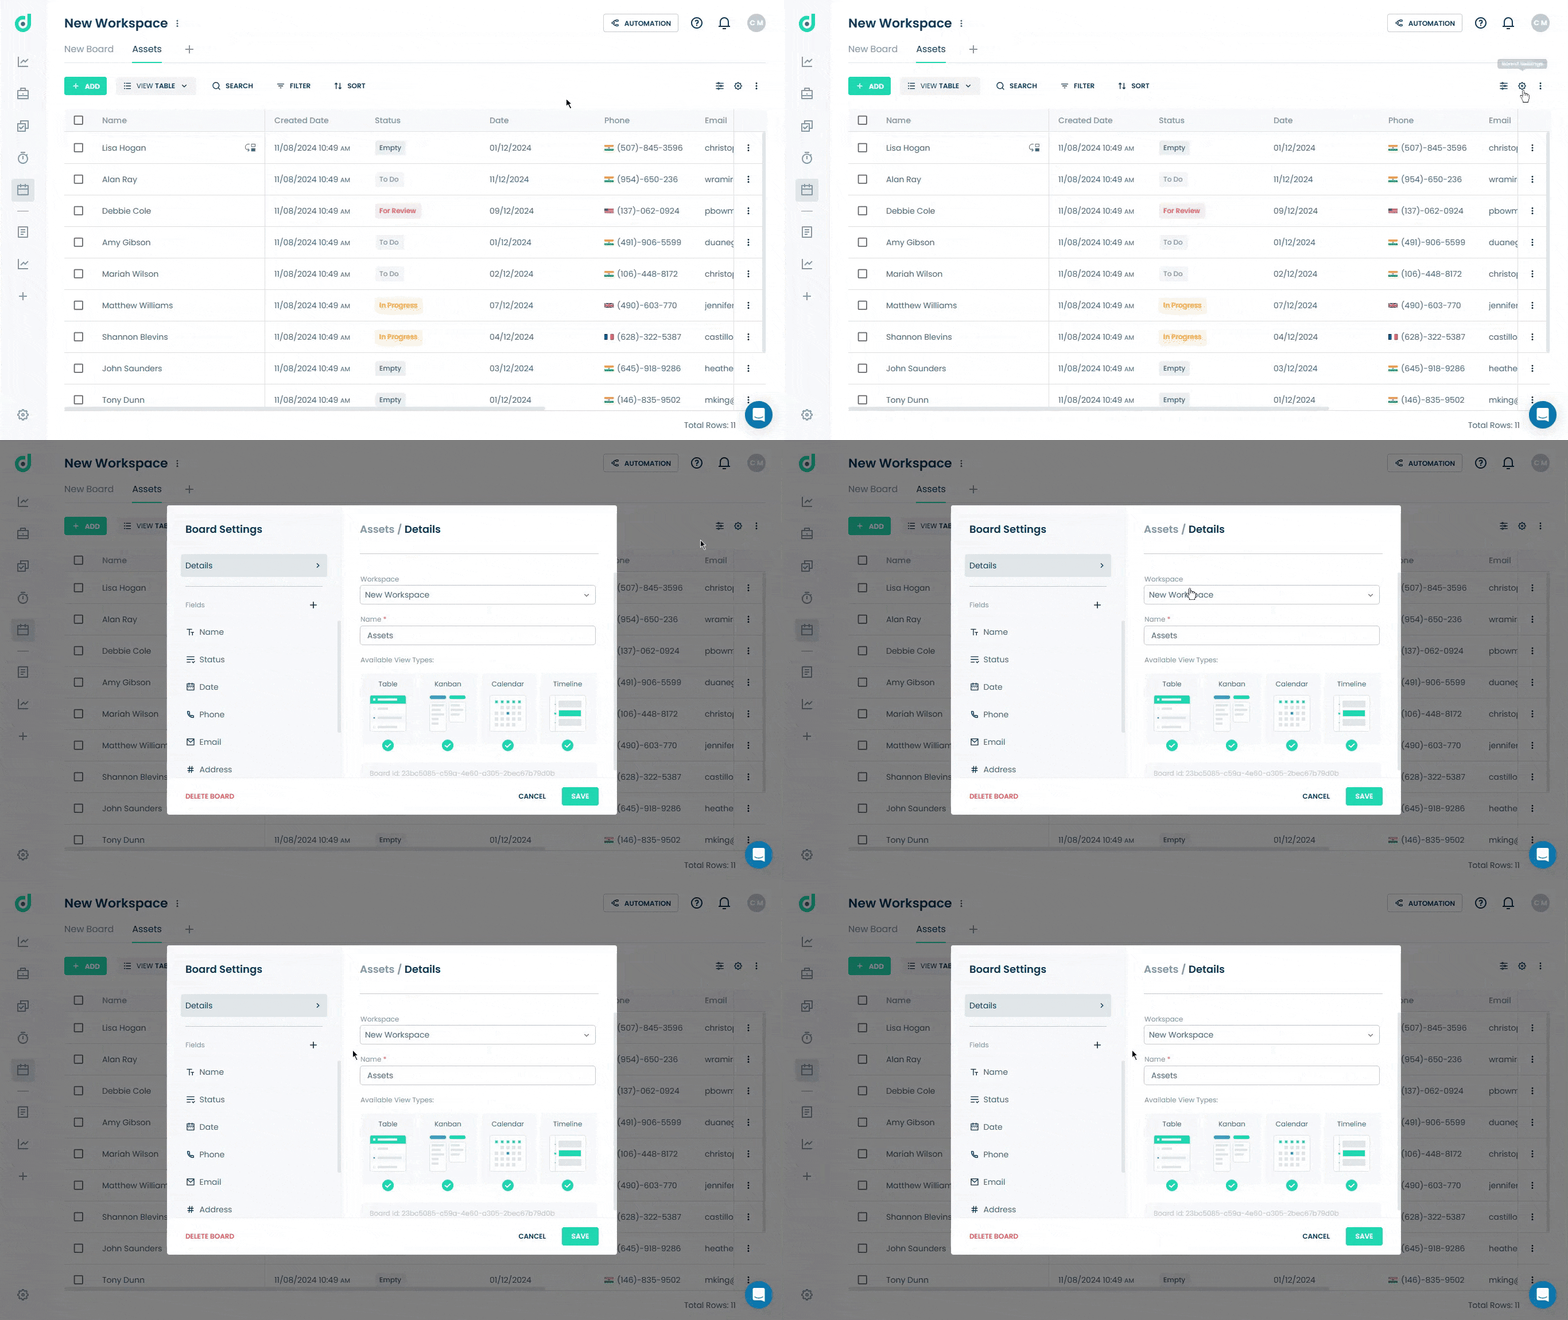
Step 4: Click on the “+” button from the field section.
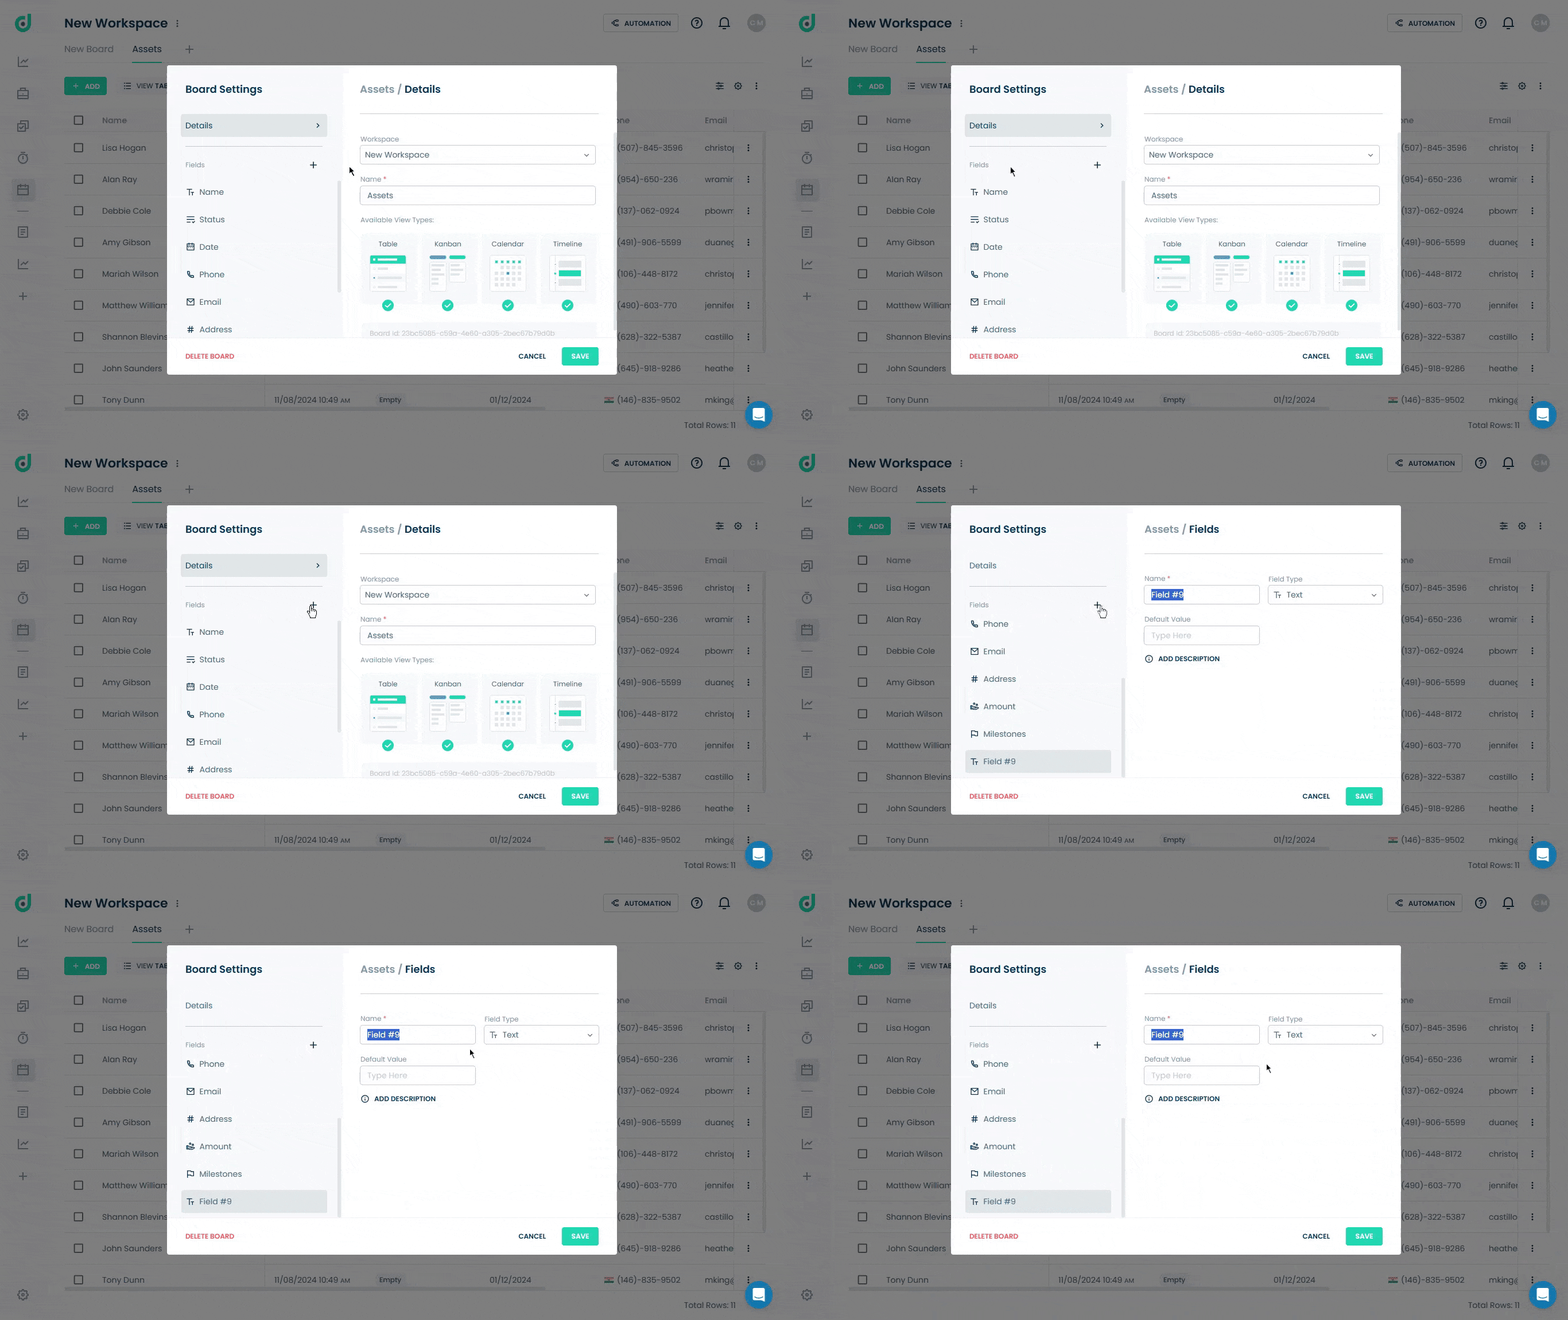
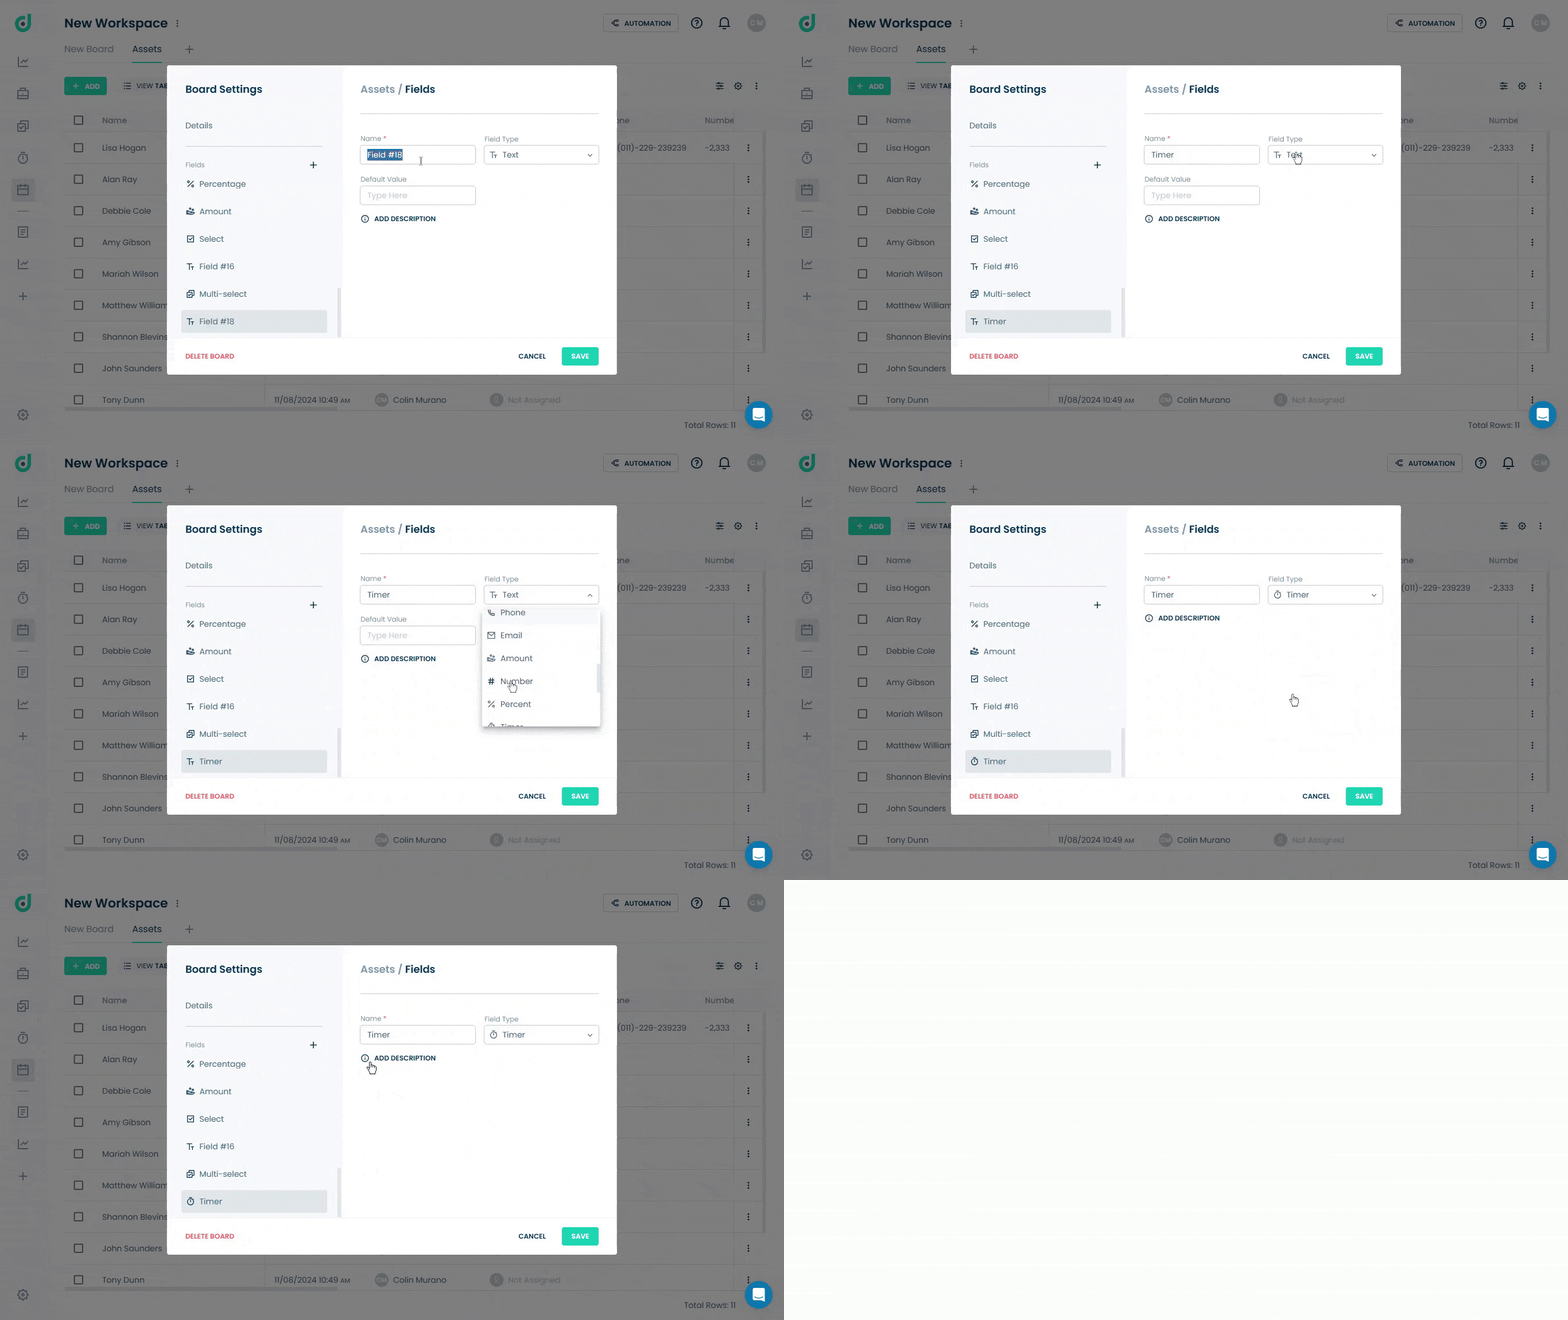
Step 5: Enter the field name and select the “Timer” field type. Add a description (optional) to provide context for the timer.
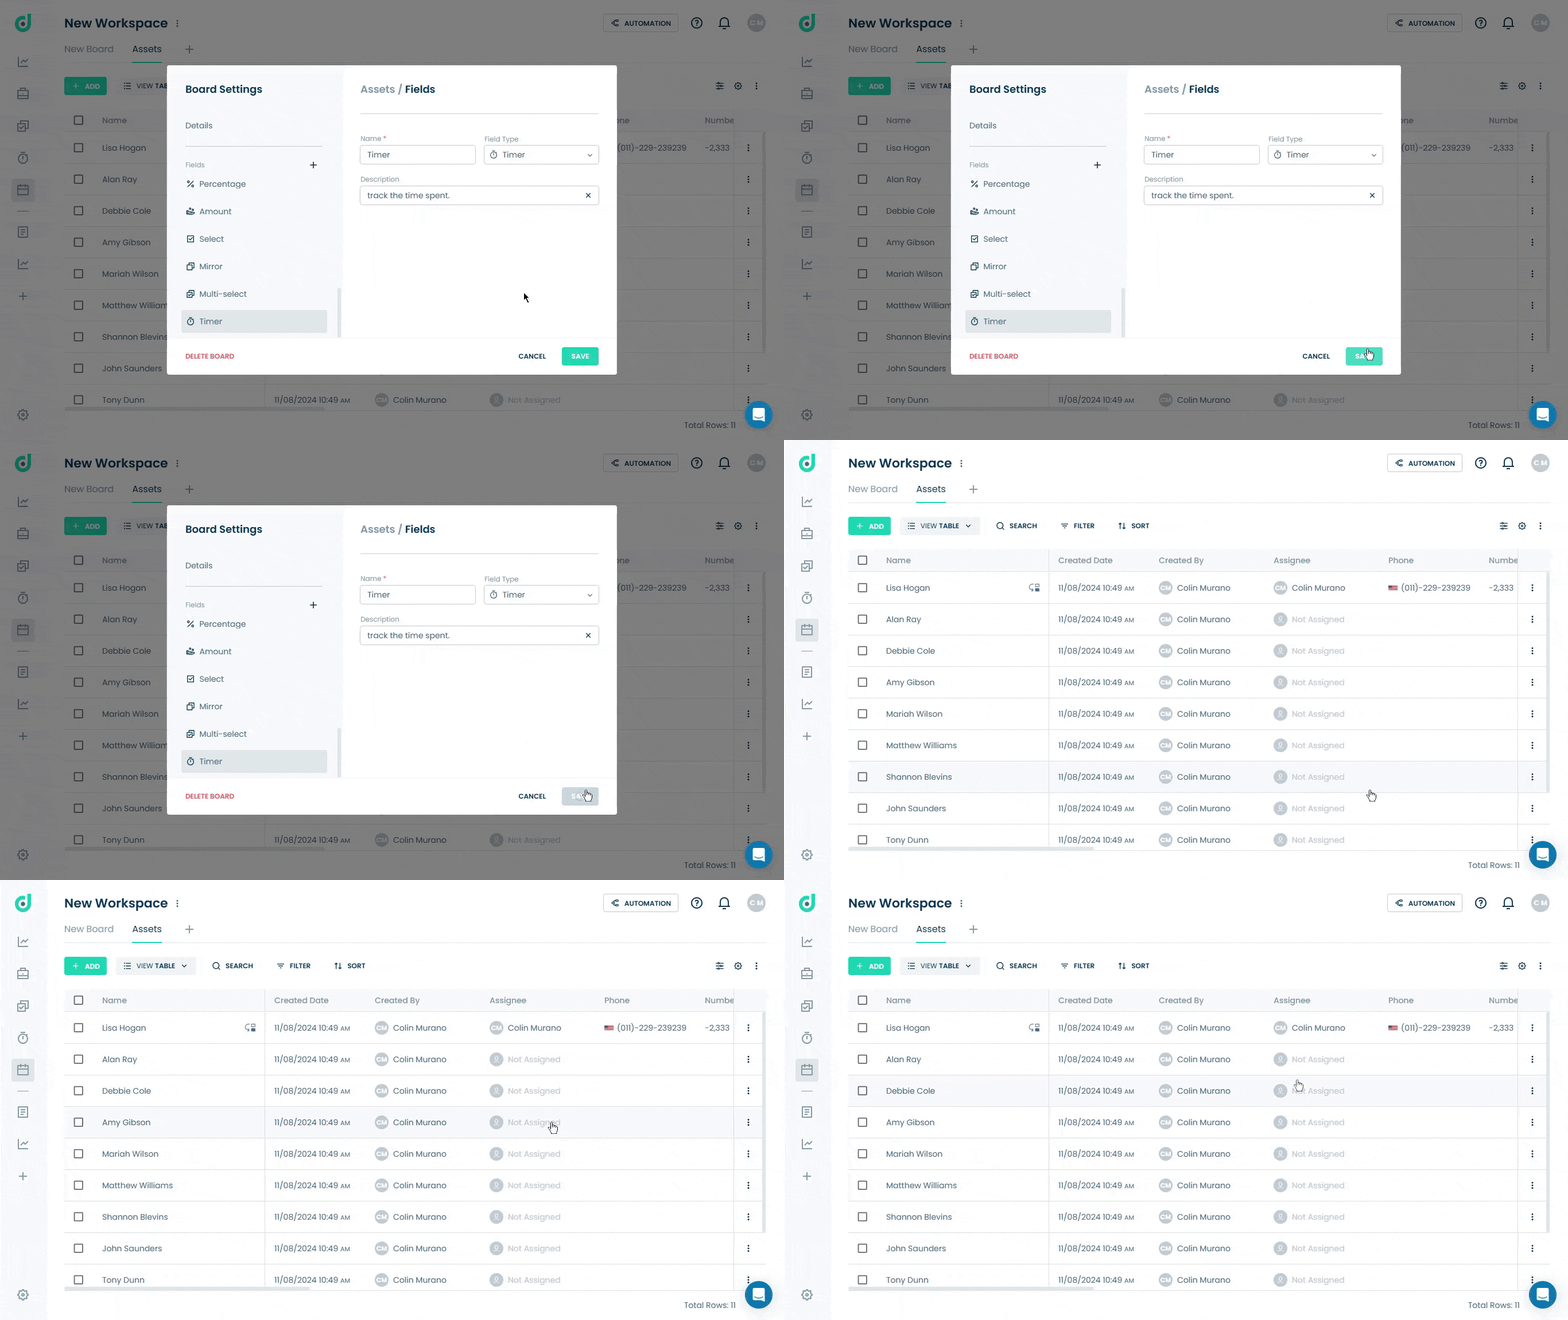
Step 6: Click on the SAVE button.
Use Timer Field
Once you have added the Timer field type, you can track and manage time spent on individual records within boards effectively.
Note: To use the timer option, you need to change the subscription plan from free to basic or pro. For more information, refer to the documentation - “How to Manage Subscription”.
Step 1: Click on the Record you want to set a timer to.
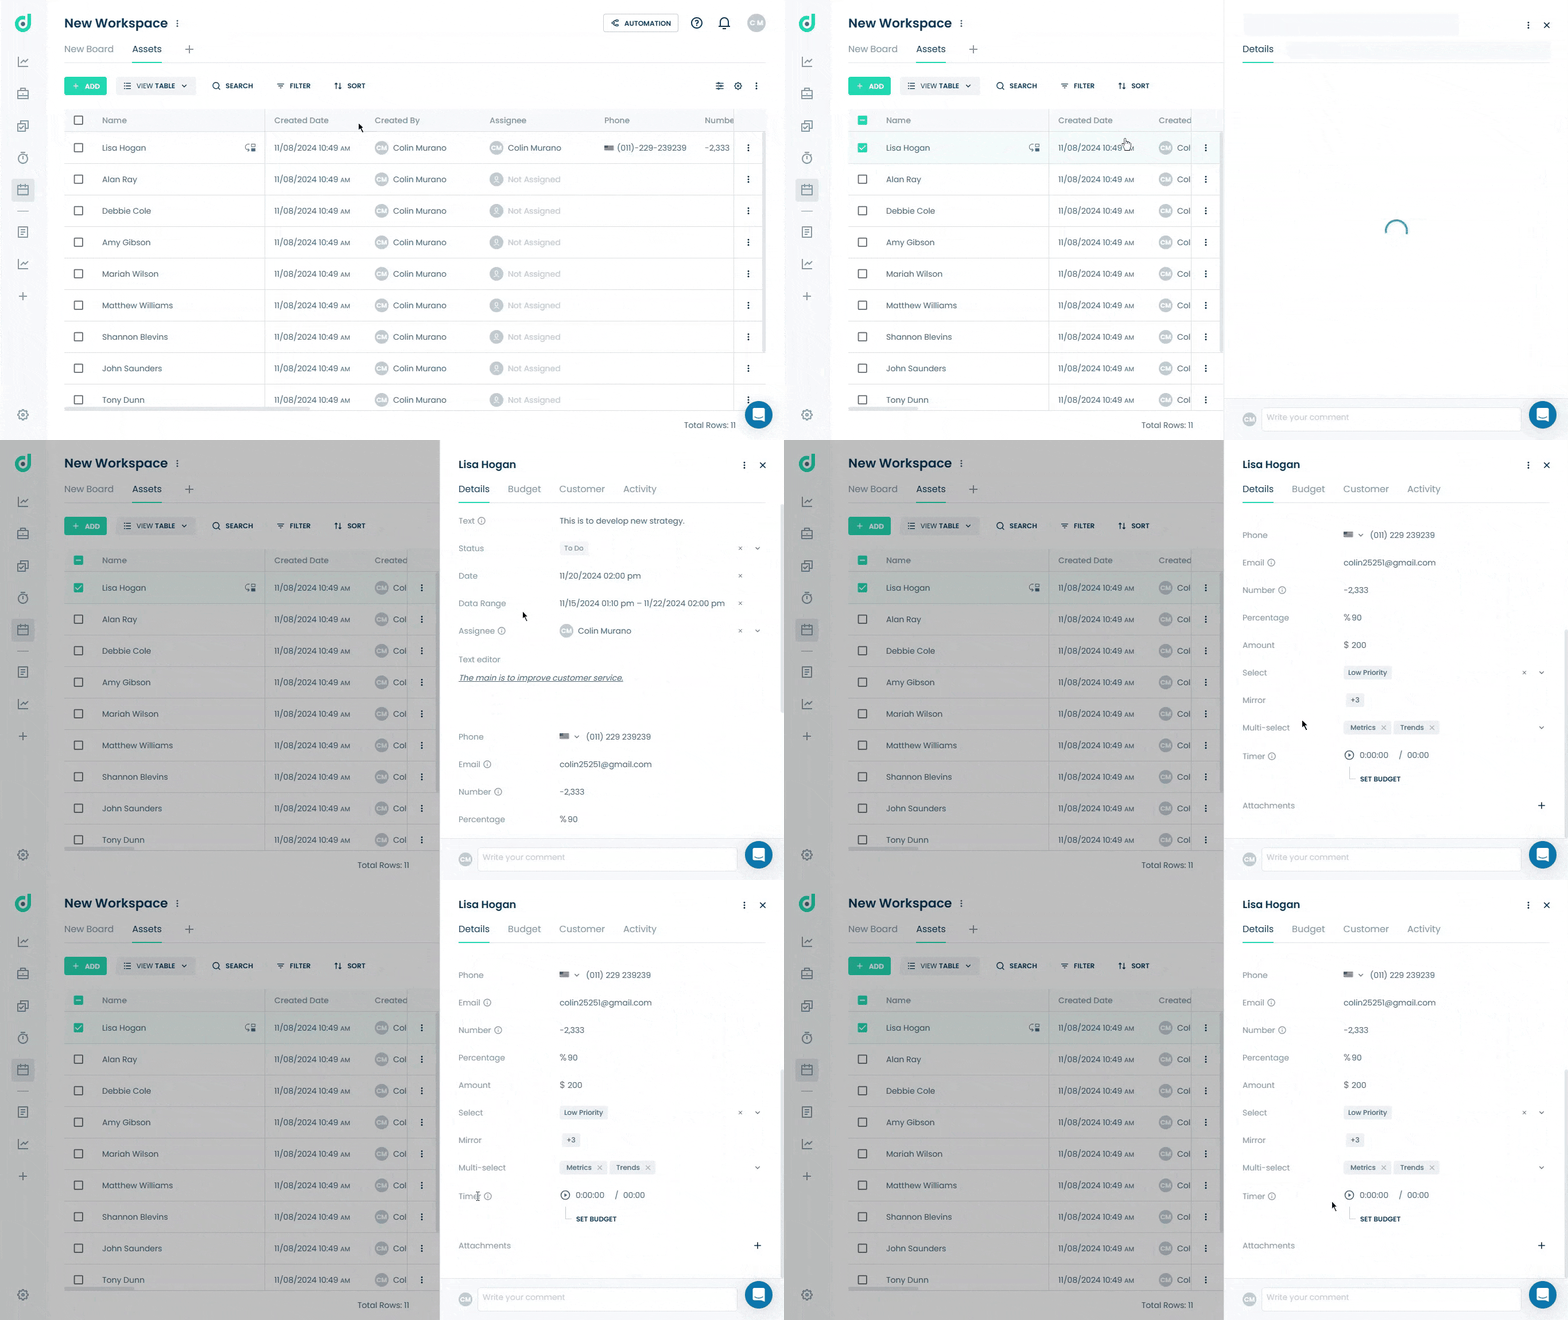
Step 2: In the record details and click the Timer option to start the timer.
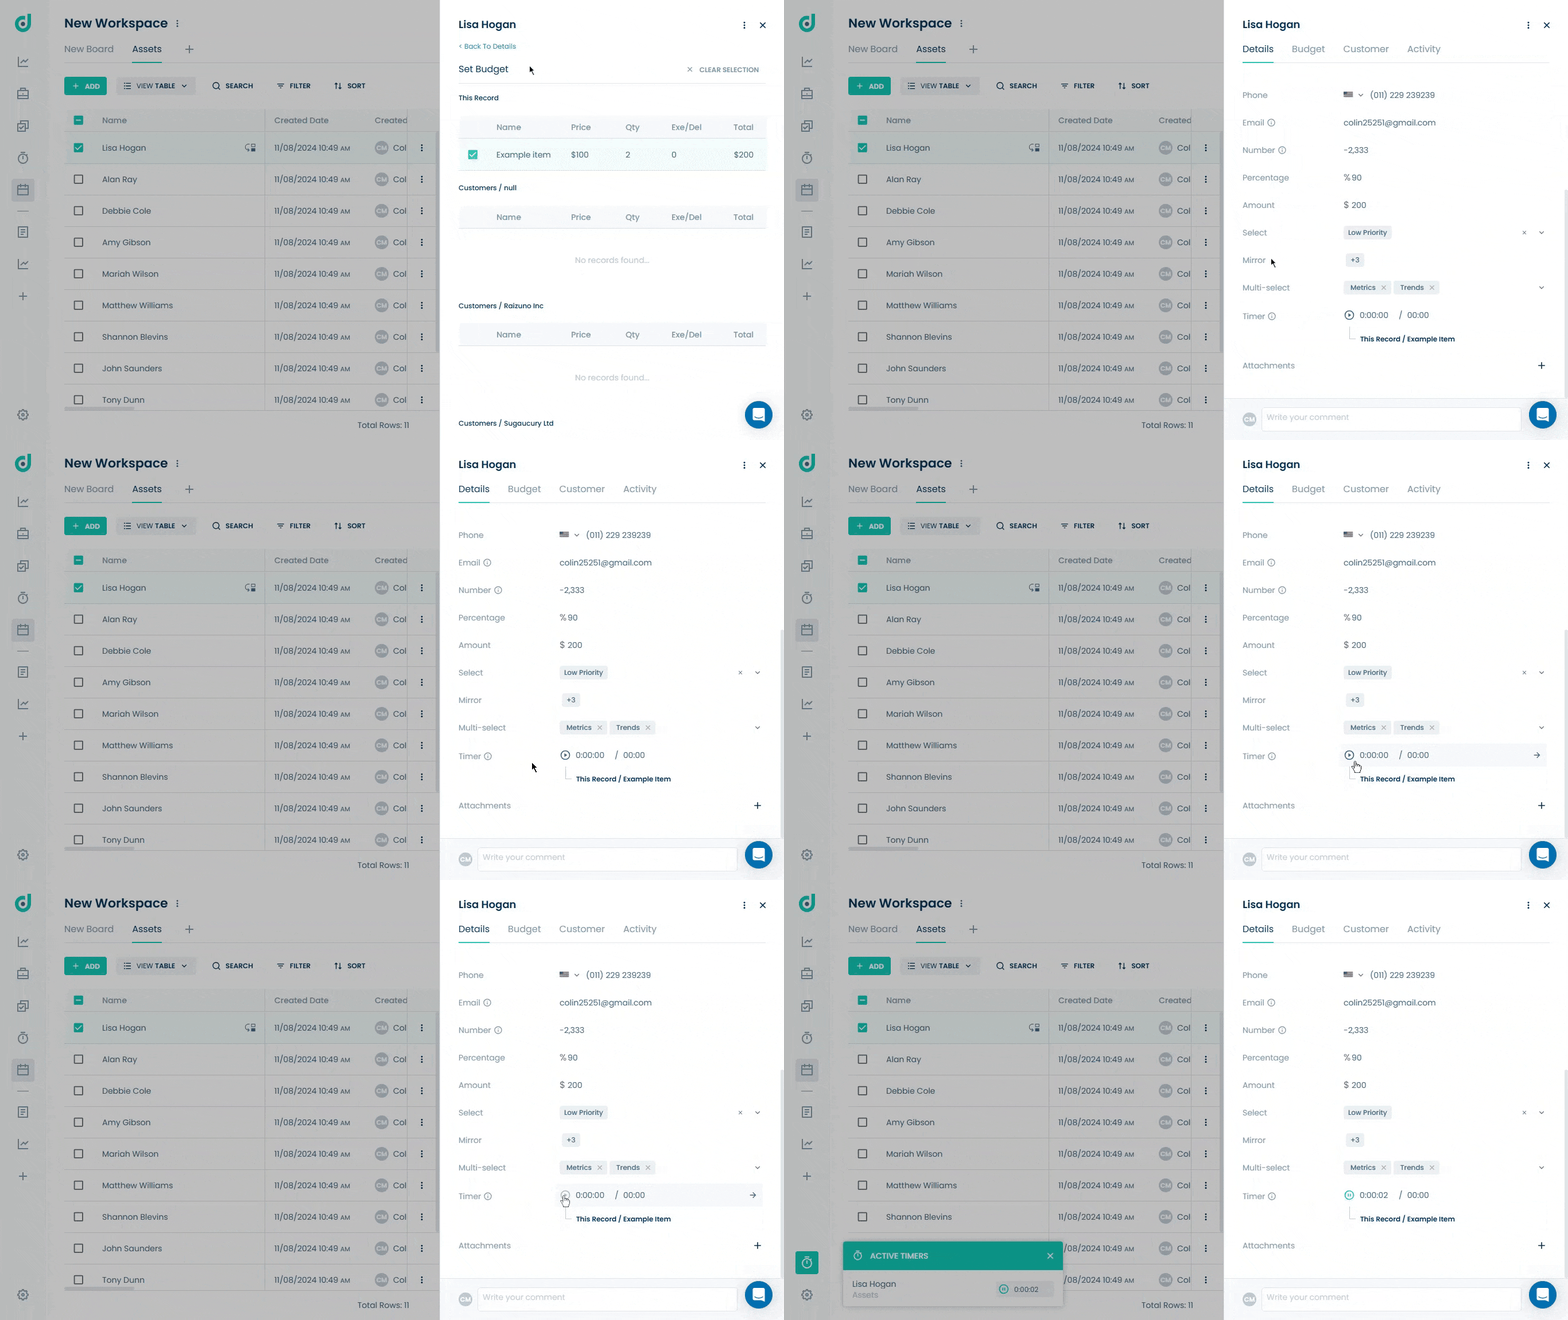
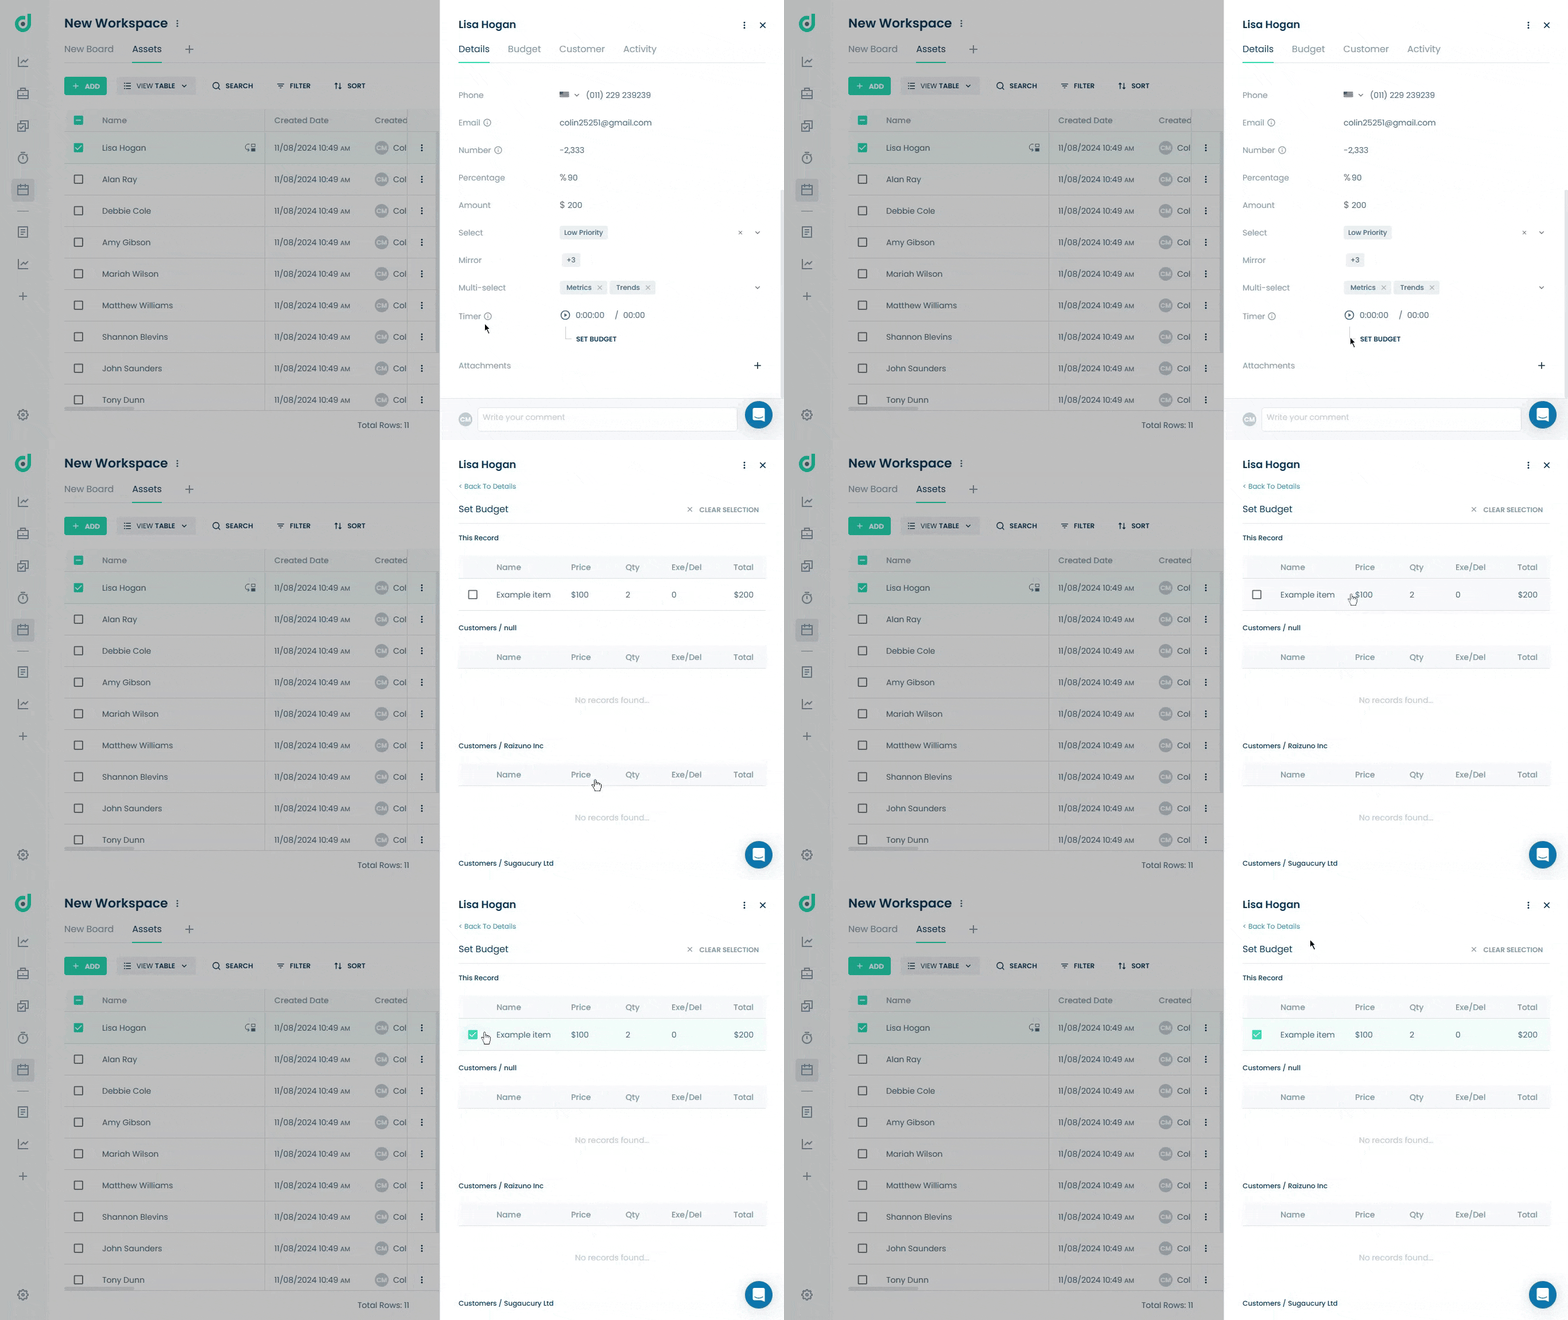
Optionally, you can click on the Set Budget to assign a budget for the timer on the record.
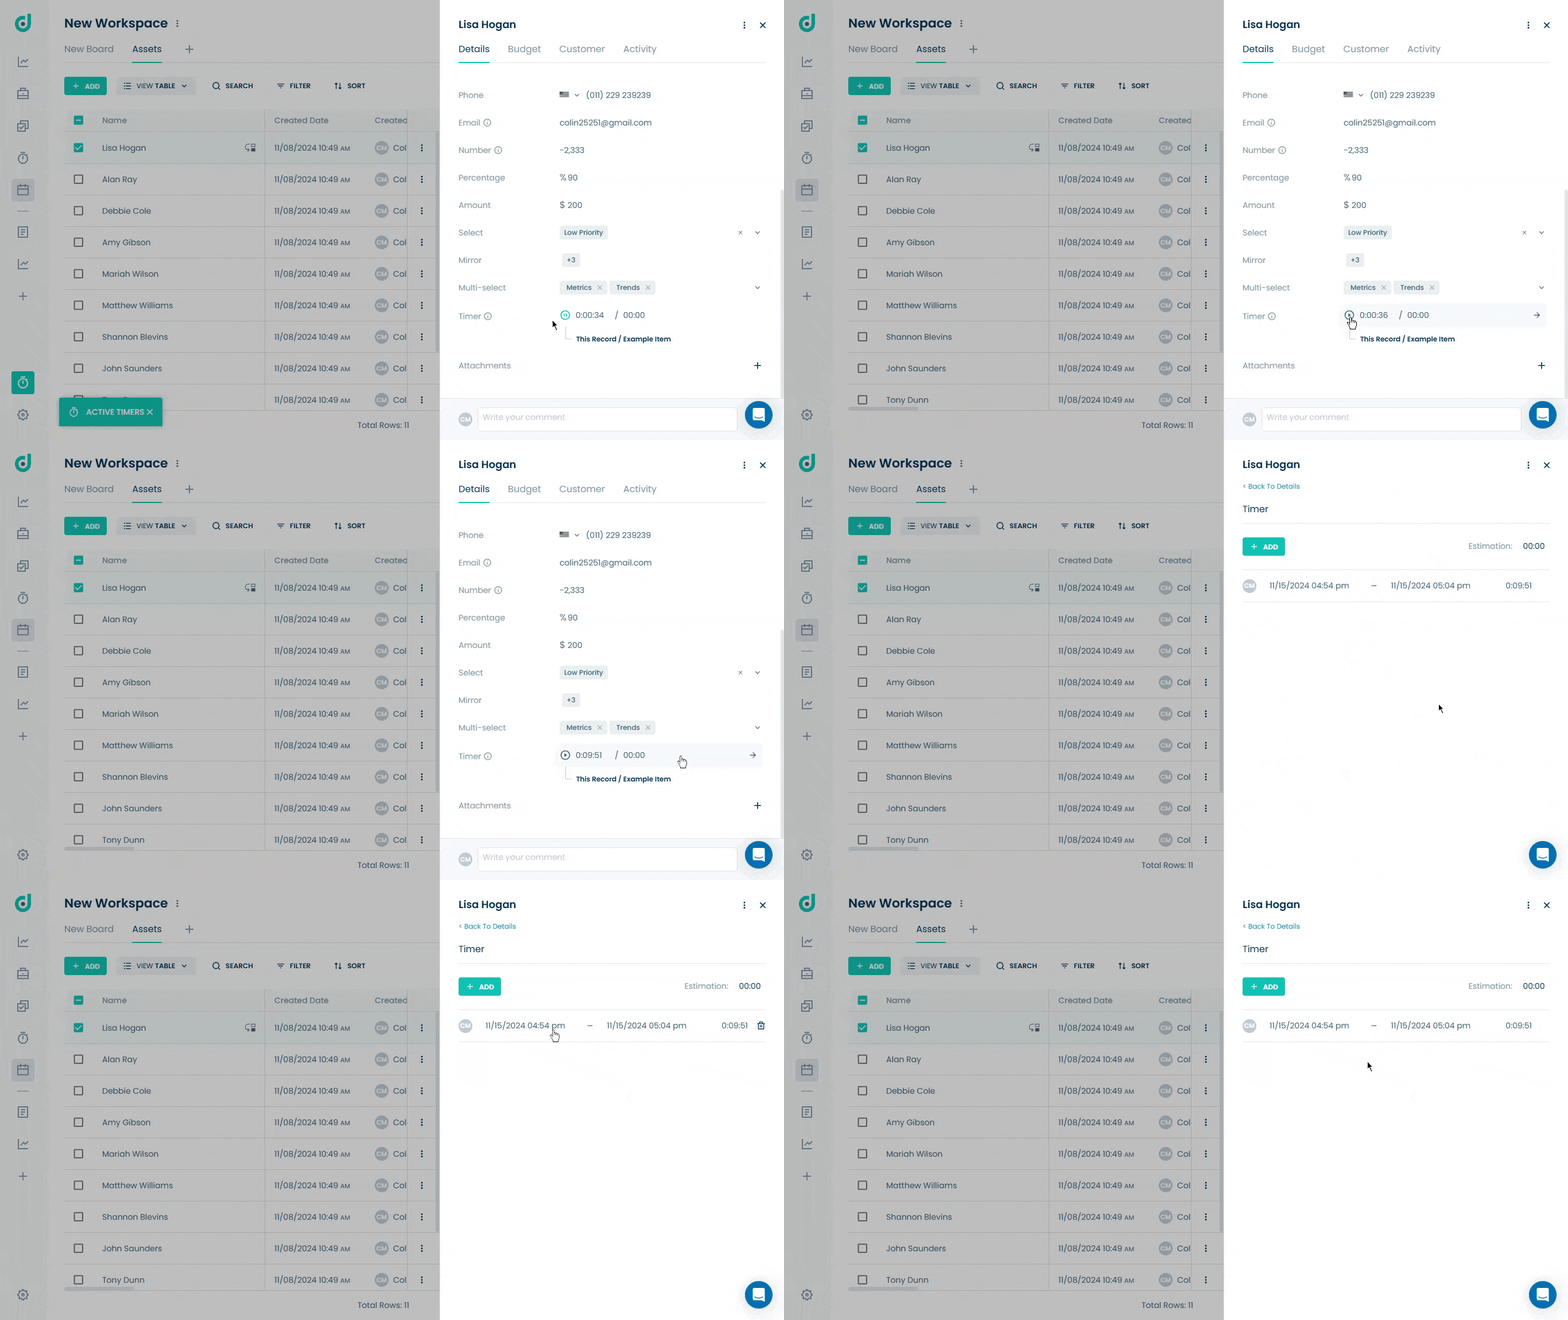
Once the timer is running, you can pause it or view its recorded details.
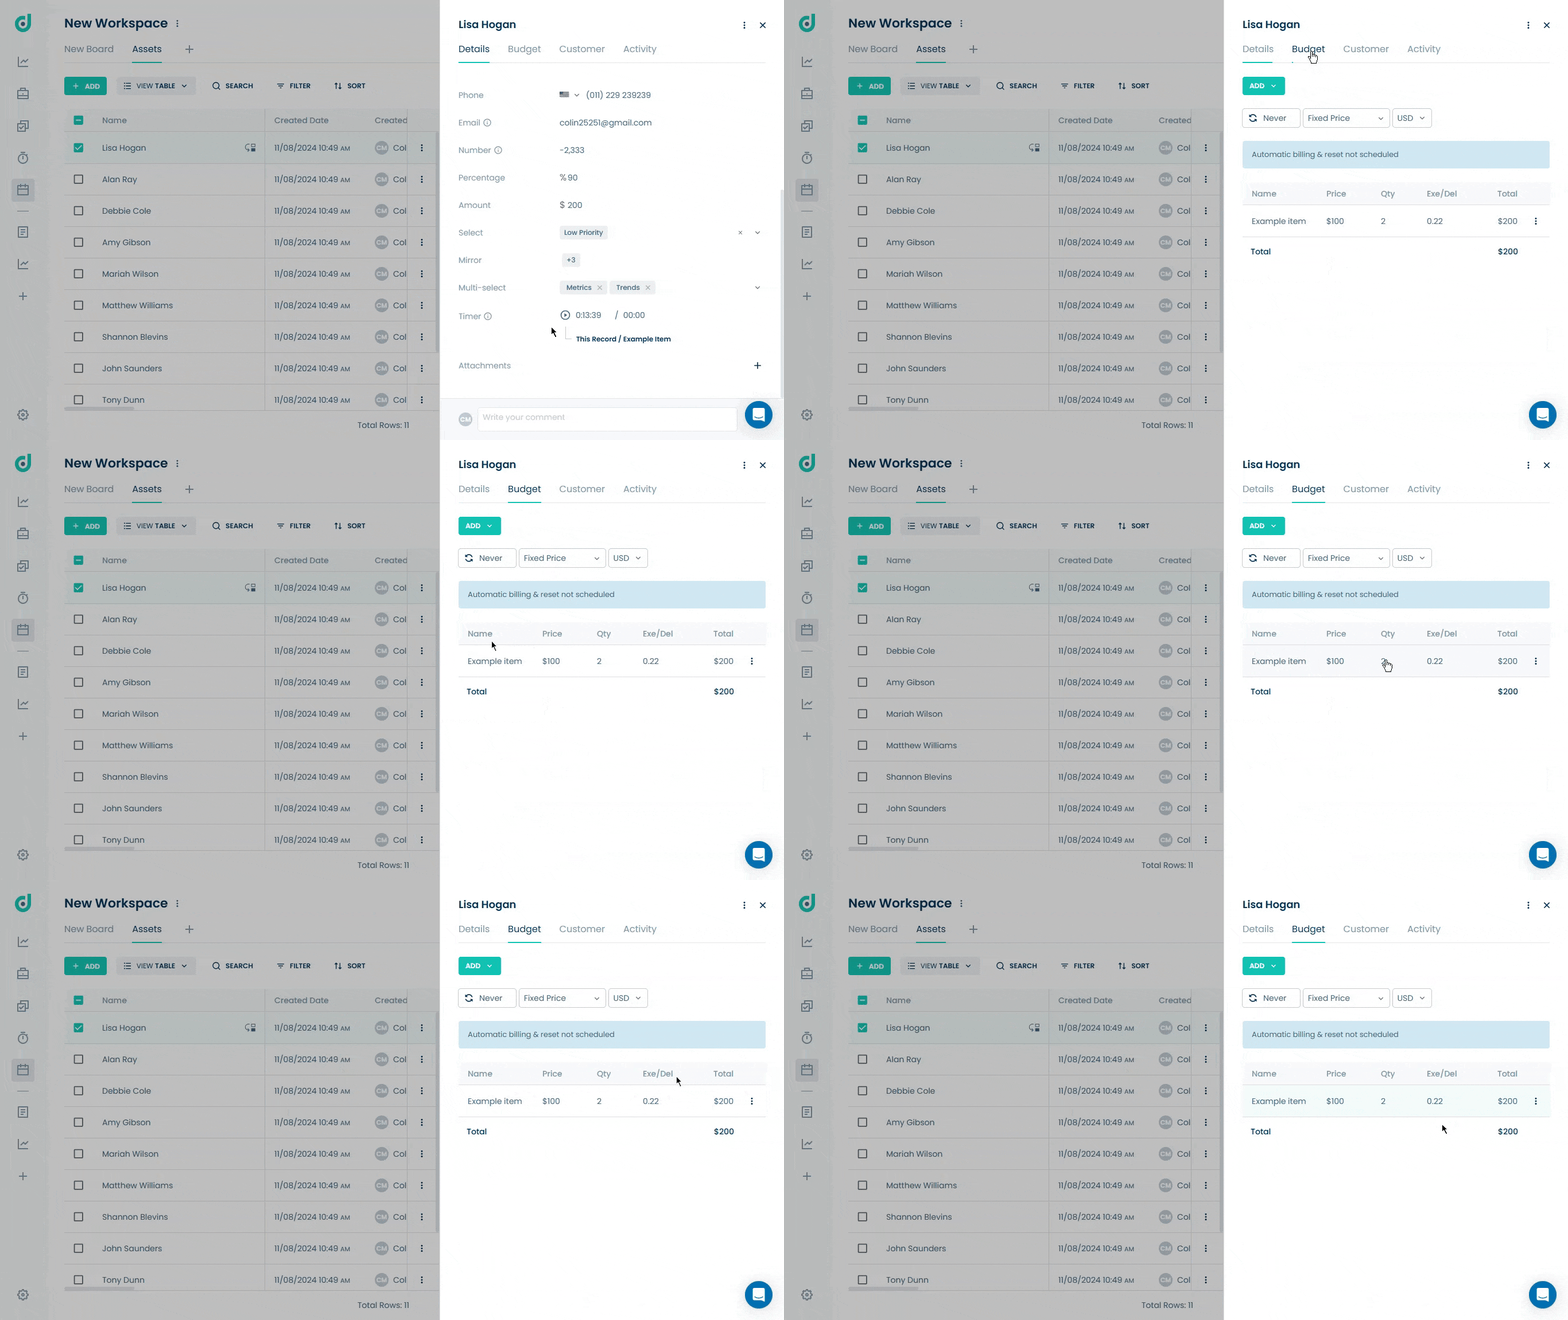
To view the timer for this record, navigate to the Budget tab. If a budget has been set for the timer, you can check the Exe/Del field for details.
Note: You can also set the budget to a connected record in different board and then you will see it in the connected record's budget. For more information, refer to the Budget document.
