OneDeck Help Center
Documents Field
With the Documents Builder feature, you can quickly add and utilize a Documents Field to create and publish custom documents such as quotes, invoices, work orders, and receipts. Leverage custom templates to streamline the document creation process, ensuring professional results that reflect your brand.
In this documentation, we’ll walk you through the steps on how to:
- Add Documents Field
- Use Documents Field
Let’s get started 🚀
Add Documents Field
Step 1: Click on the Workspace button from the side navigation menu bar.
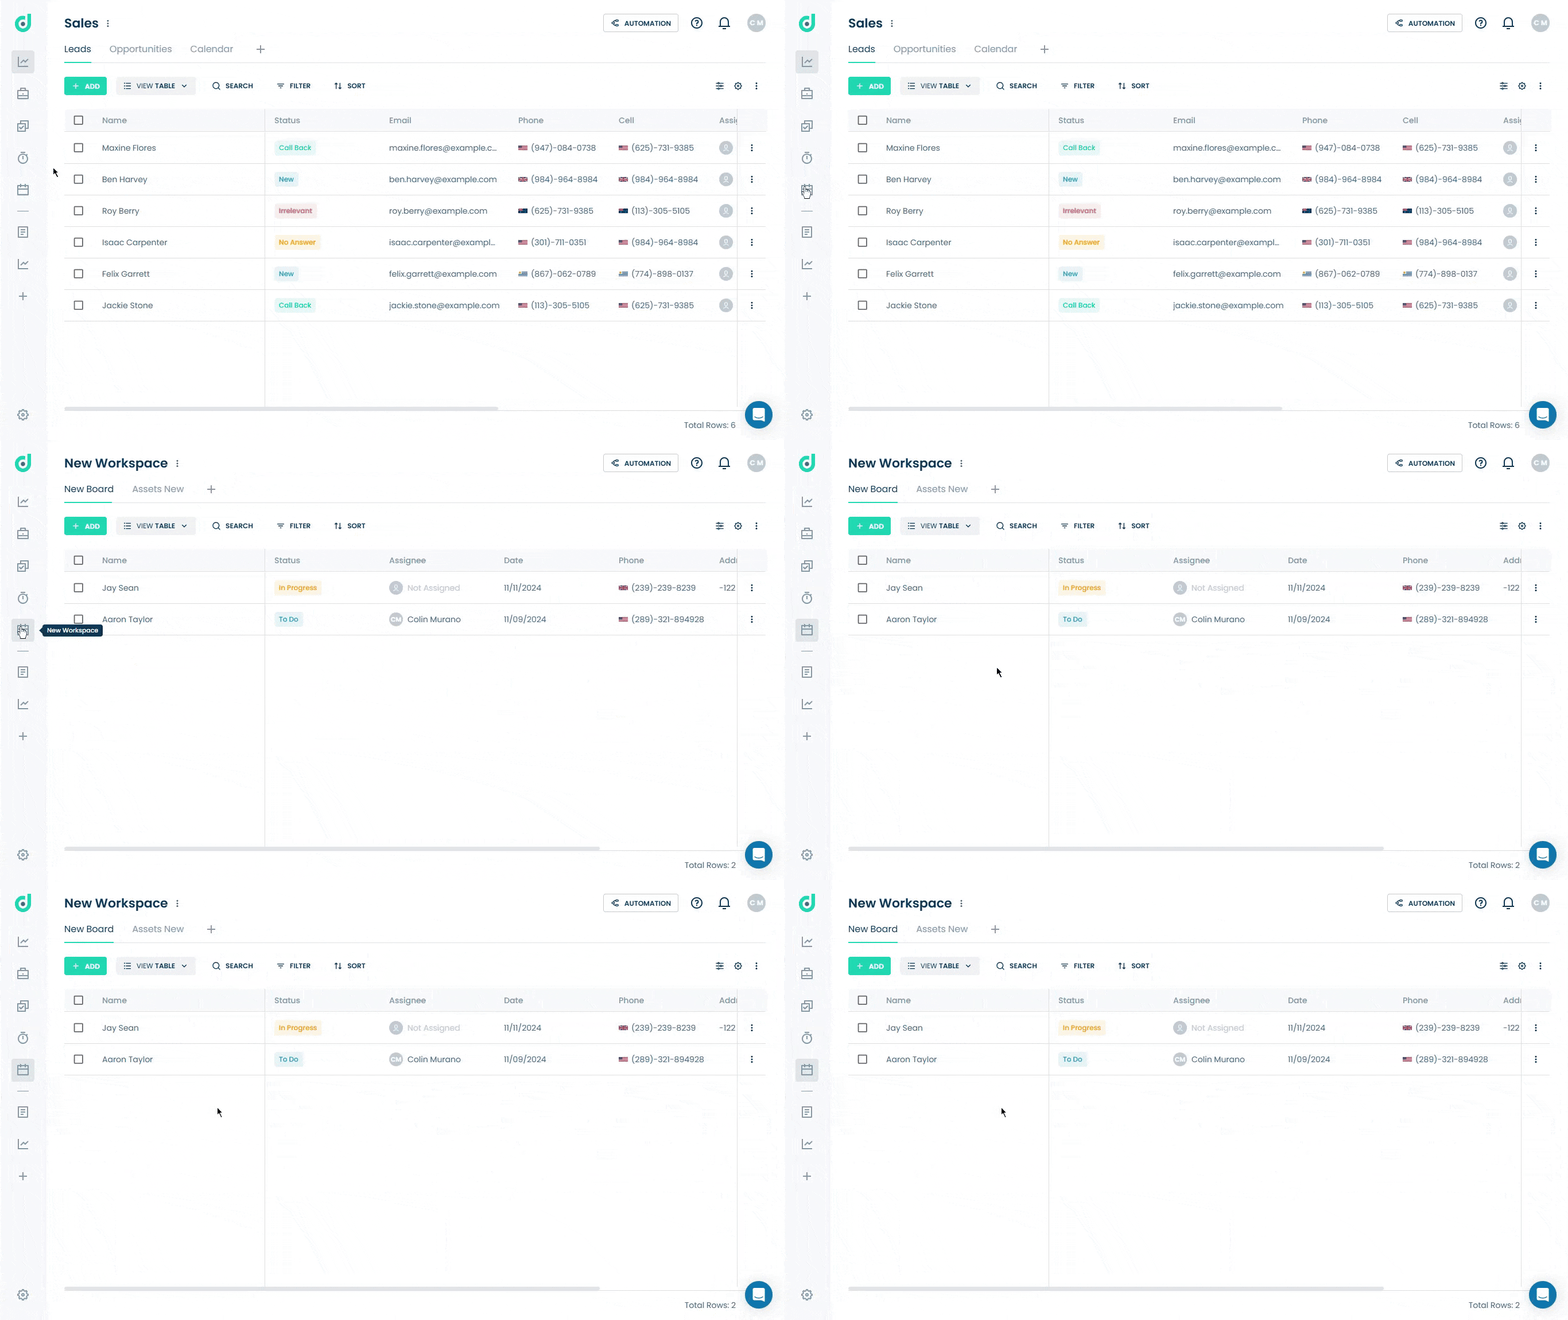
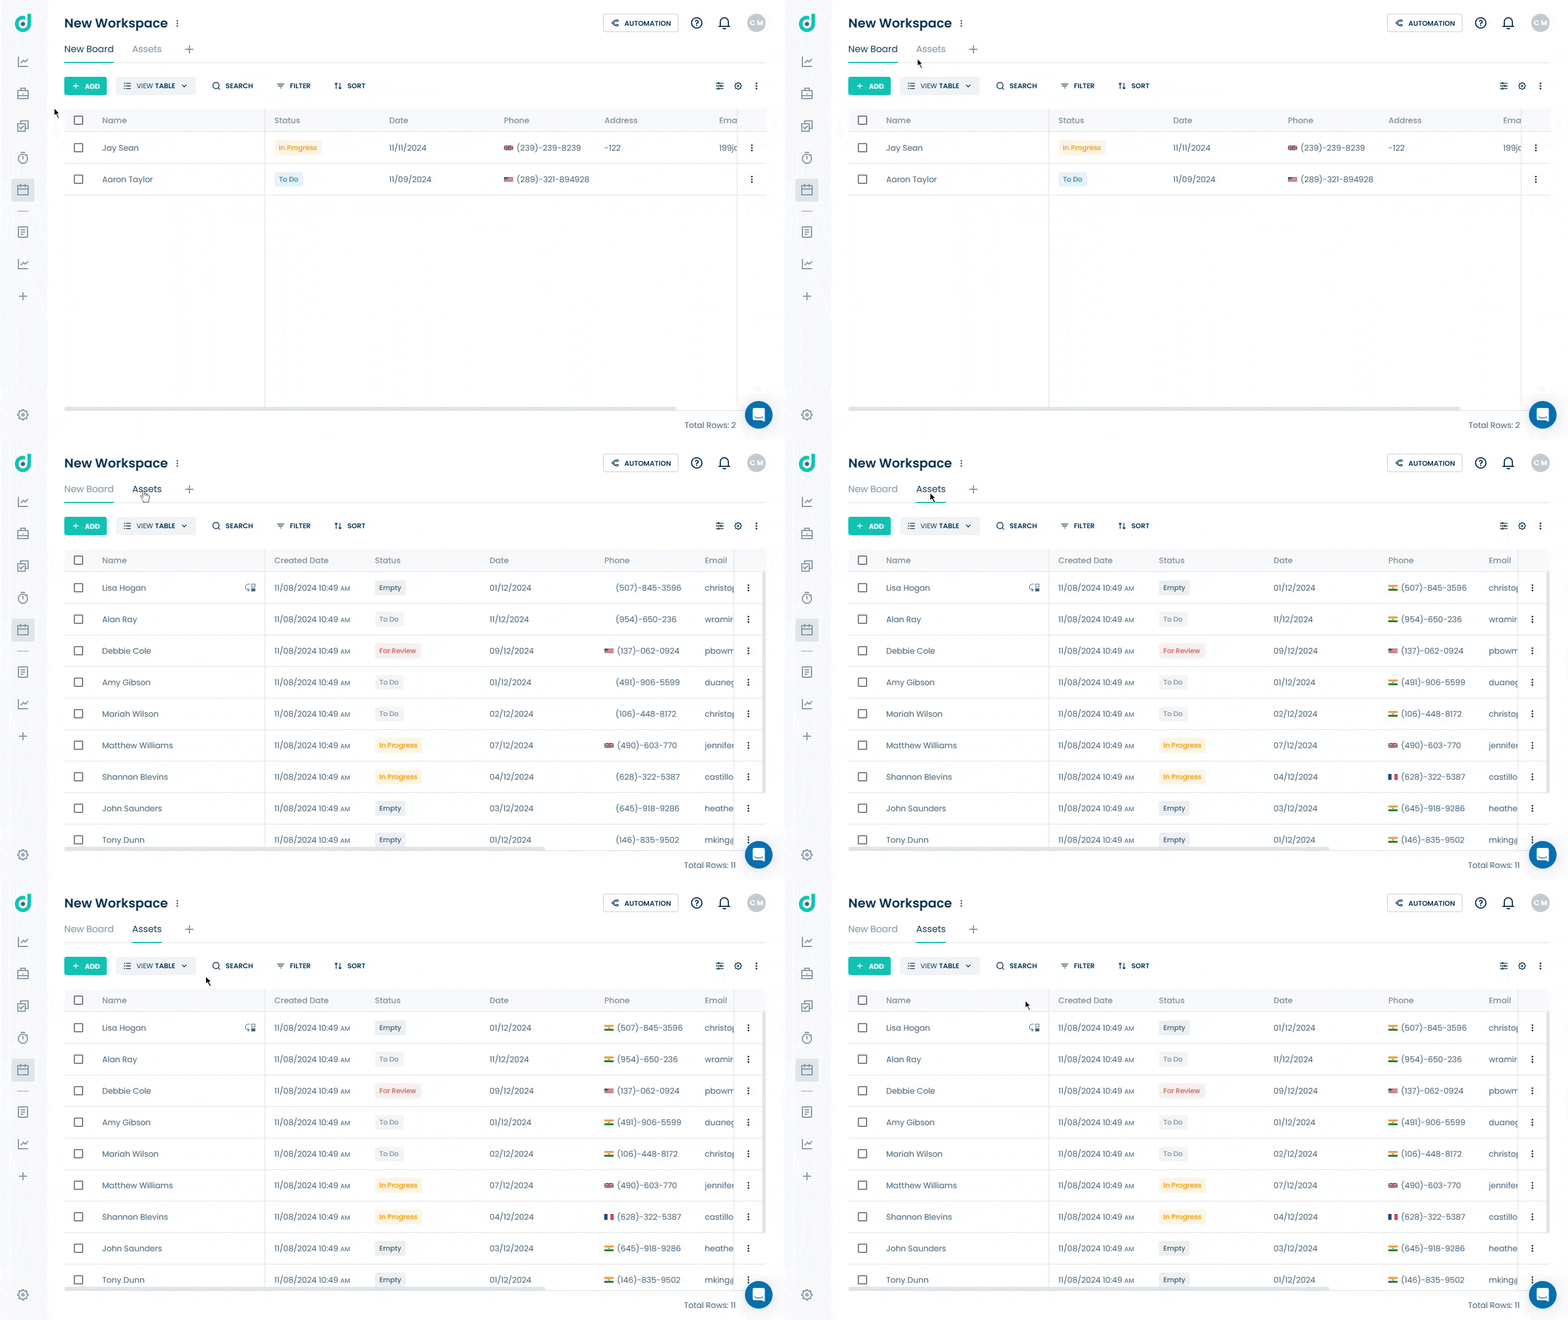
Step 2: Select the board where you want to add the documents field.
Step 3: Click on the Setting icon from the right side of the interface.
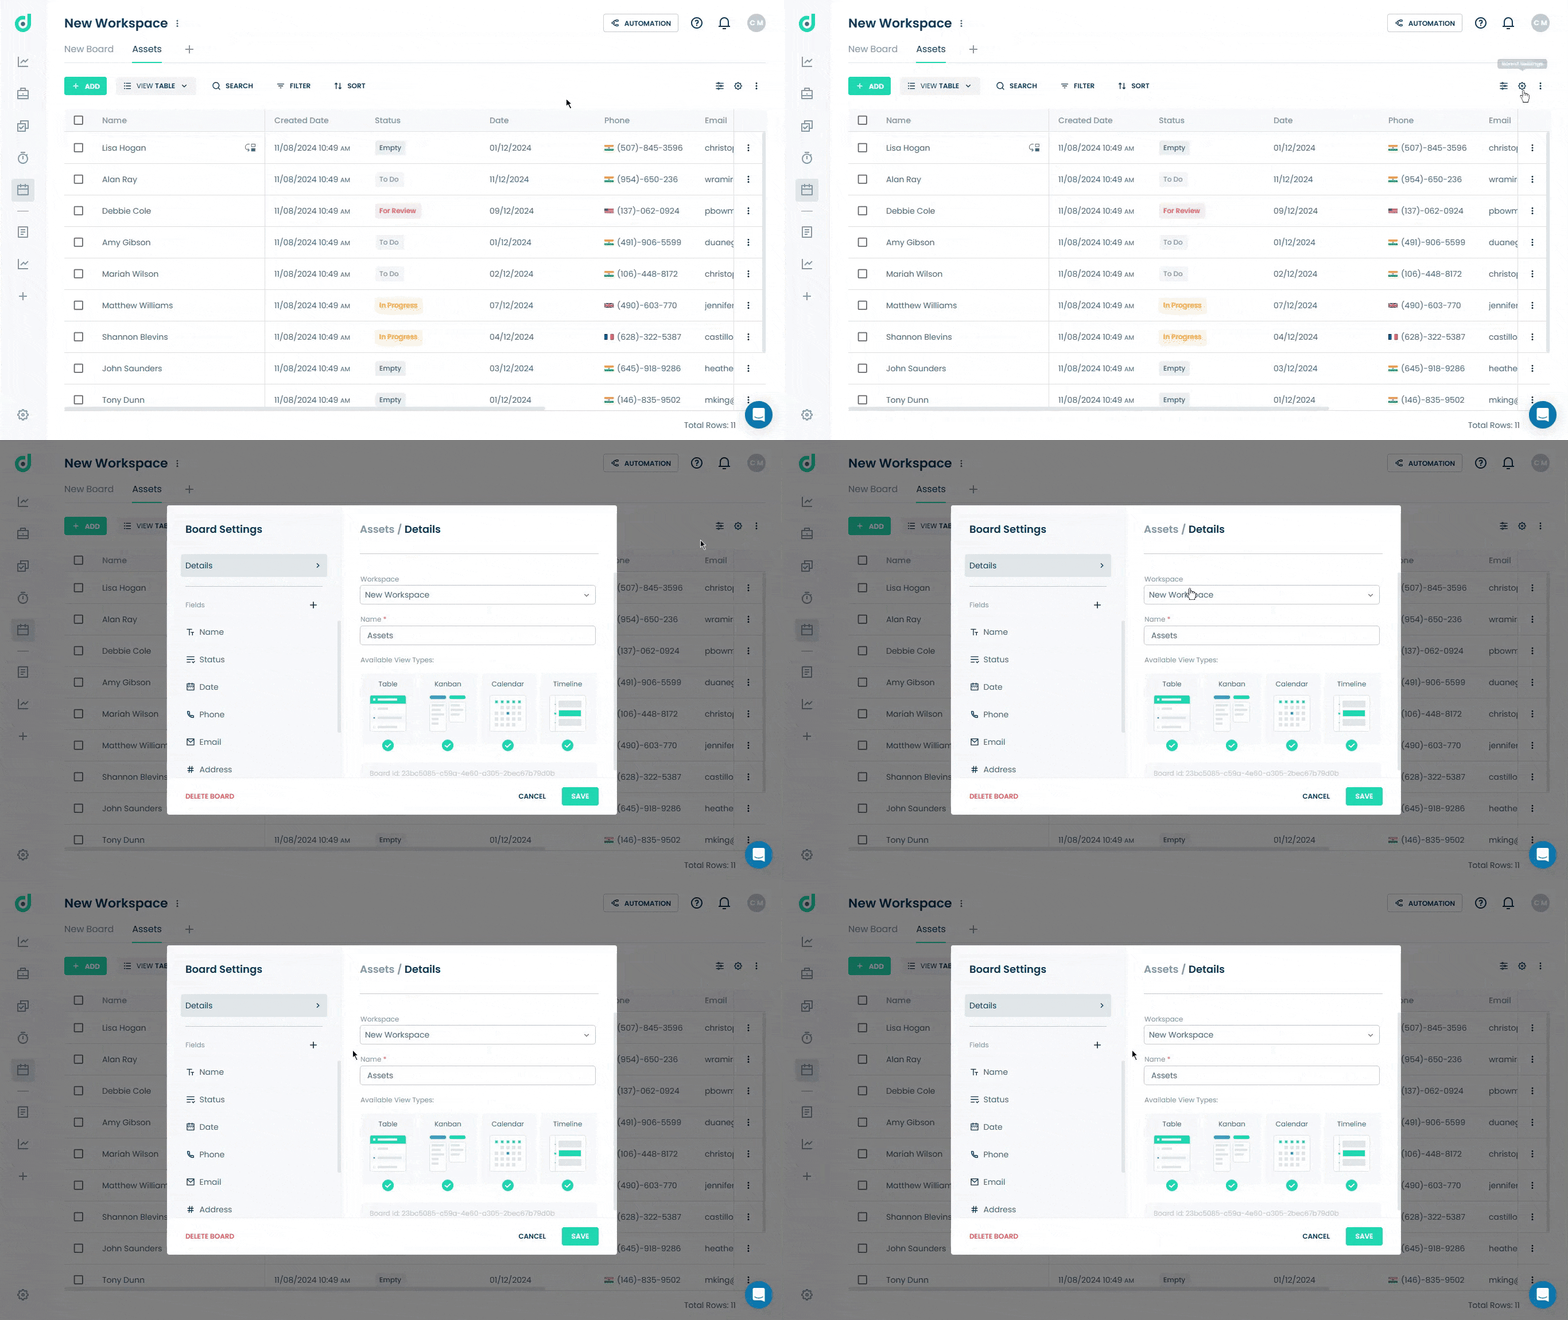
Step 4: Click on the “+” button from the field section.
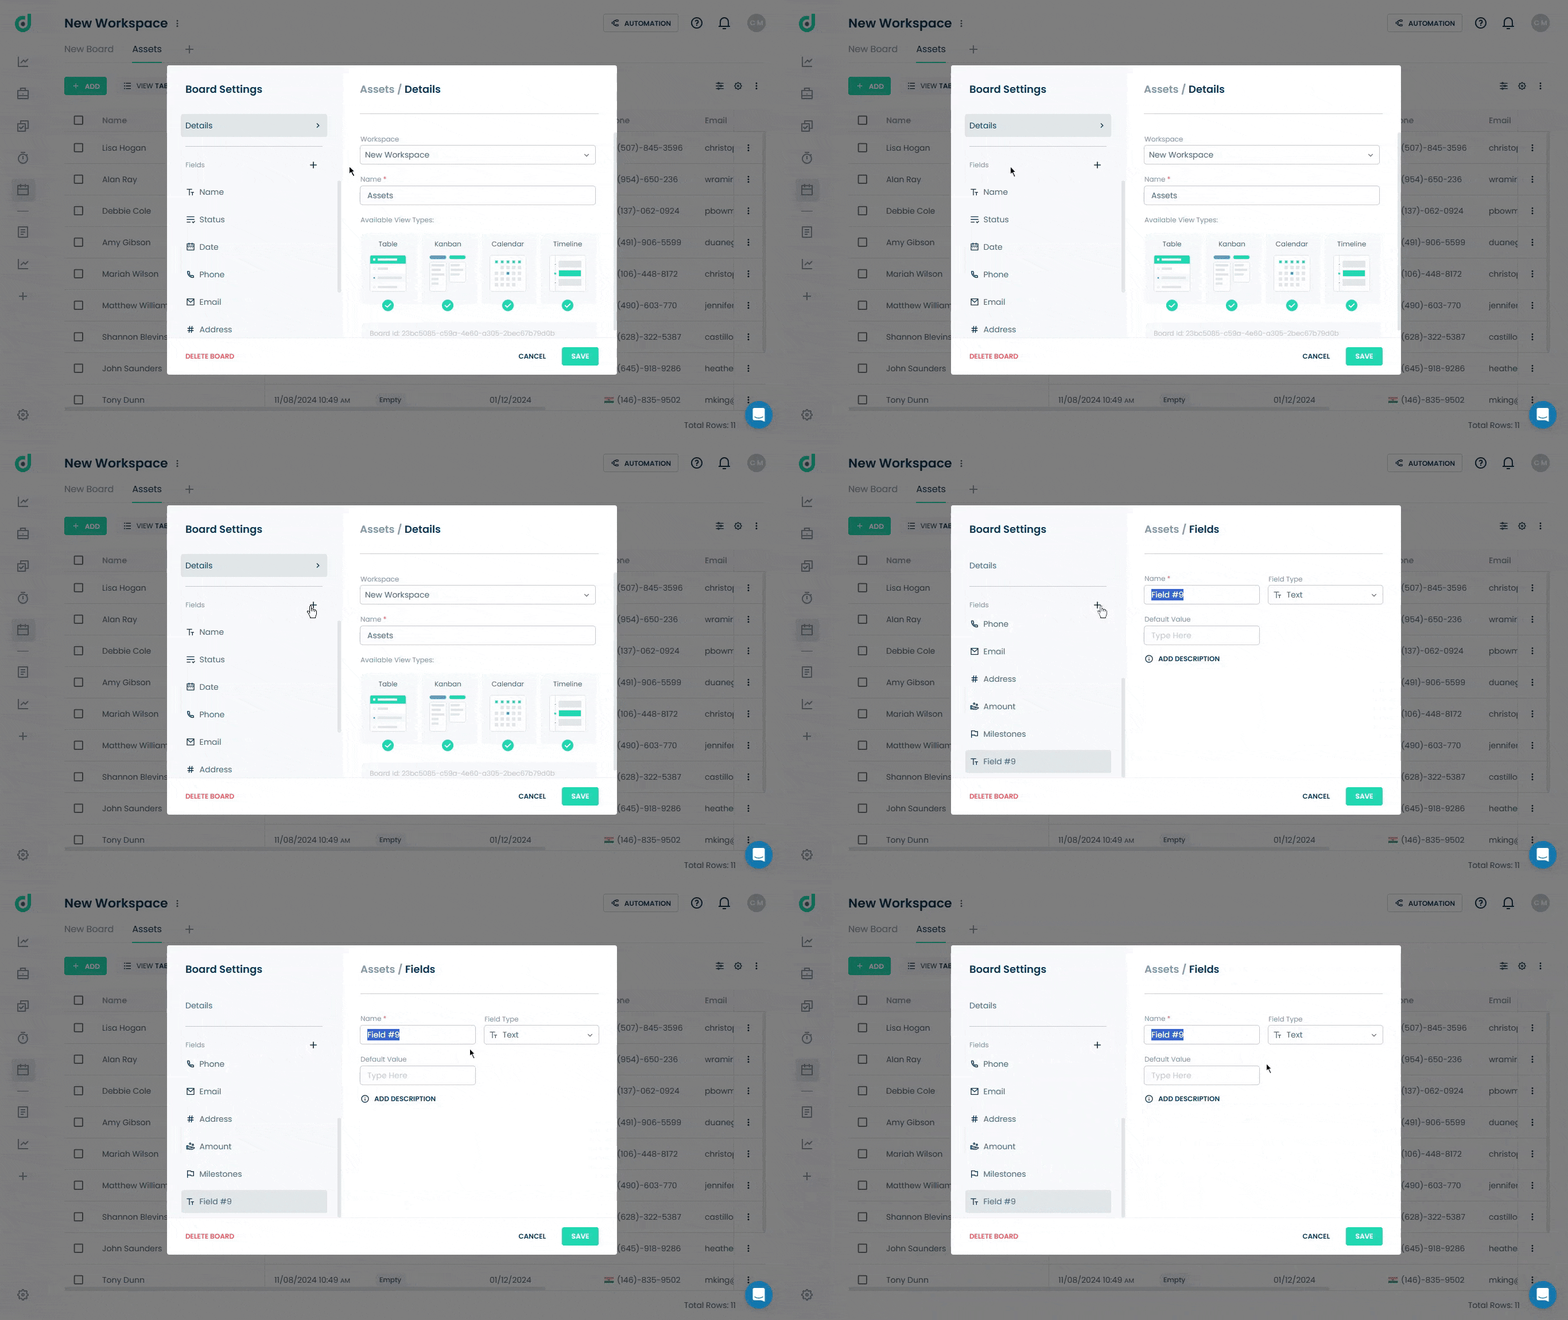
Step 5: Enter the field name and select the “Documents” field type. Add a description (optional) to provide context.
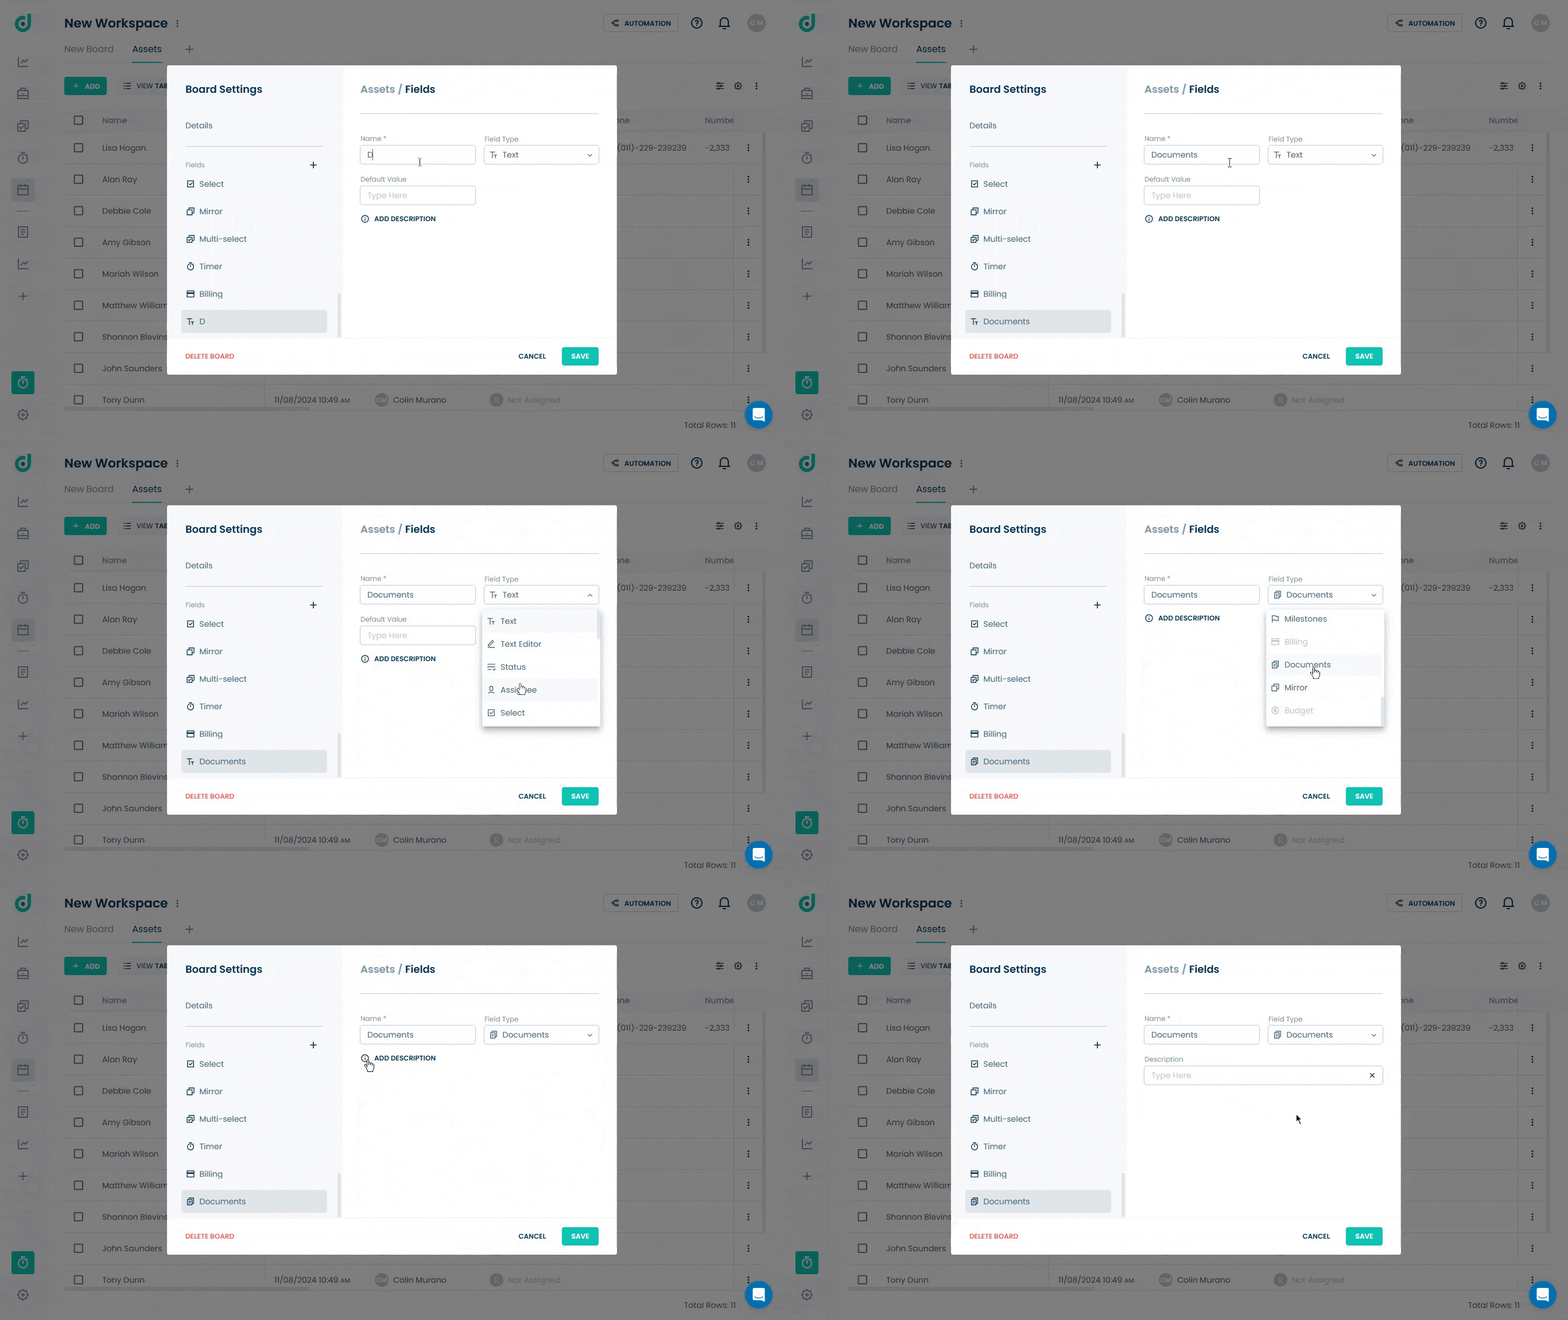
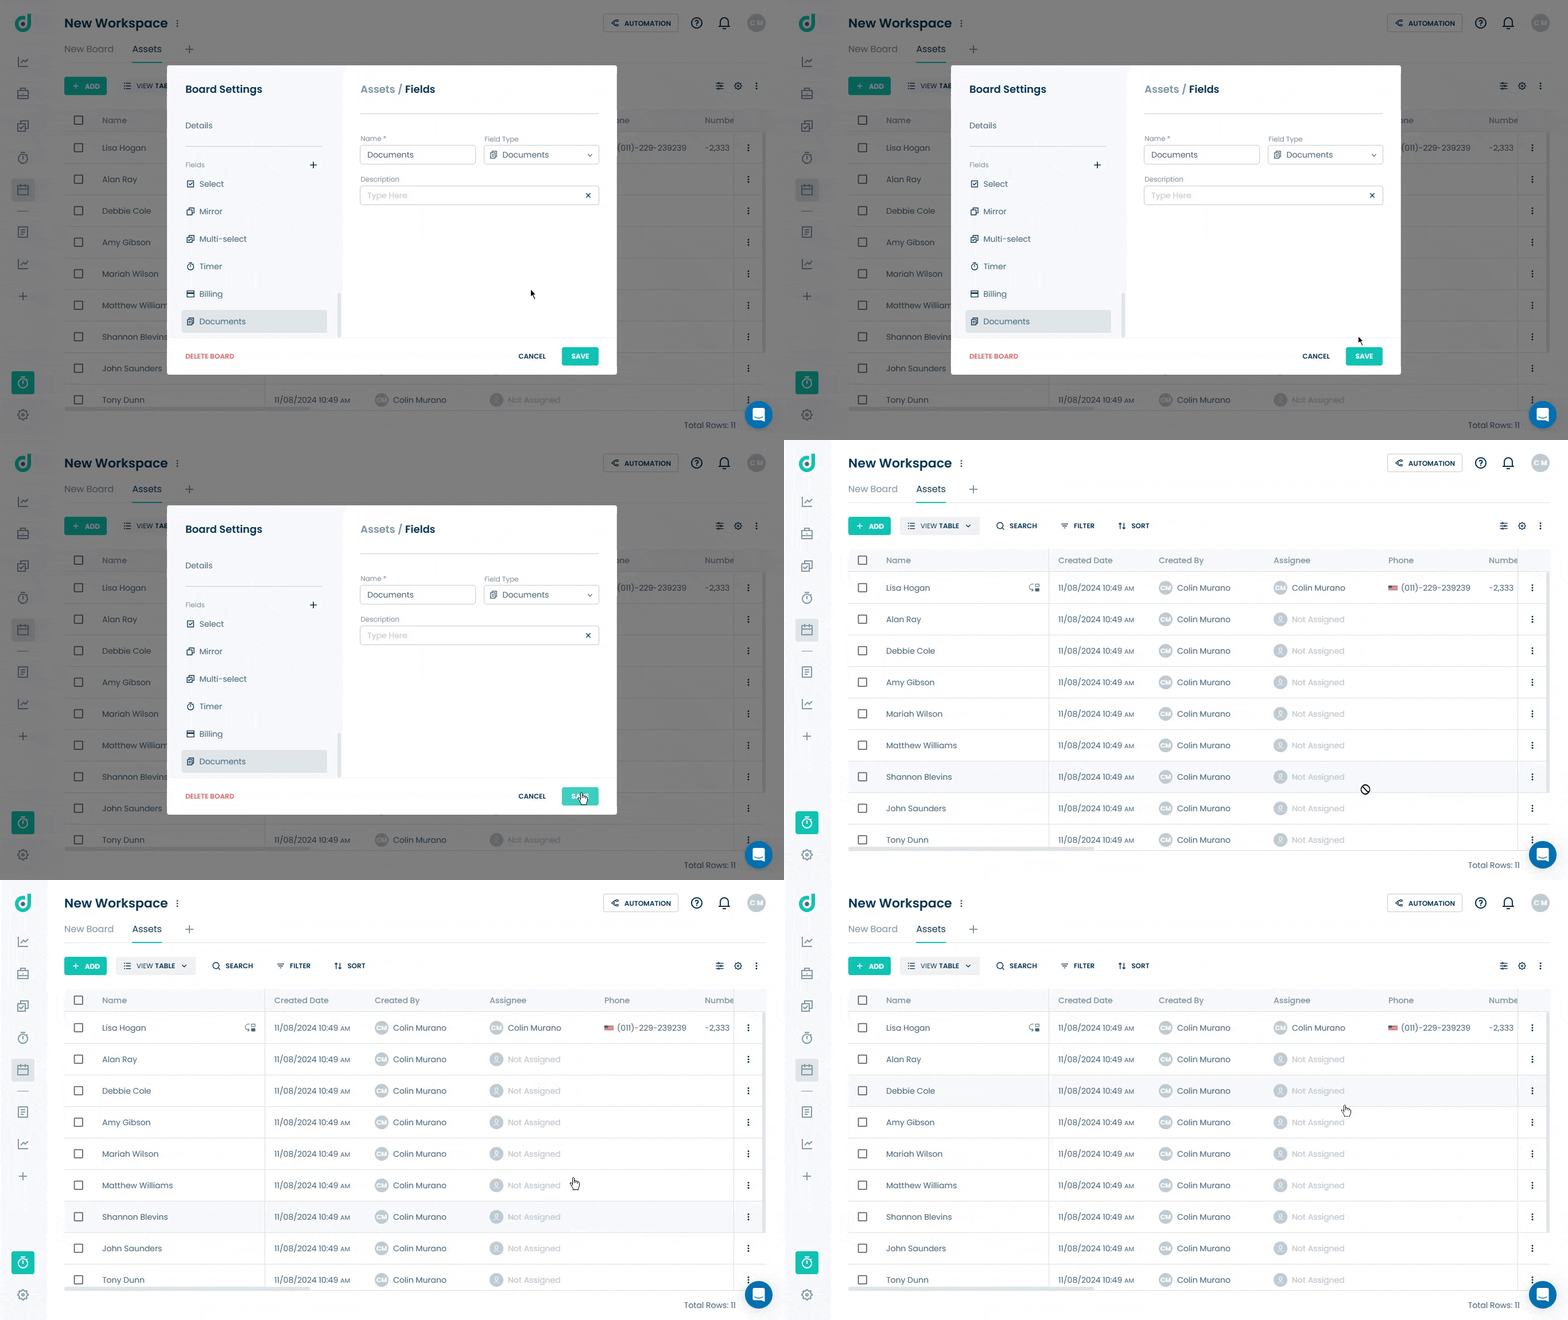
Step 6: Click on the SAVE button.
Use Documents Field
Once you have enabled the Document field, you can Add and publish custom documents like quotes, invoices, work orders, and receipts directly within your boards.
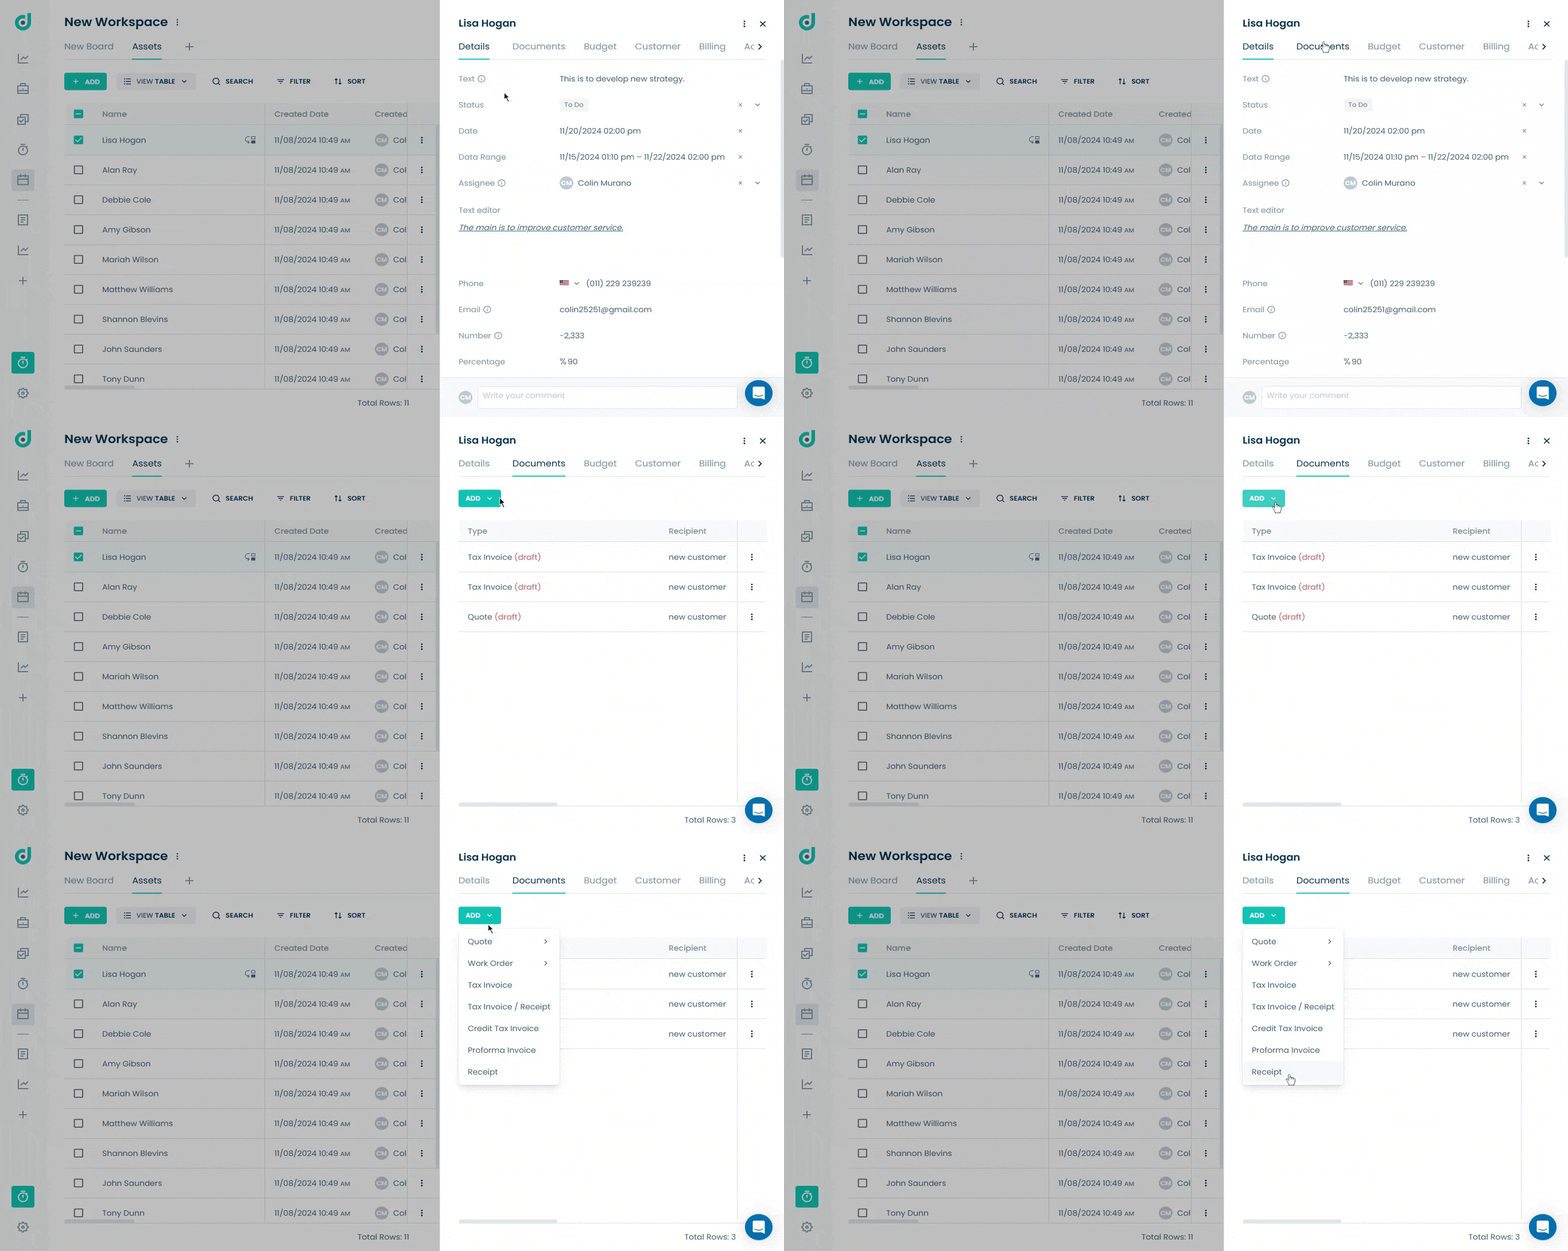
Step 1: Click on the Record you want to view and add documents.
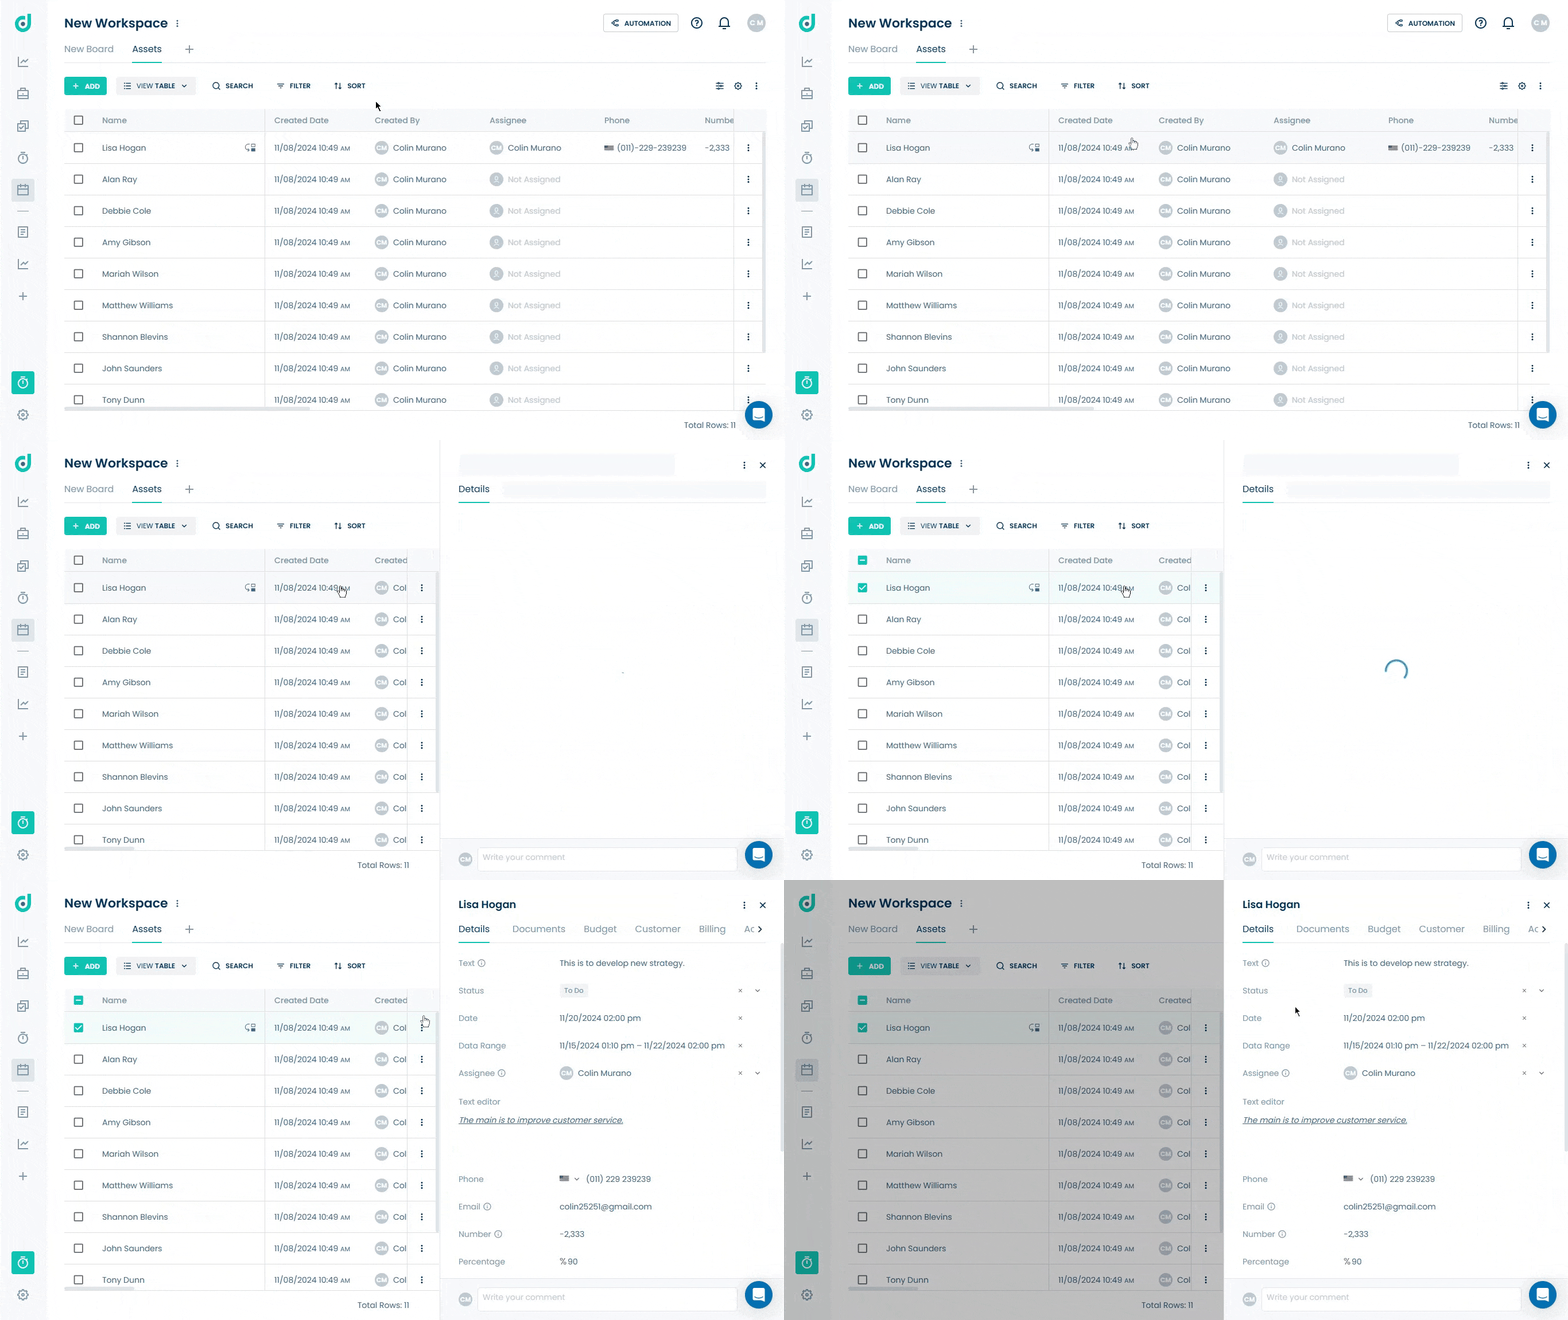
Step 2: Locate the Documents tab from within the record and click on the ADD button.
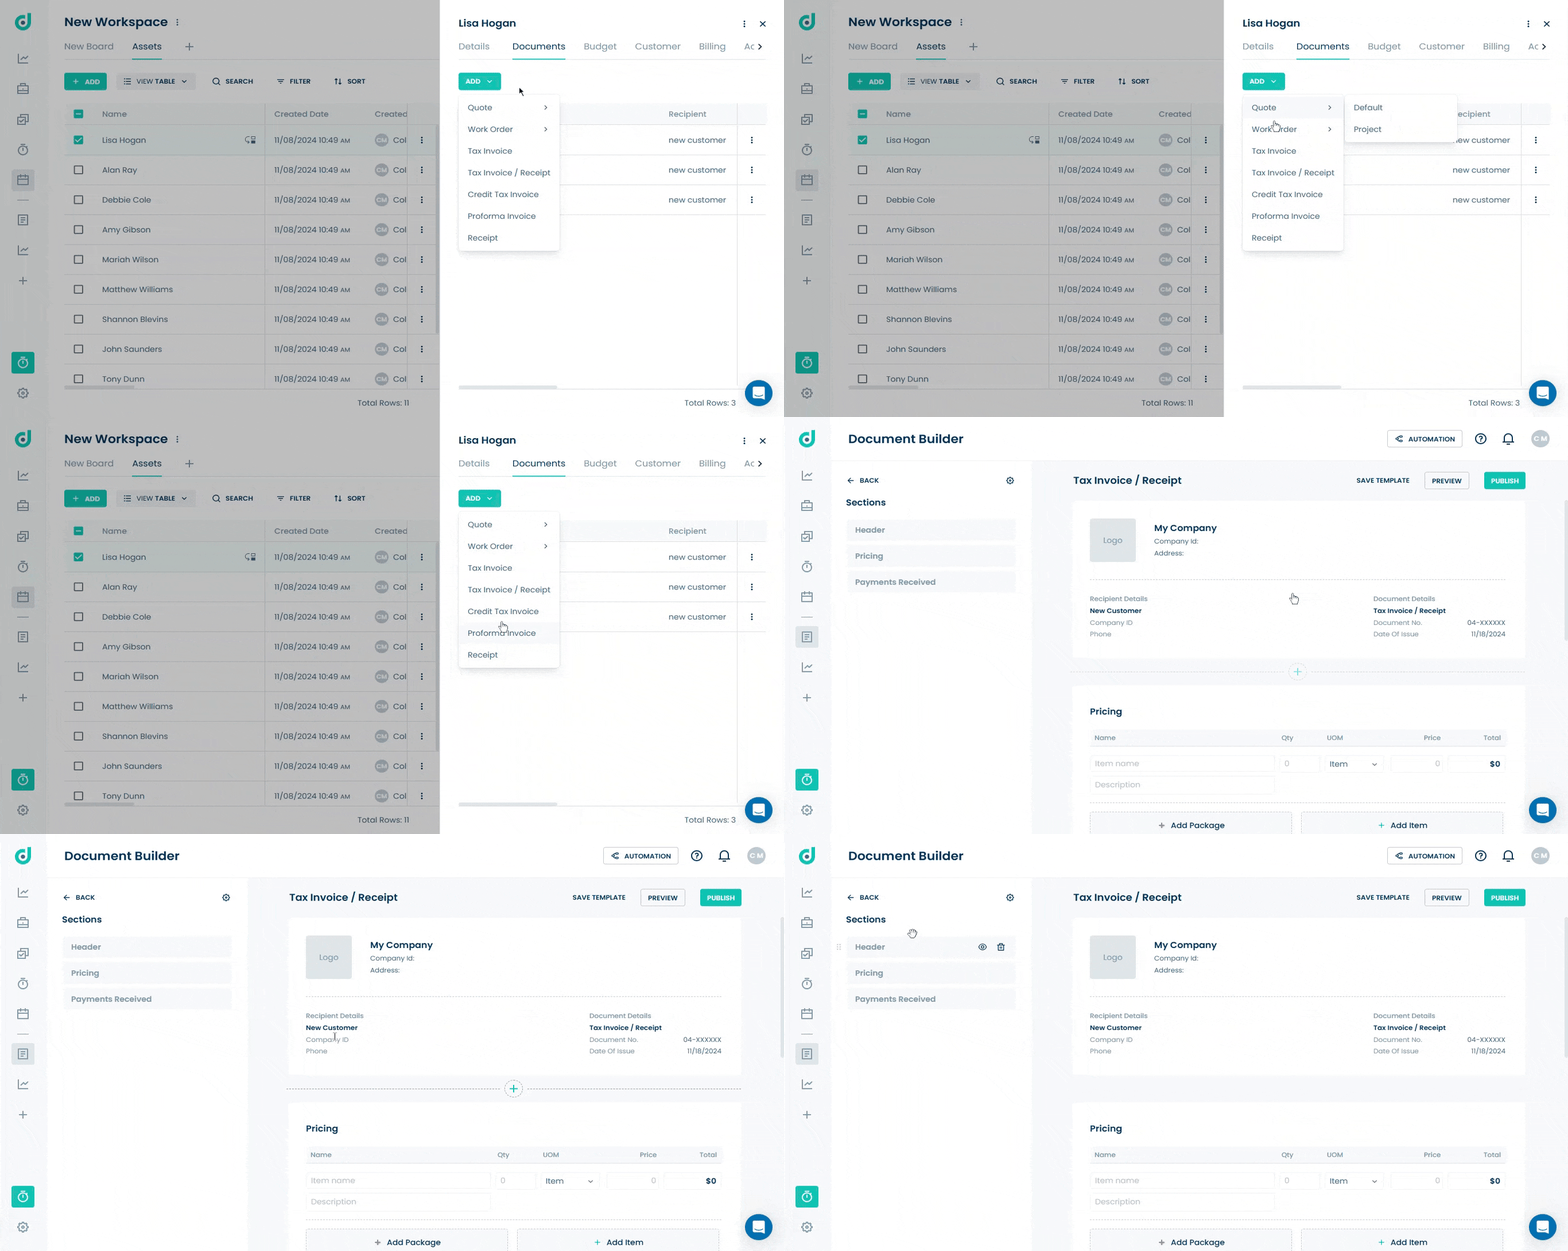
A dropdown list of various document types will appear and be categorized as:
| Document Type | Description |
| Quote | Used for providing estimates or price offers. Includes options: Default (general quote format) and Project (specialized for project-specific cases). |
| Work Order | Designed to assign tasks or outline job details for service fulfillment. Includes options: Default & Project. |
| Tax Invoice | A formal invoice that includes applicable taxes. |
| Tax Invoice/receipt | Combines a tax invoice with an acknowledgment of payment received. |
| Credit Tax Invoice | Used for adjustments or refunds on previously issued tax invoices. |
| Proforma Invoice | A preliminary invoice is issued as a non-binding commitment before finalizing a sale. |
| Receipt | Confirms that payment has been received for a transaction. |
Note: You can add / edit / remove the document types.
Step 3: Select the preferred document type.
