OneDeck Help Center
Billing Field
With the Billing field, you can efficiently manage payment collection, and revenue operations within your boards. Automate billing processes, reduce errors and provide flexible payment options to improve customer experience. Ideal for streamlining revenue management, this feature also offers comprehensive reporting to ensure timely payments and enhance operational efficiency across various boards.
In this documentation, we’ll walk you through the steps on how to:
- Add Billing Field
- Use Billing Field
Let’s get started 🚀
Add Billing Field
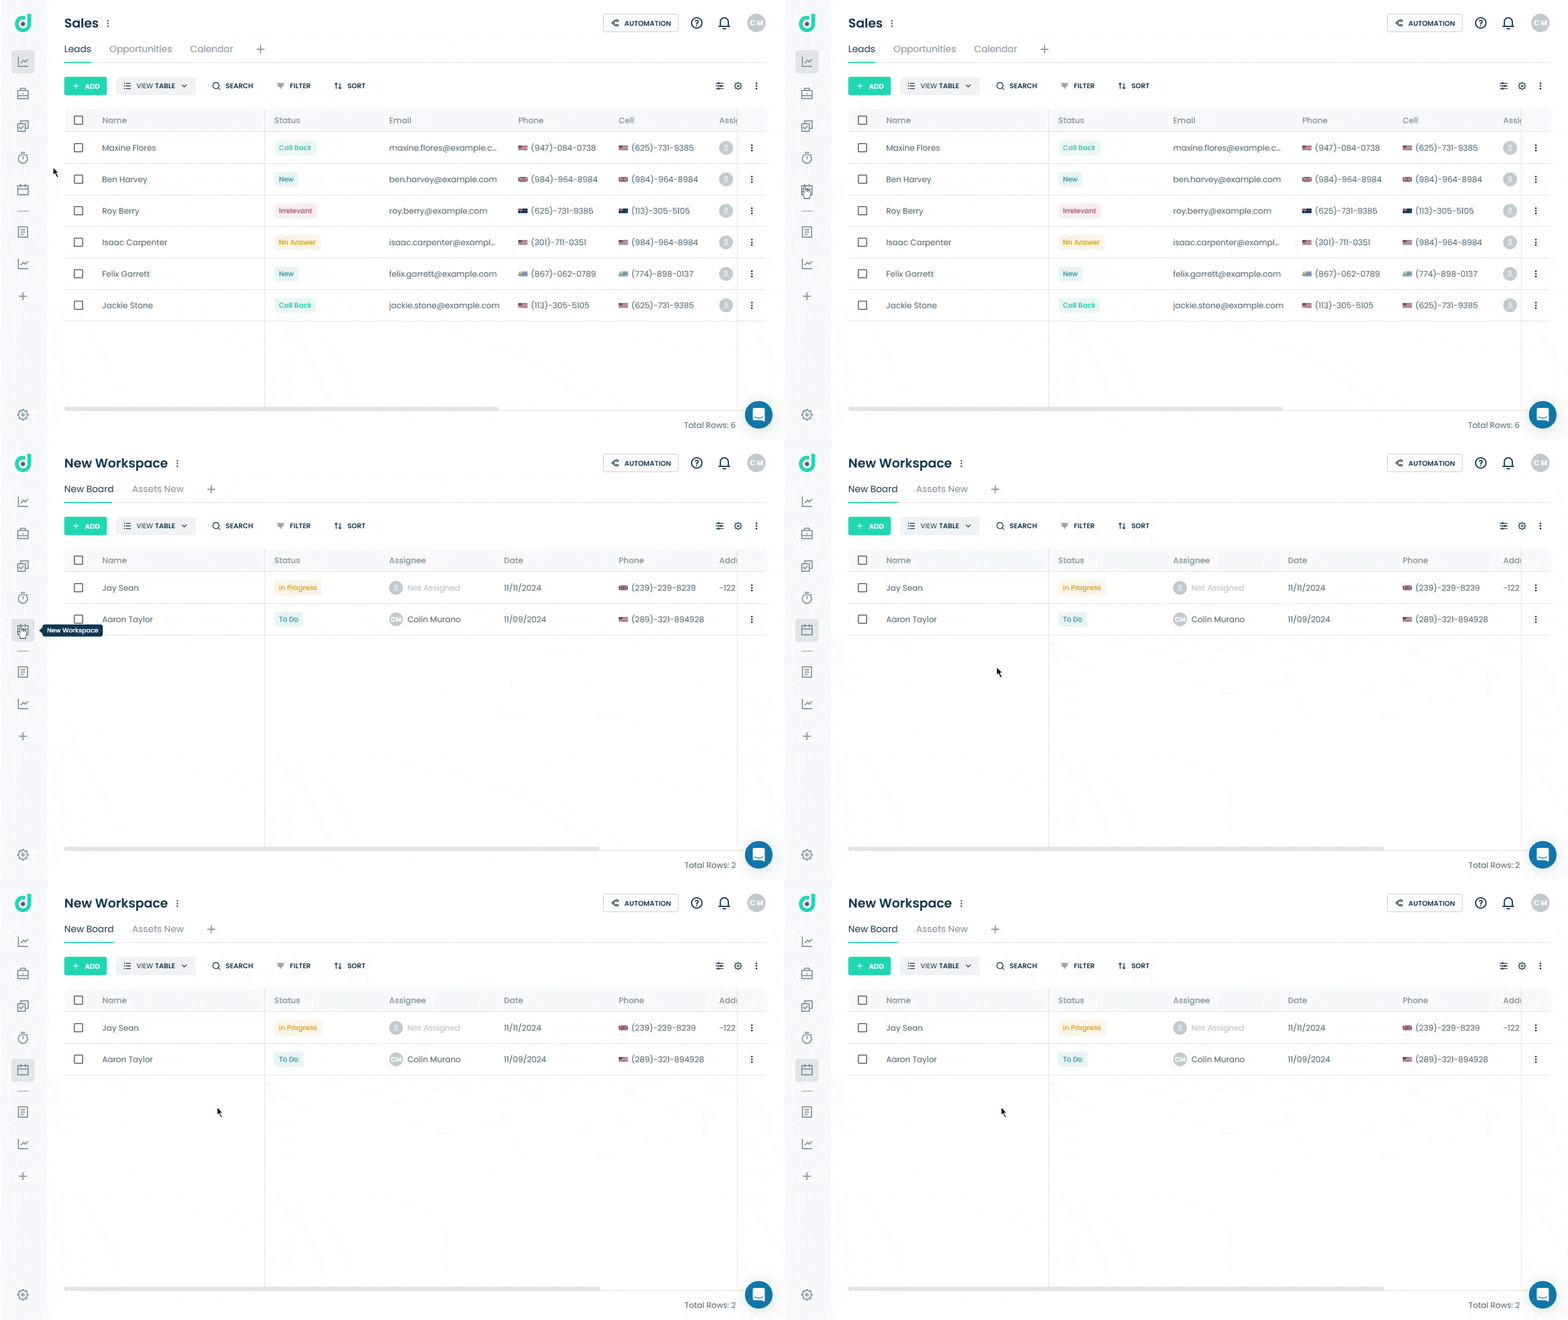
Step 1: Click on the Workspace button from the side navigation menu bar.
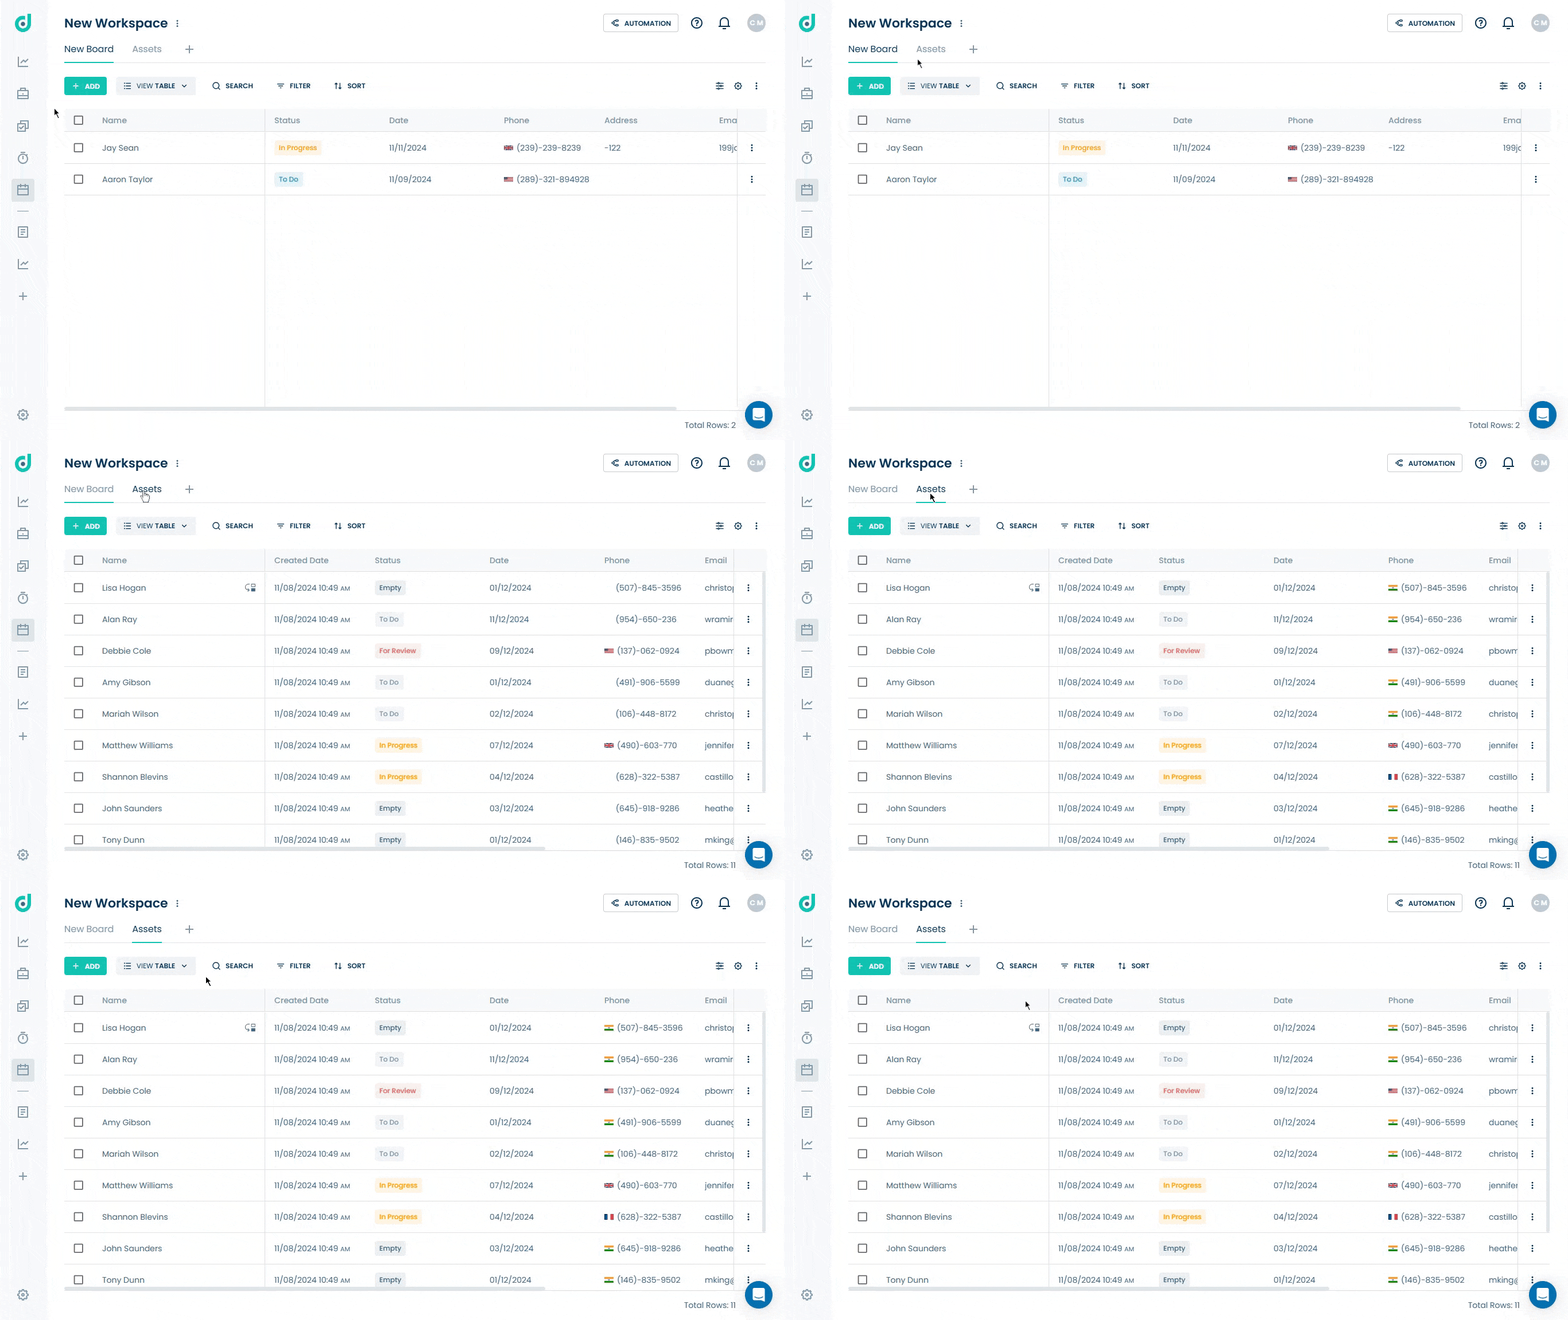
Step 2: Select the board where you want to add a billing field.
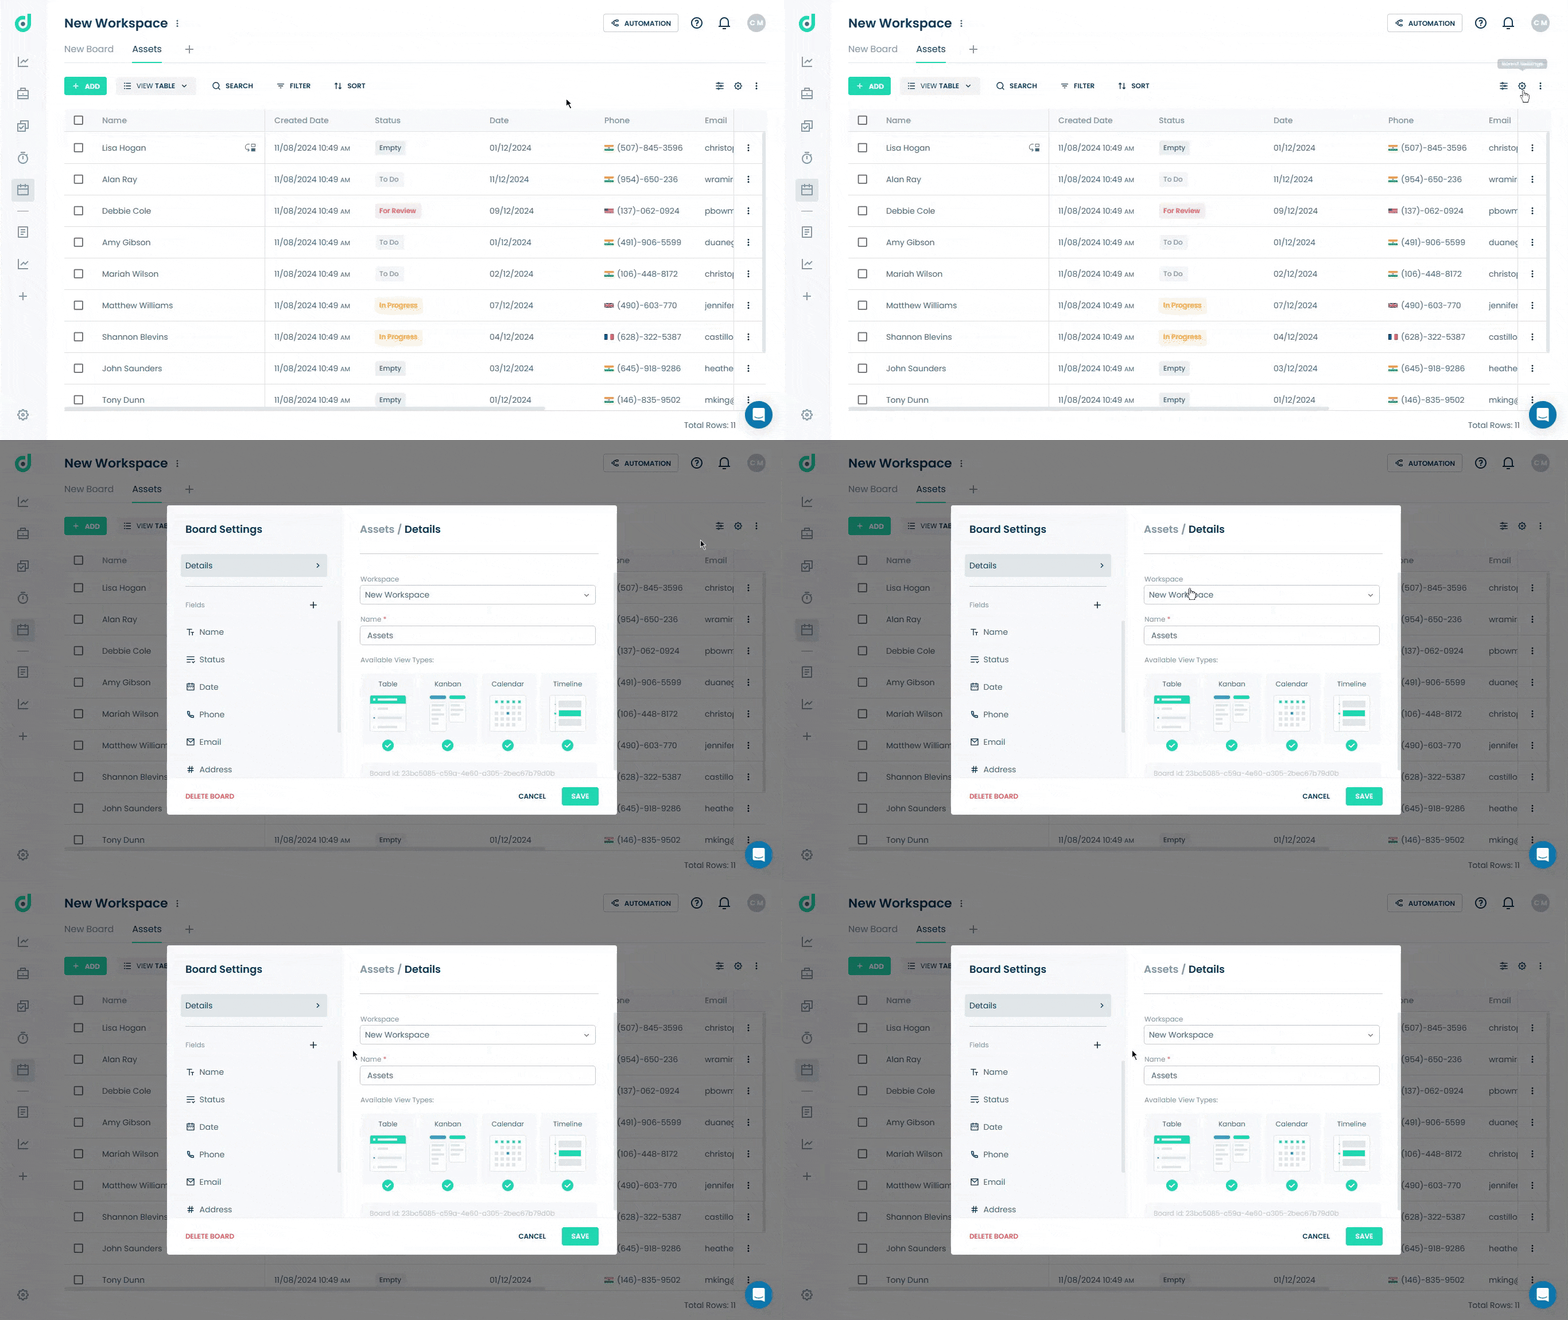
Step 3: Click on the Setting icon from the right side of the interface.
Step 4: Click on the “+” button from the field section.
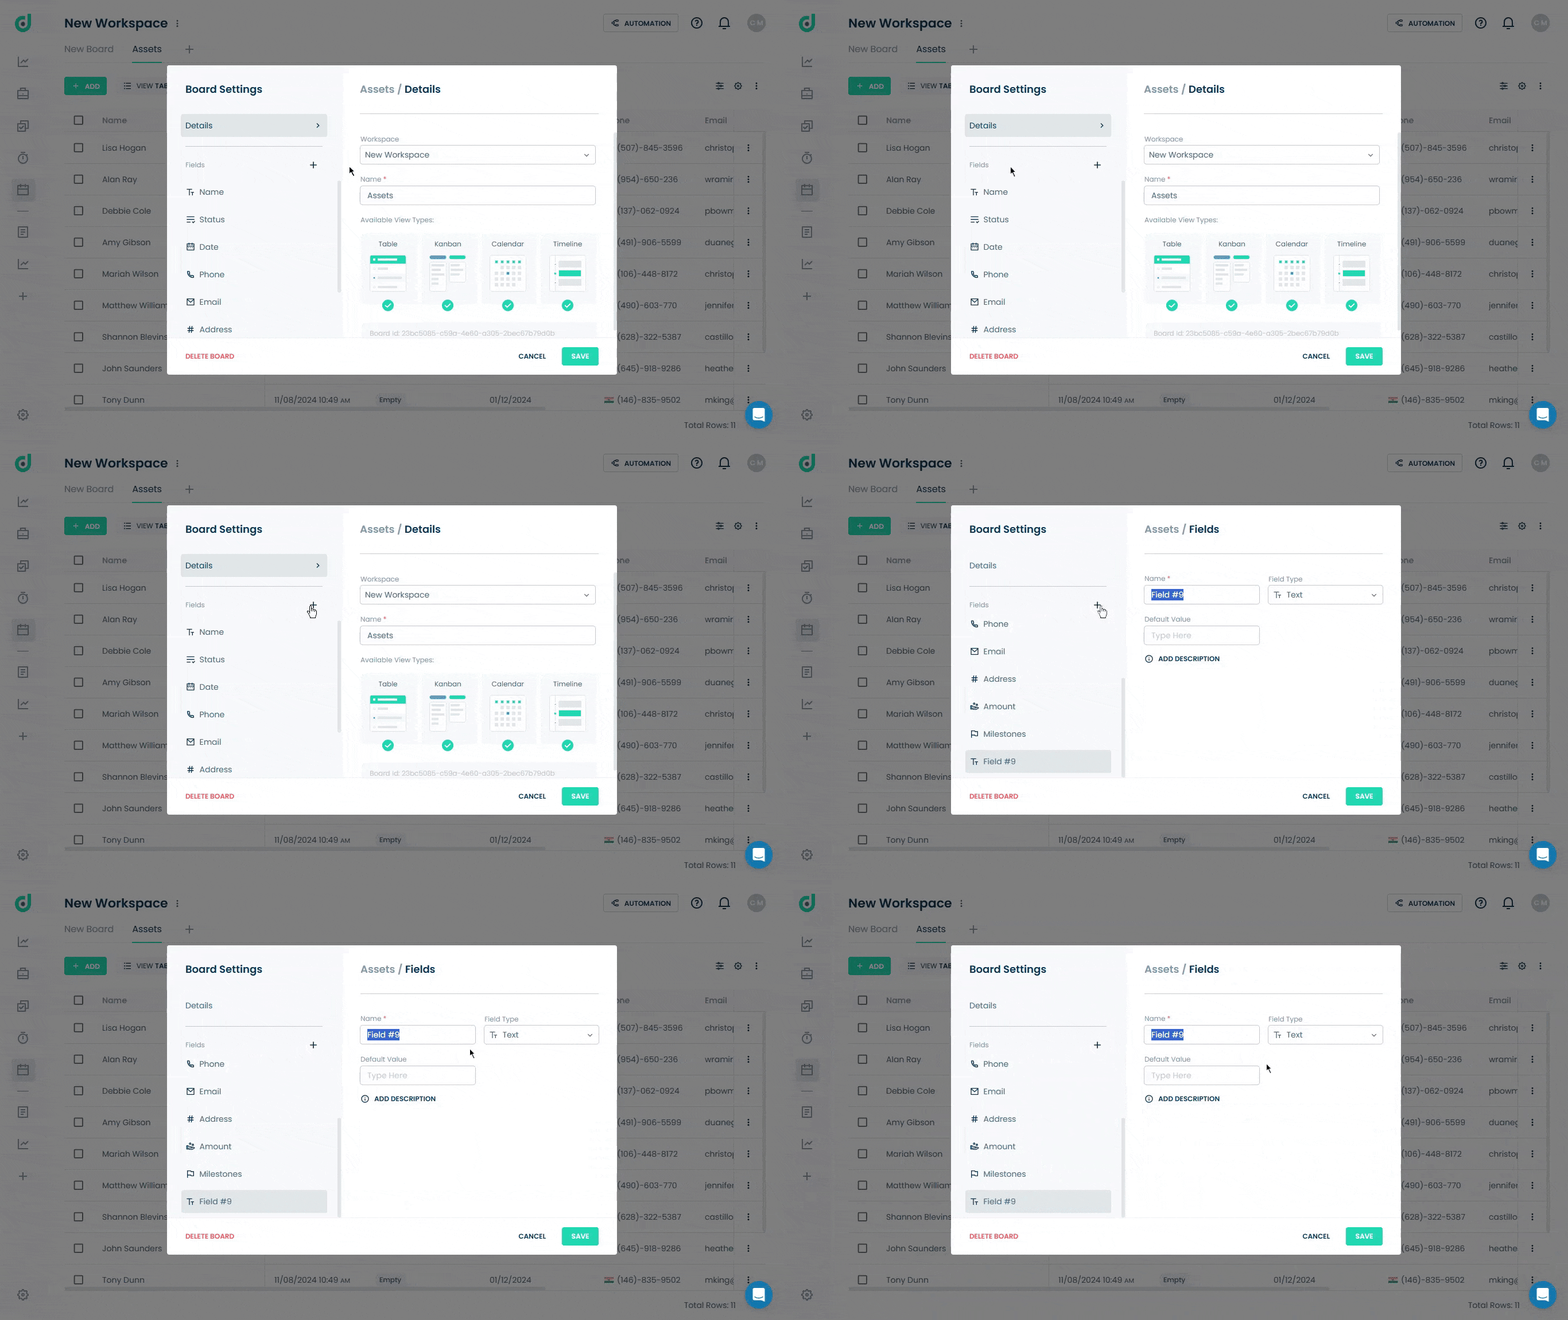
Step 5: Enter the field name and select the “Billing” field type.
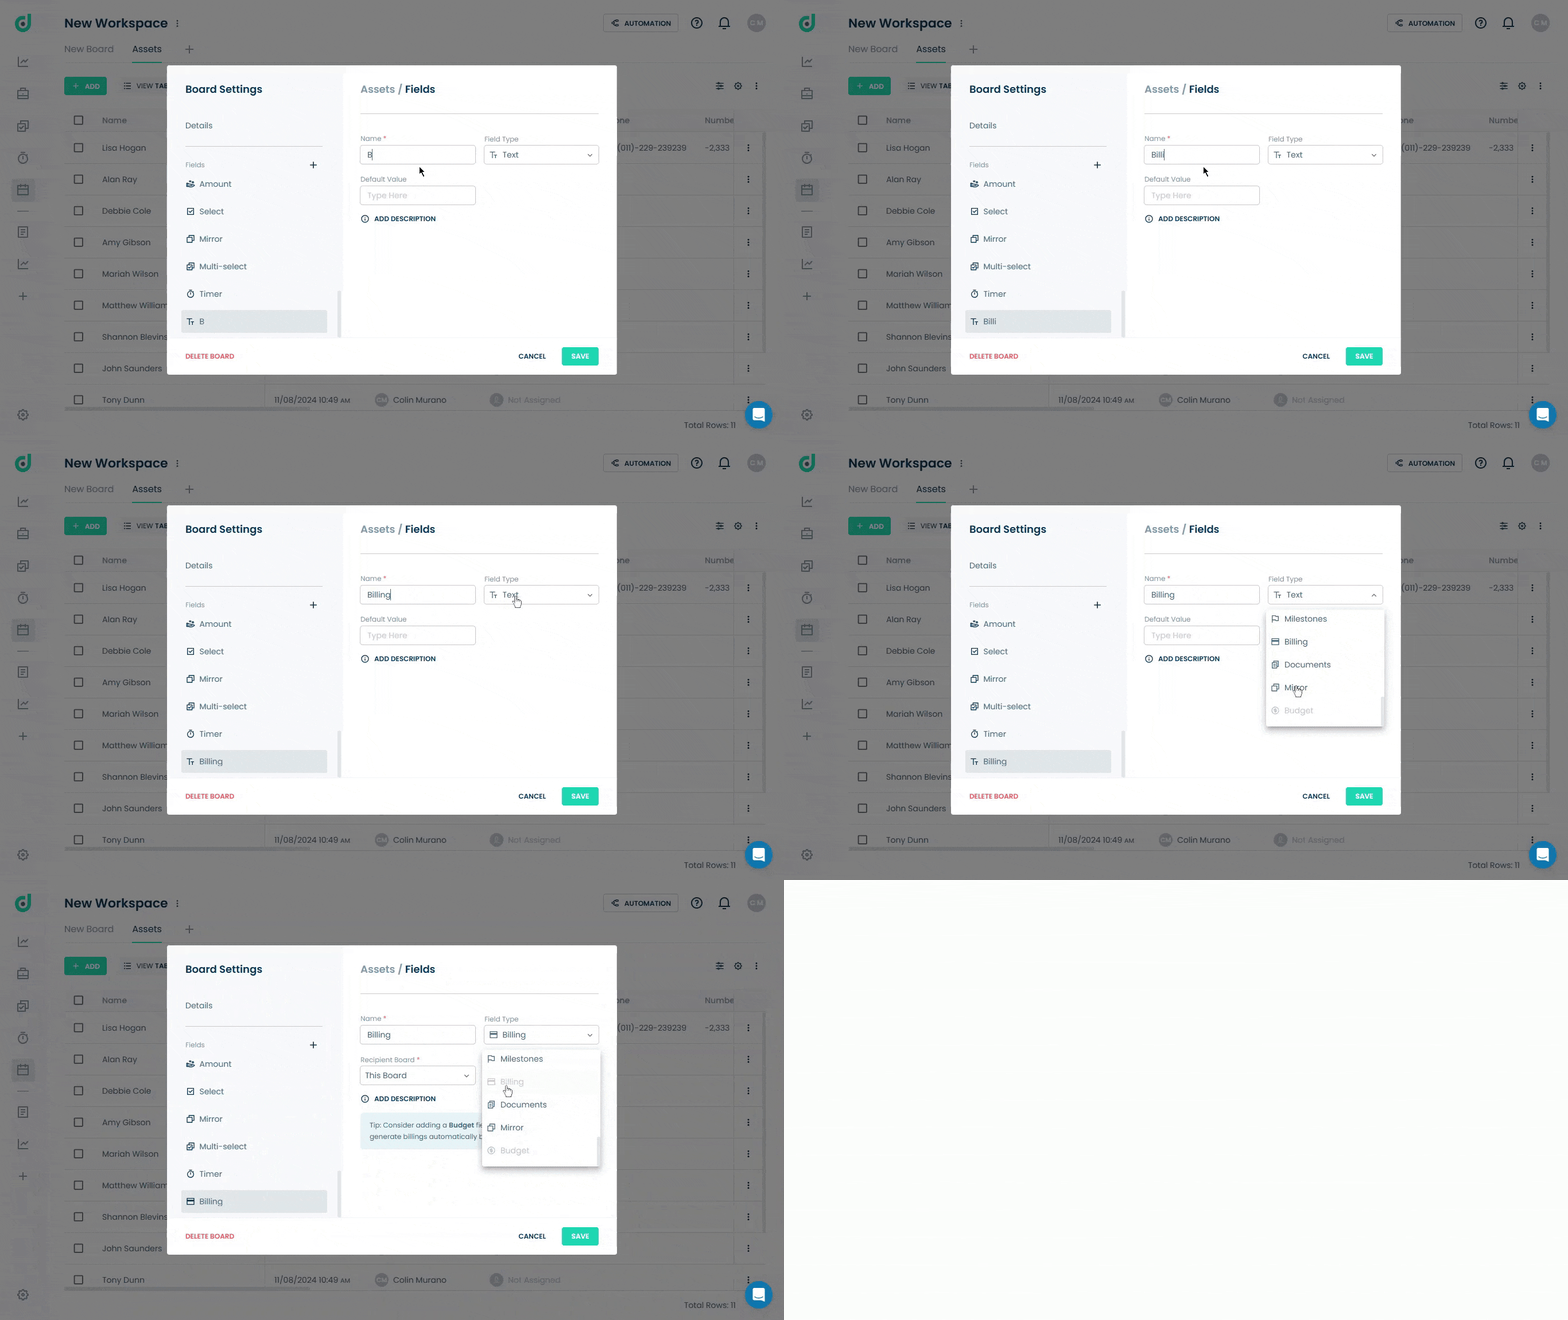
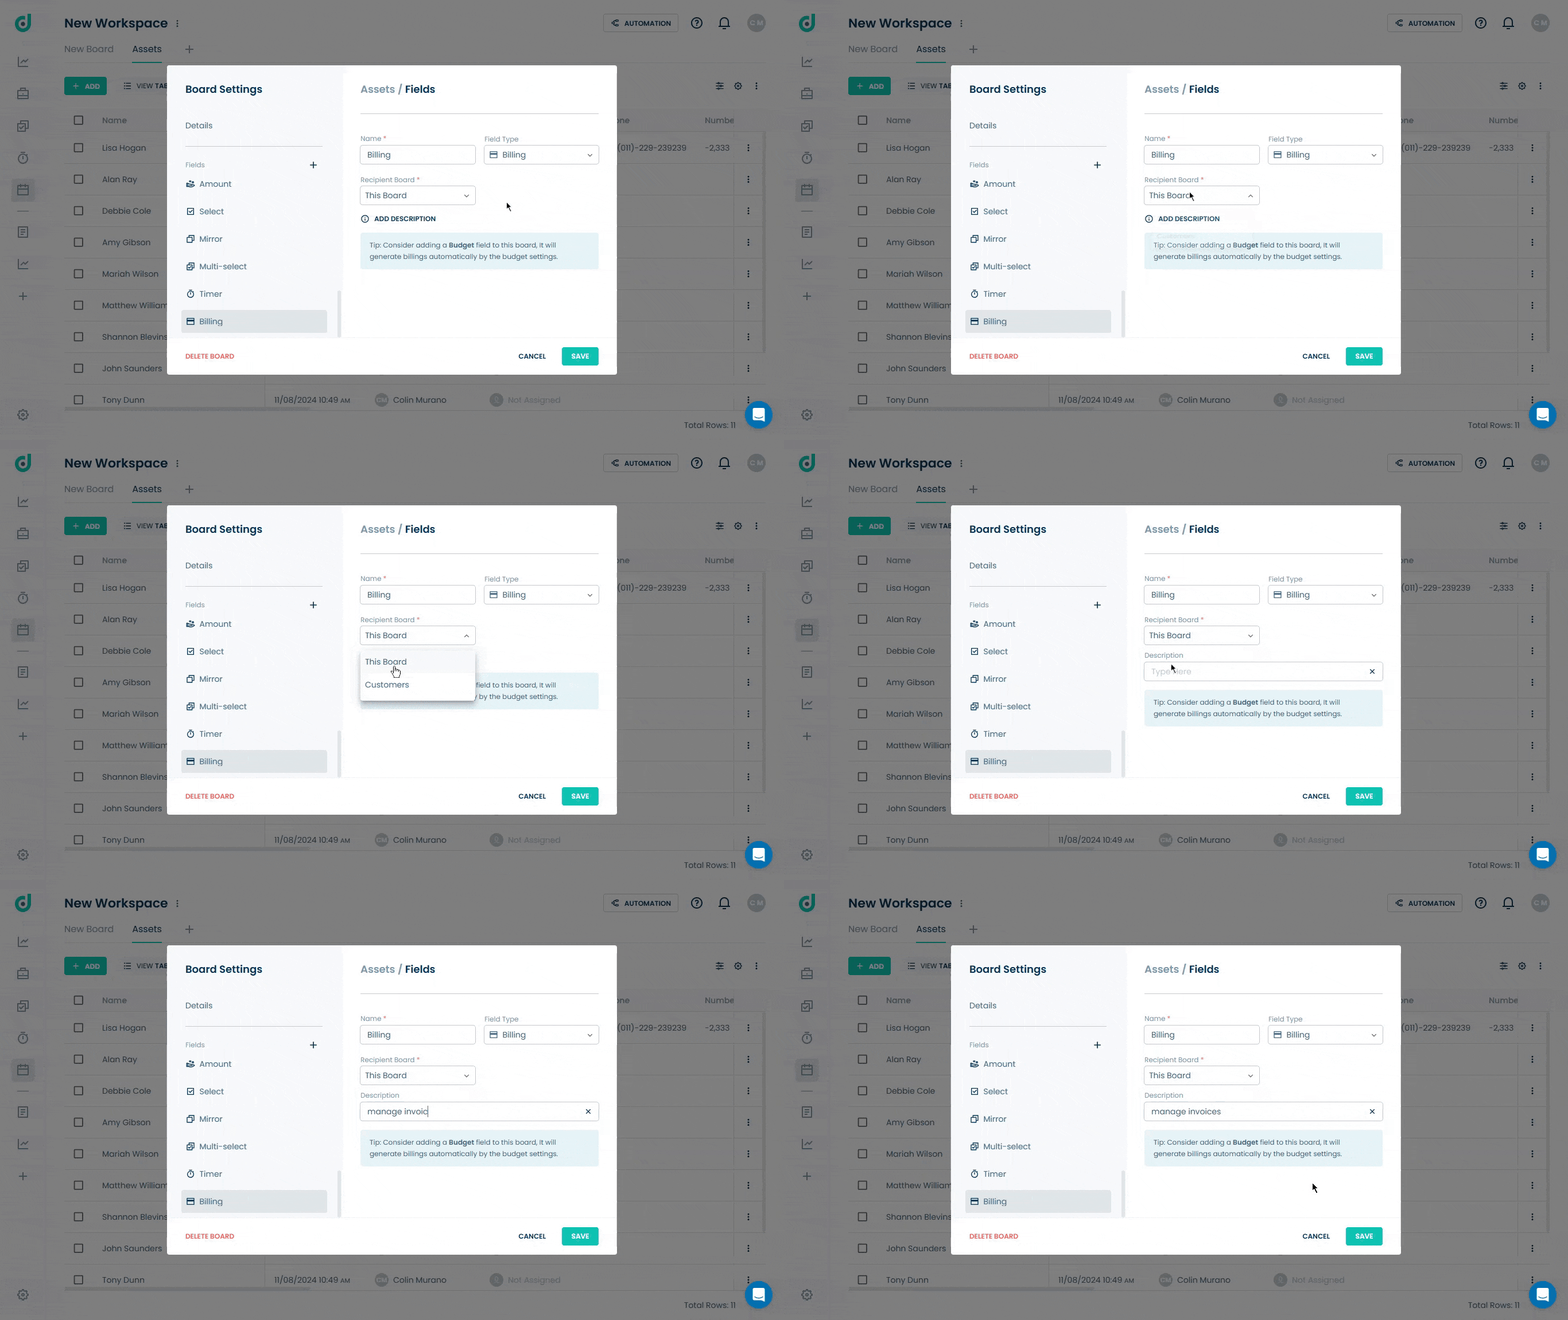
Step 6: Select a Recipient board and add a description (optional) to provide context.
Note: On the recipient board, you can choose the board linked in the "Board Connection" field.
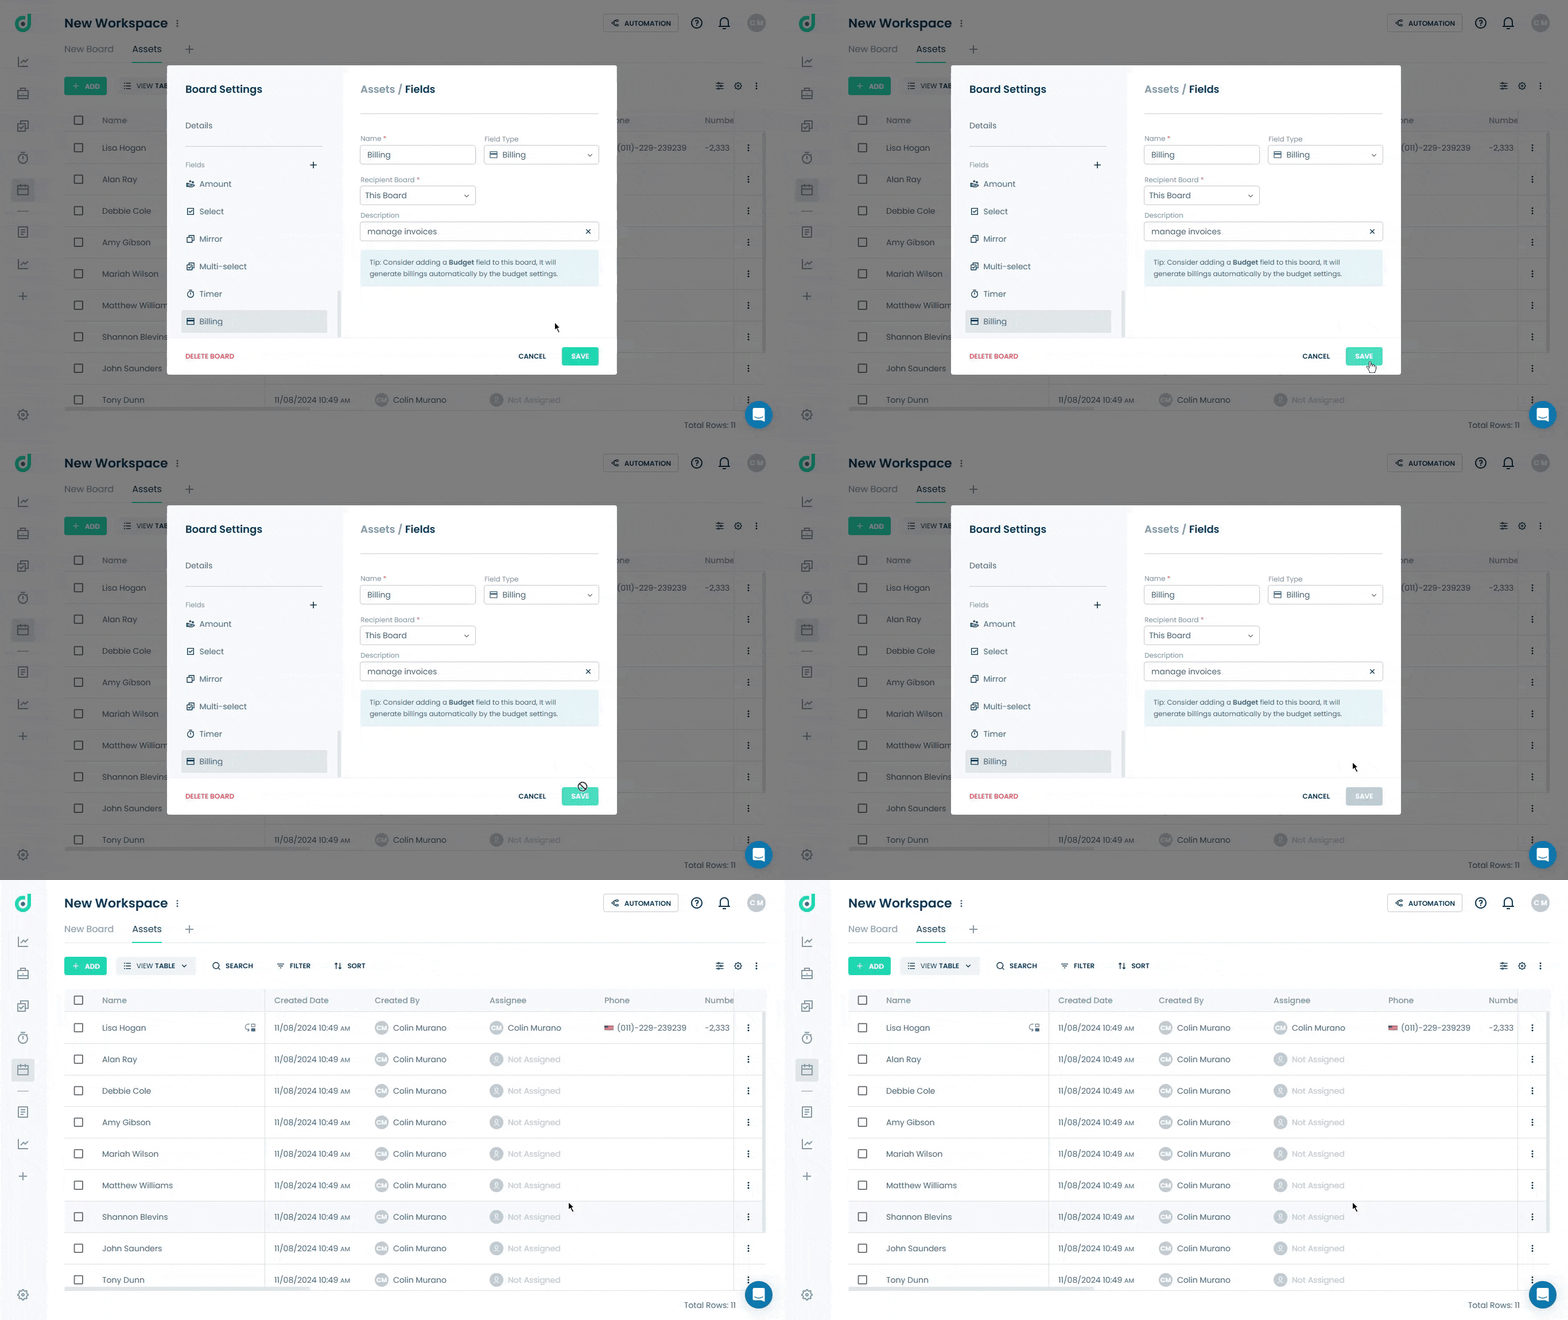
Step 7: Click on the SAVE button.
Use Billing Field
Once you have added the Billing field type, you can manage payment collection, and revenue operations efficiently within your boards.
Note: To use the Billing option, you need to change the subscription plan to pro. For more information, refer to the documentation - “How to Manage Subscription”.
Step 1: Click on the Record you want to view and add billing.
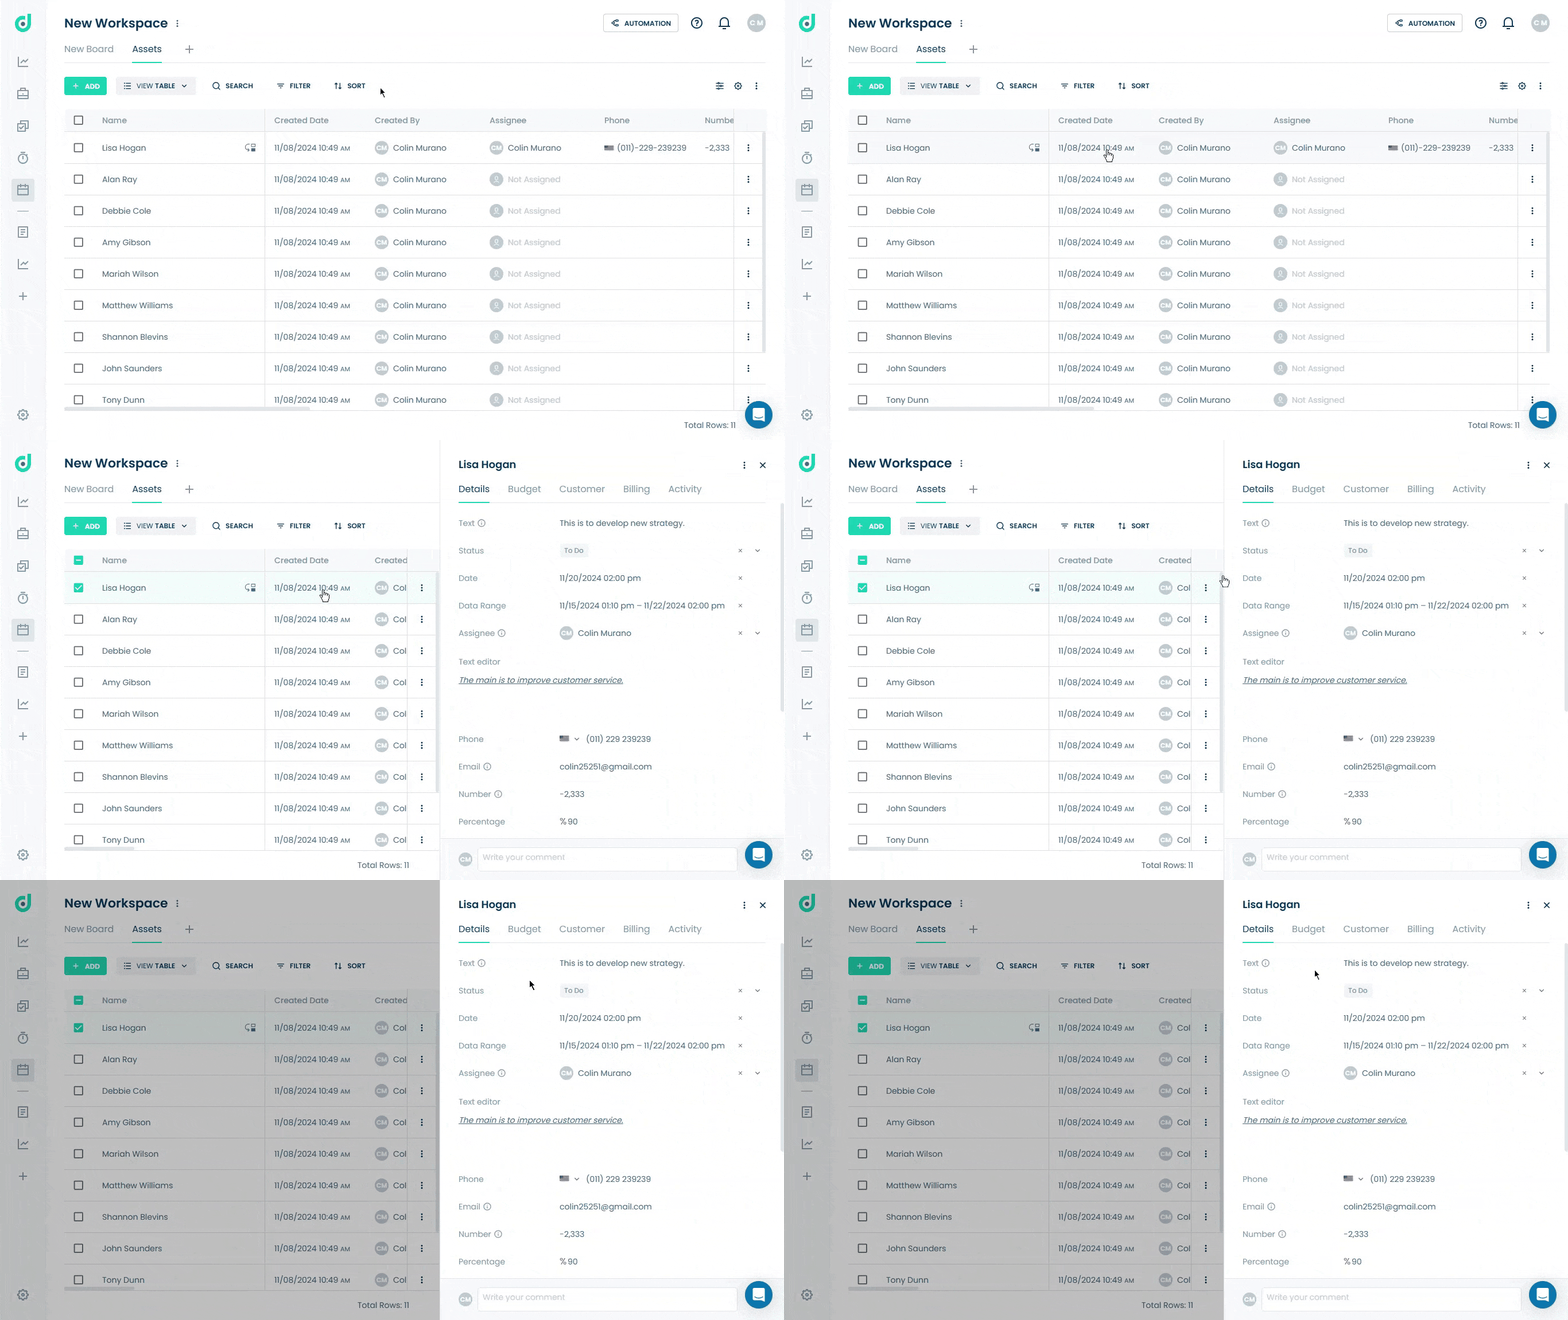
Step 2: Locate the Billing tab from within the record and click on the + Add button to add different types of budget entries.
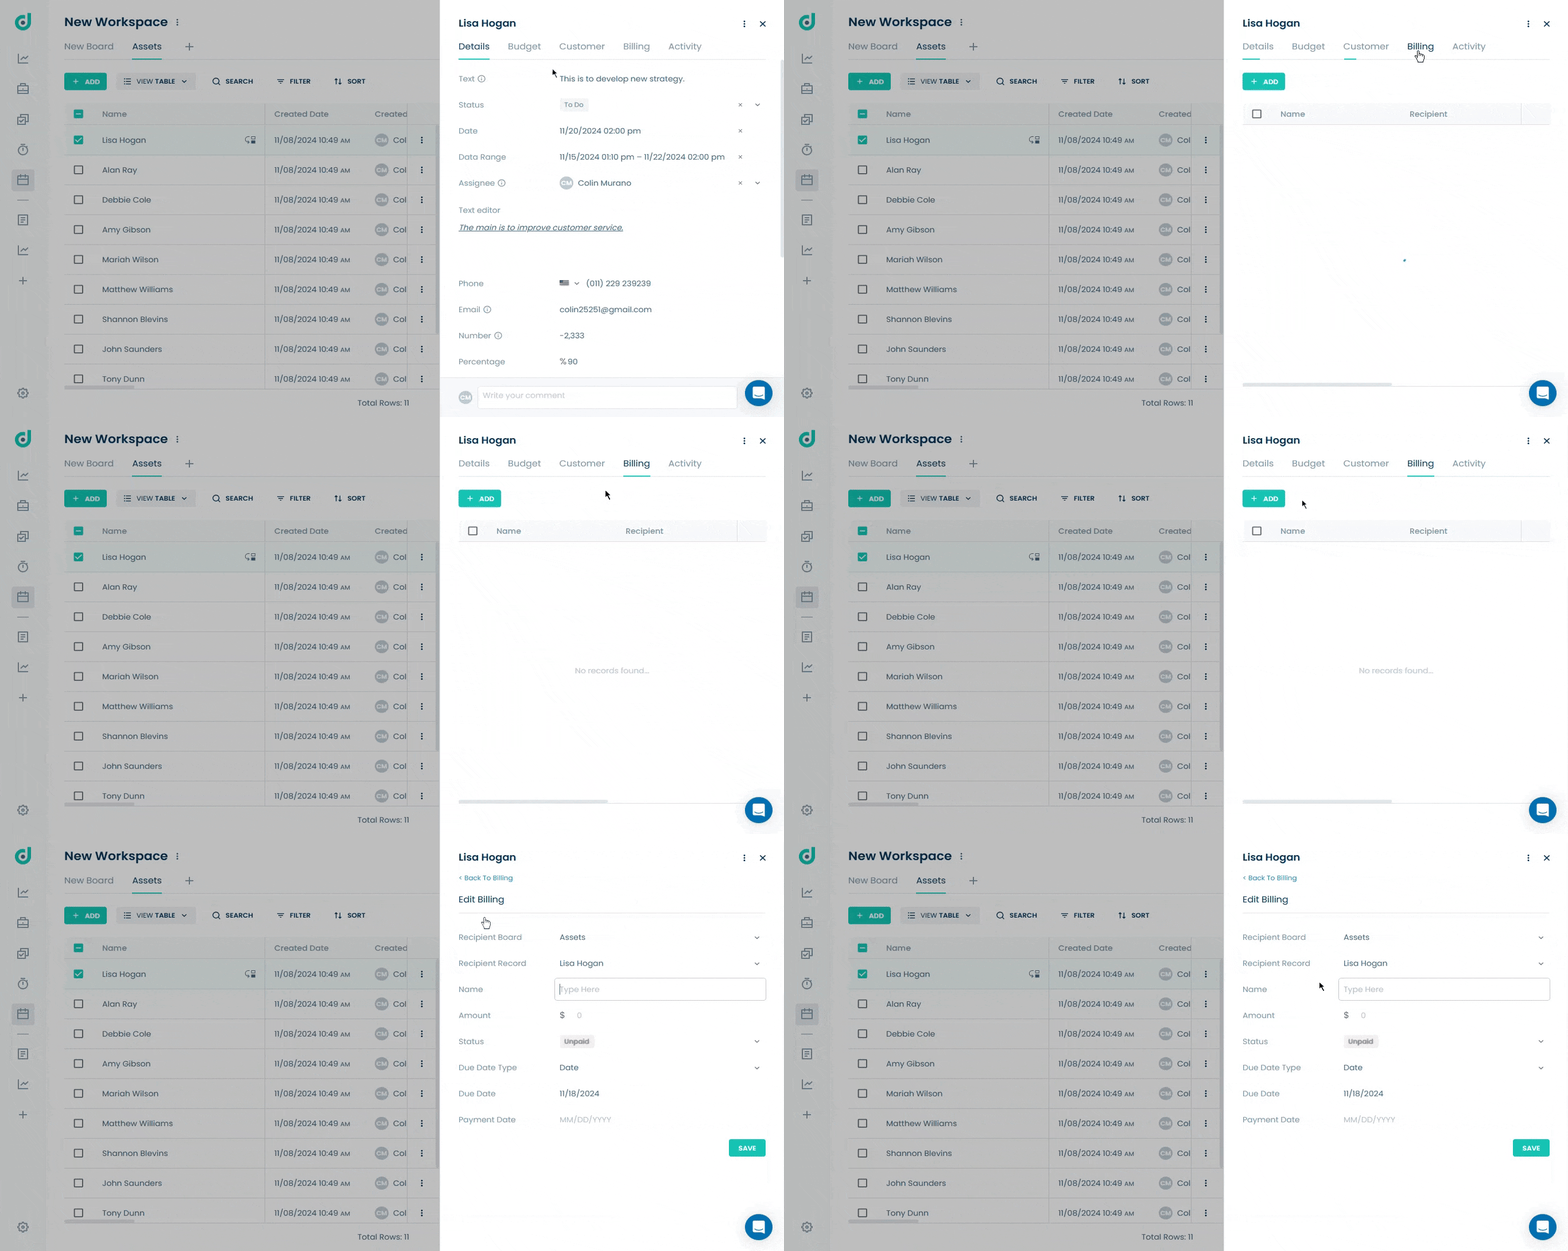
Step 3: The Edit Billing form will appear, allowing you to manage billing details for the selected record. Enter the following information:
| Fields | Description |
| Recipient Board | Indicates the board to which the billing entry is related. |
| Recipient Record | Refers to the specific record within the selected board associated with this billing entry. |
| Name | An input where a descriptive name or label for the billing entry can be added. |
| Amount & Currency | Enter the monetary value of the billing entry, and set the currency and the exchange rate (if different from your default). |
| Status | Dropdown indicating the current payment status. |
| Due Date Type | Dropdown to define the type of due date. |
| Due Date | Date picker to specify the payment deadline or Milestone if select dependency in the “Due Date Type”. |
| Payment Date | Enter the date when the payment is made. |
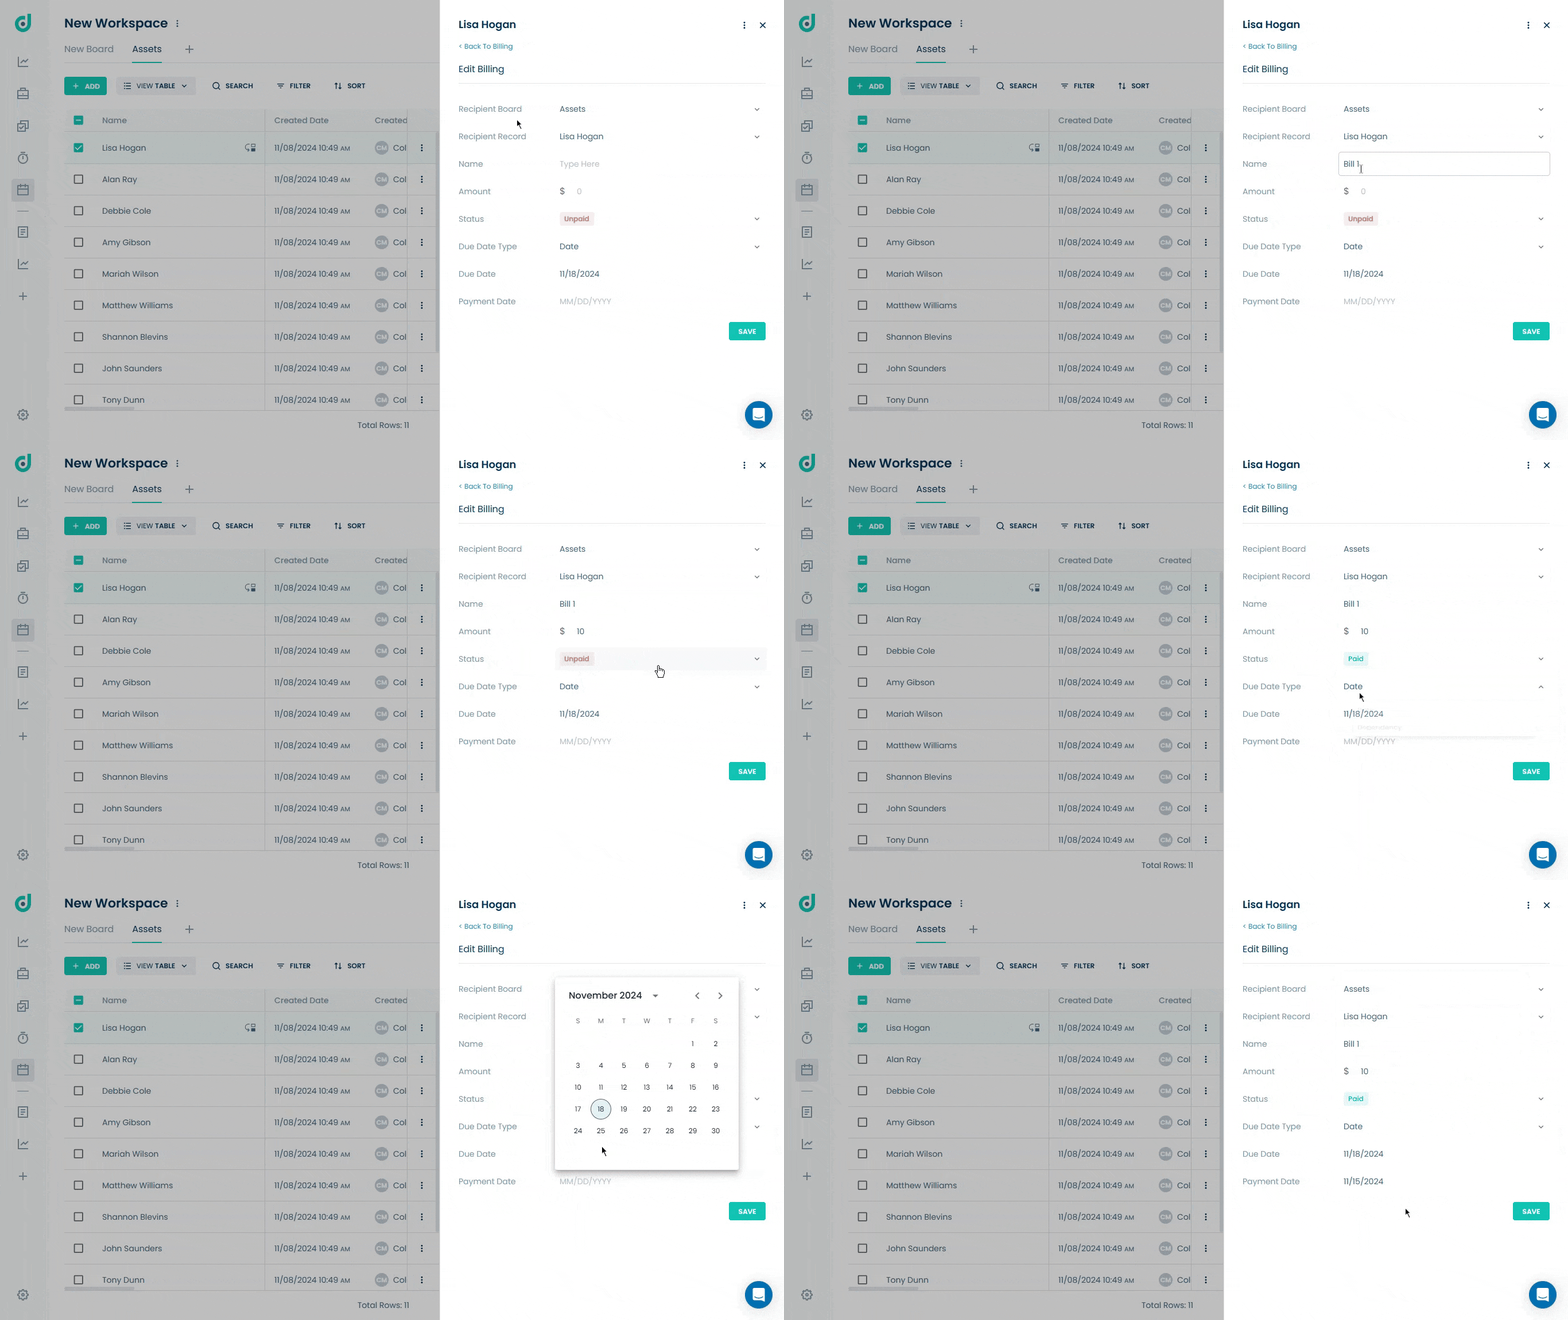
Step 4: Once done, click on the SAVE button.
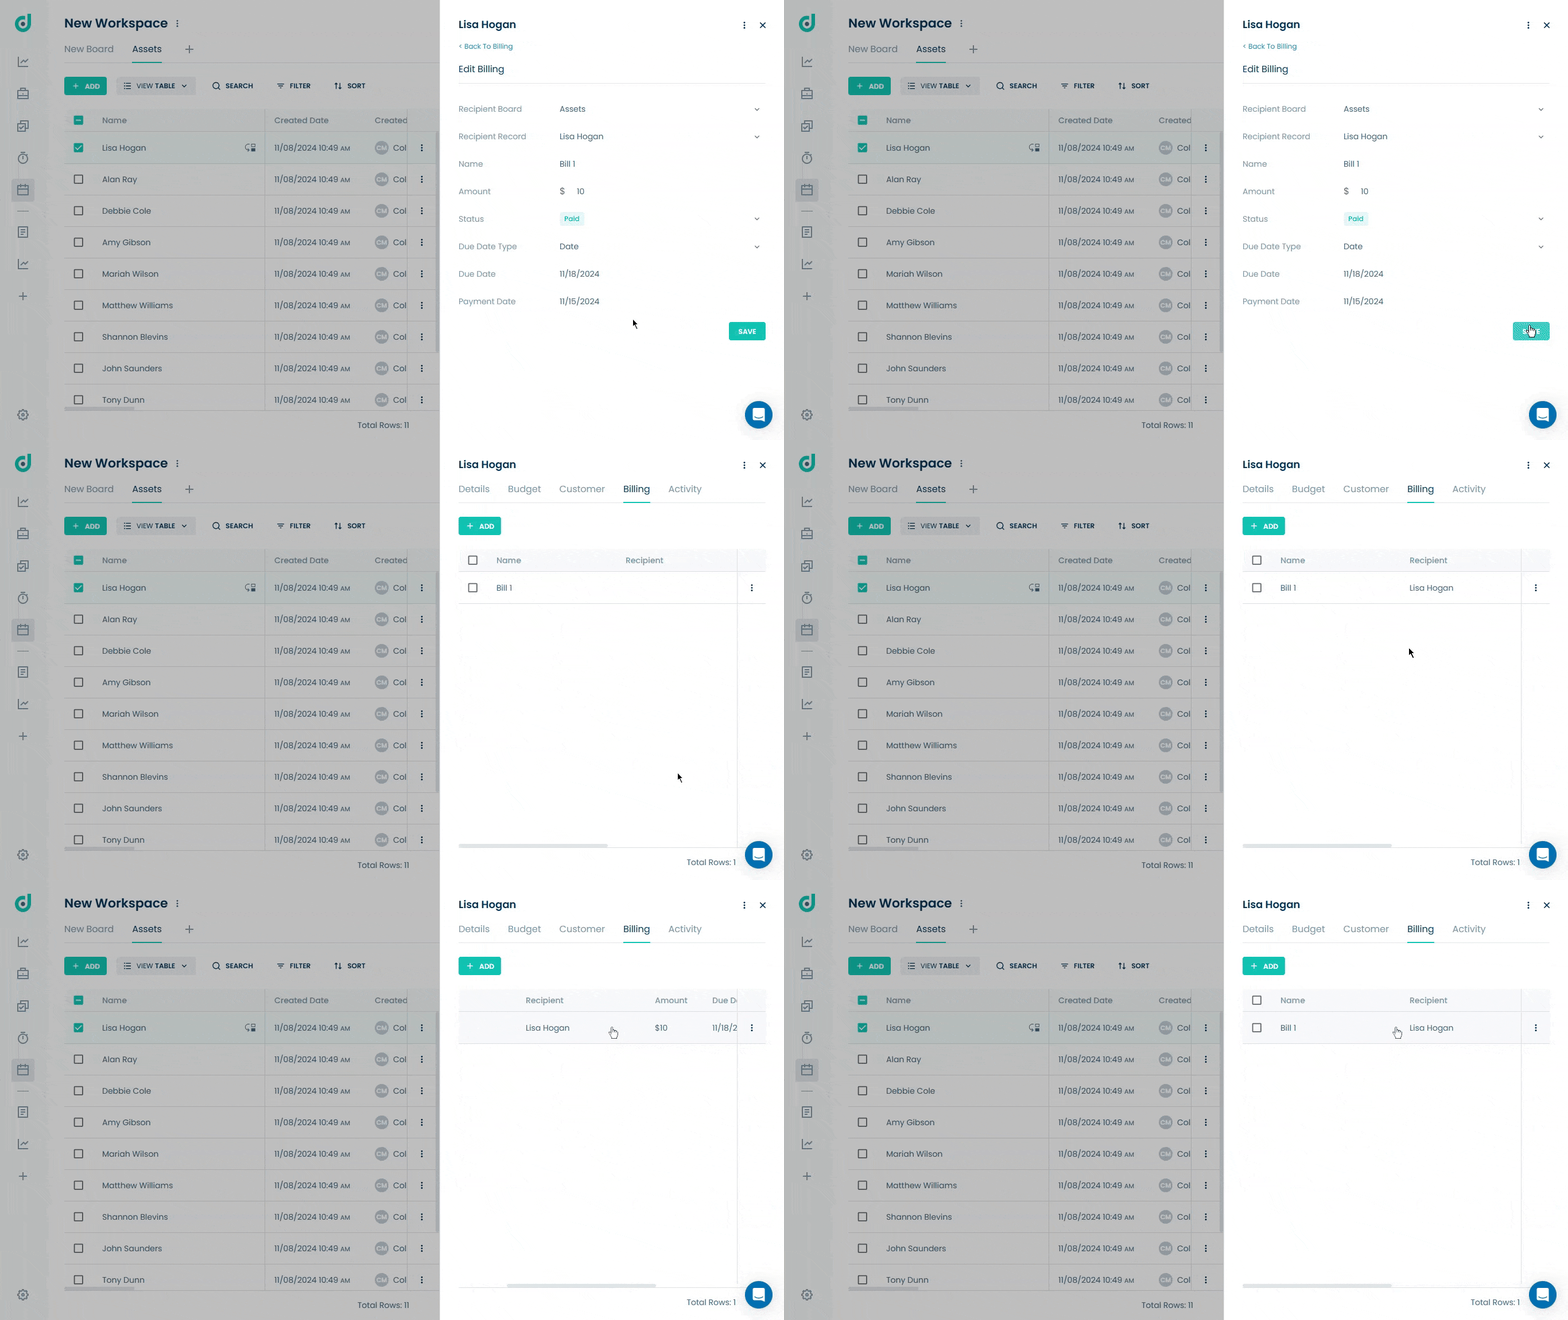
You can also manually create a billing for invoicing or budget adjustments without waiting for the schedule. For more information, refer to the Budget document.
Manage Billing
OneDeck allows you to efficiently manage billing-related activities, ensuring organized and accurate records through the following options:
- Edit
- Create Document
- Delete
Edit
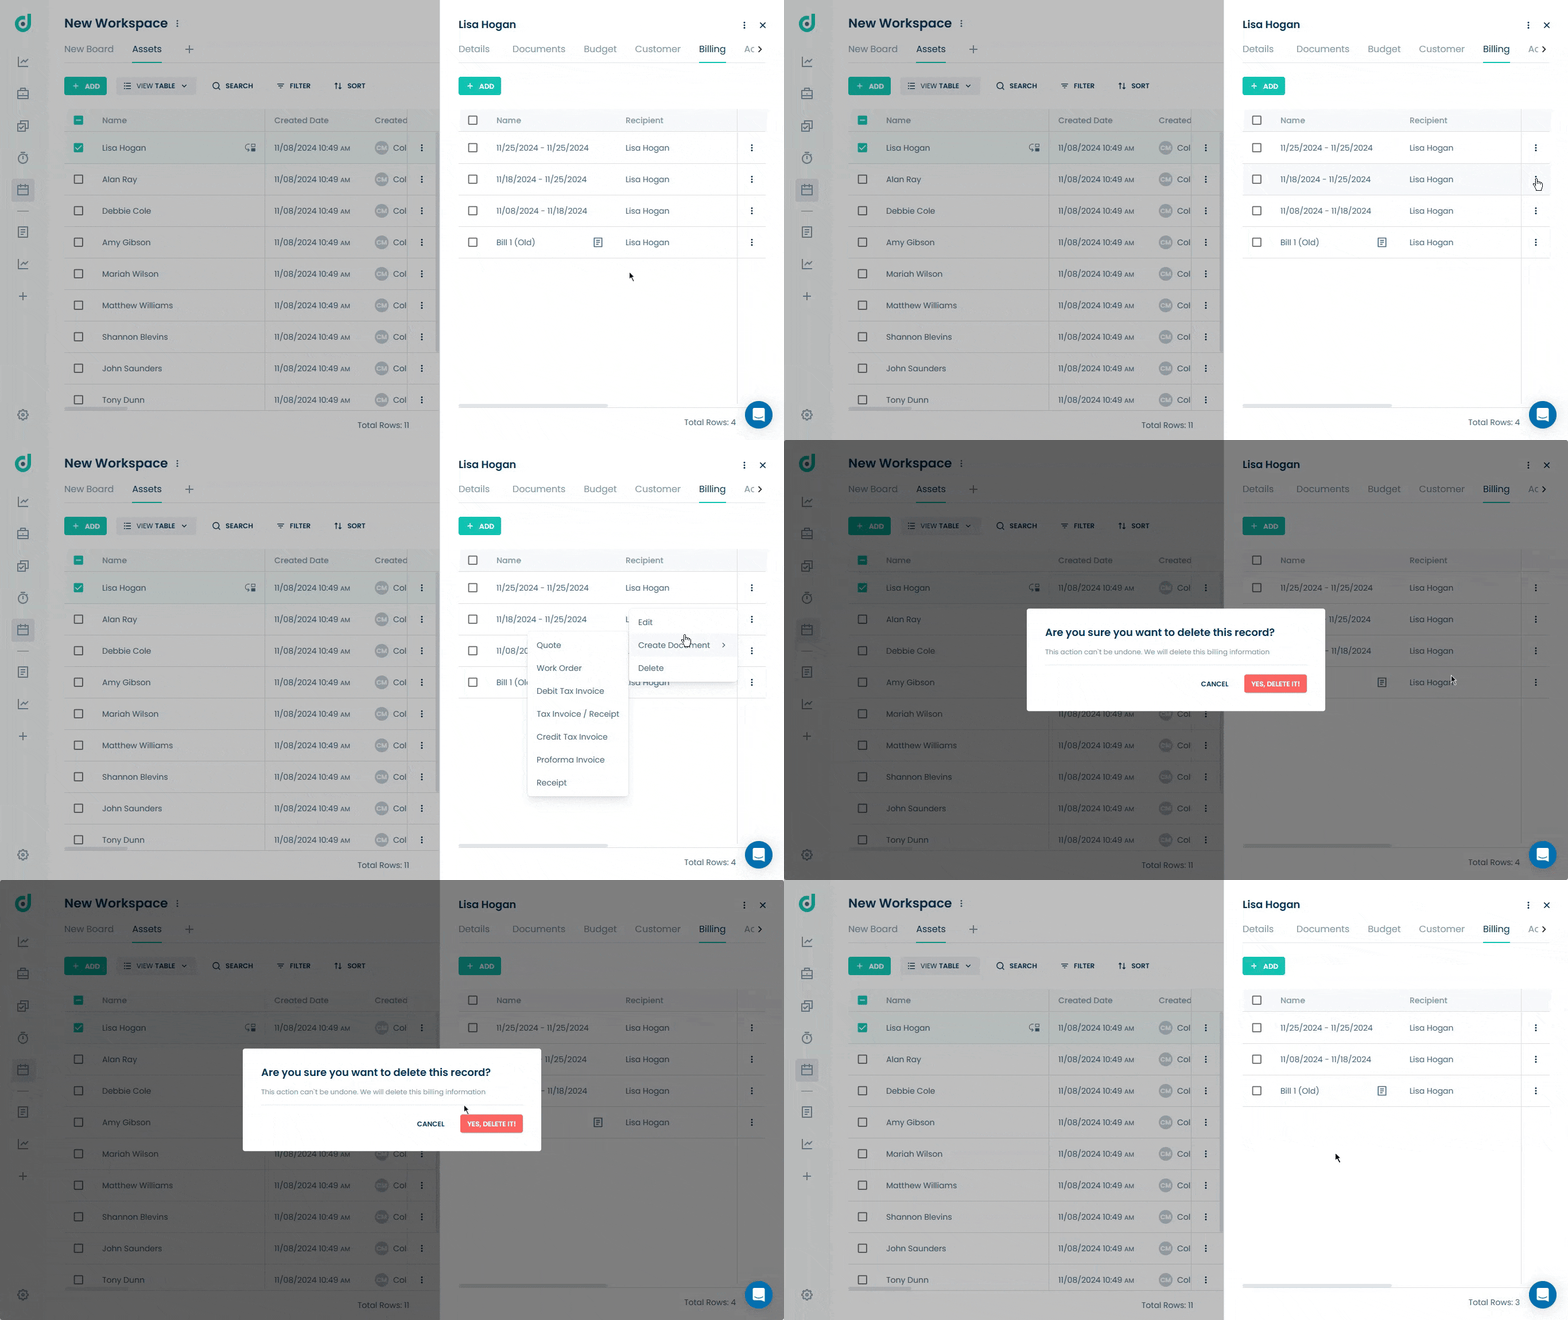
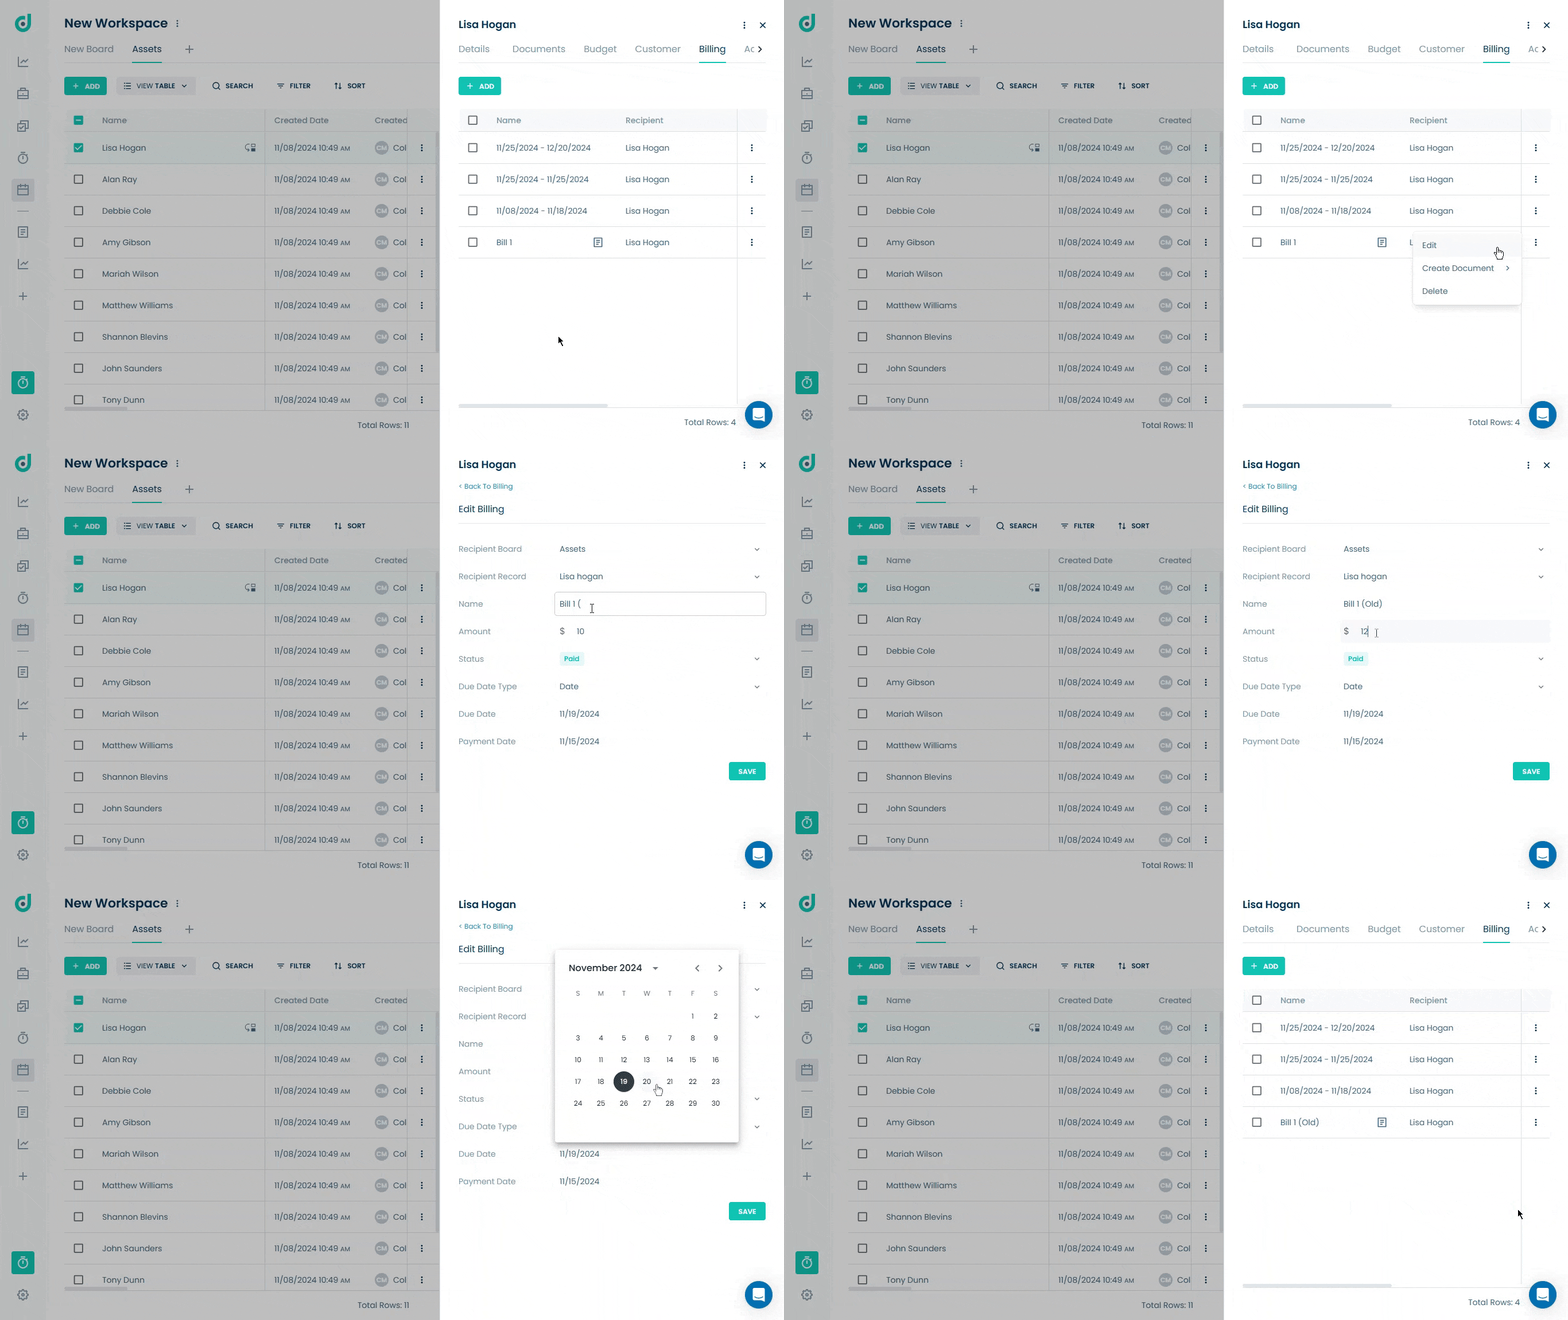
Allows you to modify existing billing details such as recipient board, recipient record, amount or due date, etc. Click on the Vertical ellipsis (three dots) and select the Edit option.
Create Document
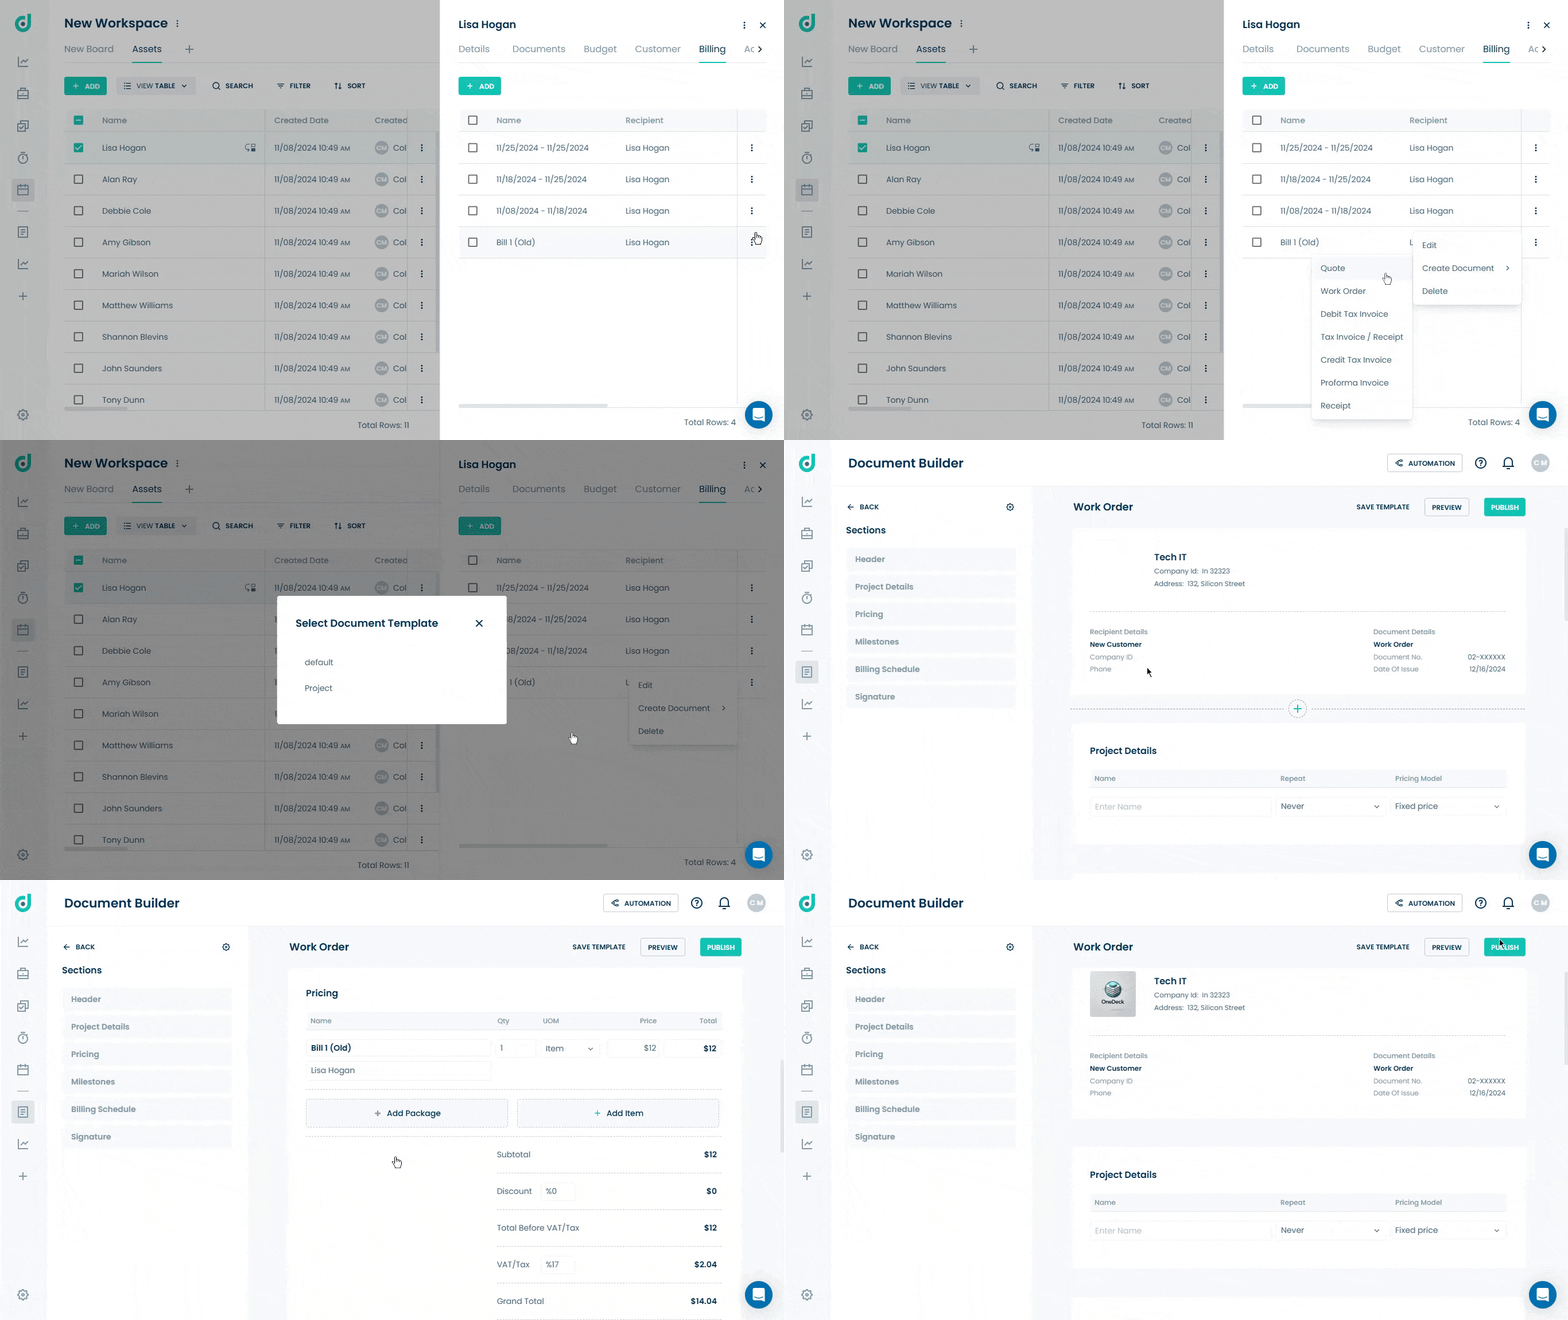
Allows you to expand further and provide options to generate different types of billing documents. Click on the Vertical ellipsis (three dots) and select the Create Document option with its one type.
Delete
Allows you to remove the billing entry from the record. Click on the Vertical ellipsis (three dots), select the delete option, and confirm it.
