OneDeck Help Center
Assignee Field
With the Assignee field, you can assign team members to individual records within your boards, ensuring clear accountability and streamlined tracking. Simply add the Assignee field in board settings and assign employees to each record. This helps keep tasks organized, providing clear visibility of responsibilities. It's especially useful for larger teams or groups, as it clarifies task ownership, reducing the risk of oversight.
In this documentation, we’ll walk you through the steps on how to:
- Add Assignee Field
- Use Assignee Field
Let’s get started 🚀
Add Assignee Field
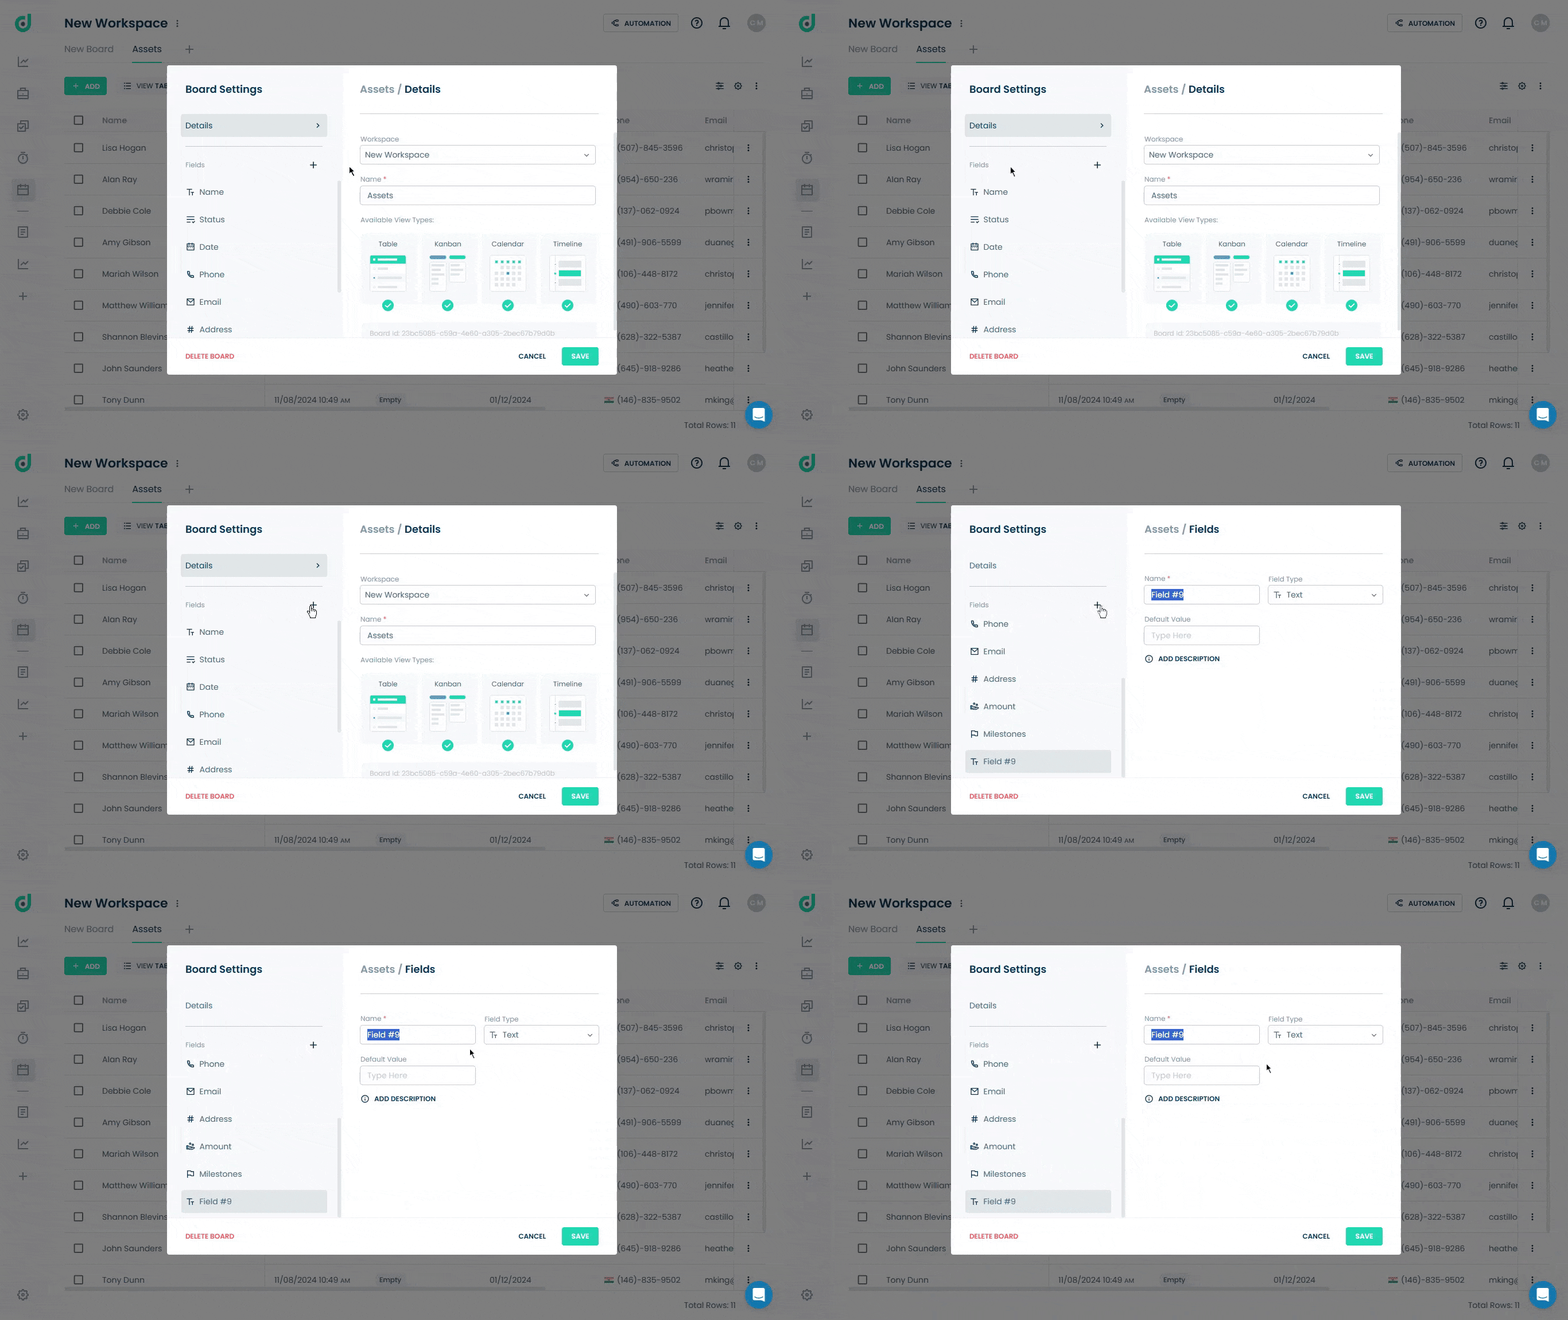
Step 1: Click on the Workspace button from the side navigation menu bar.
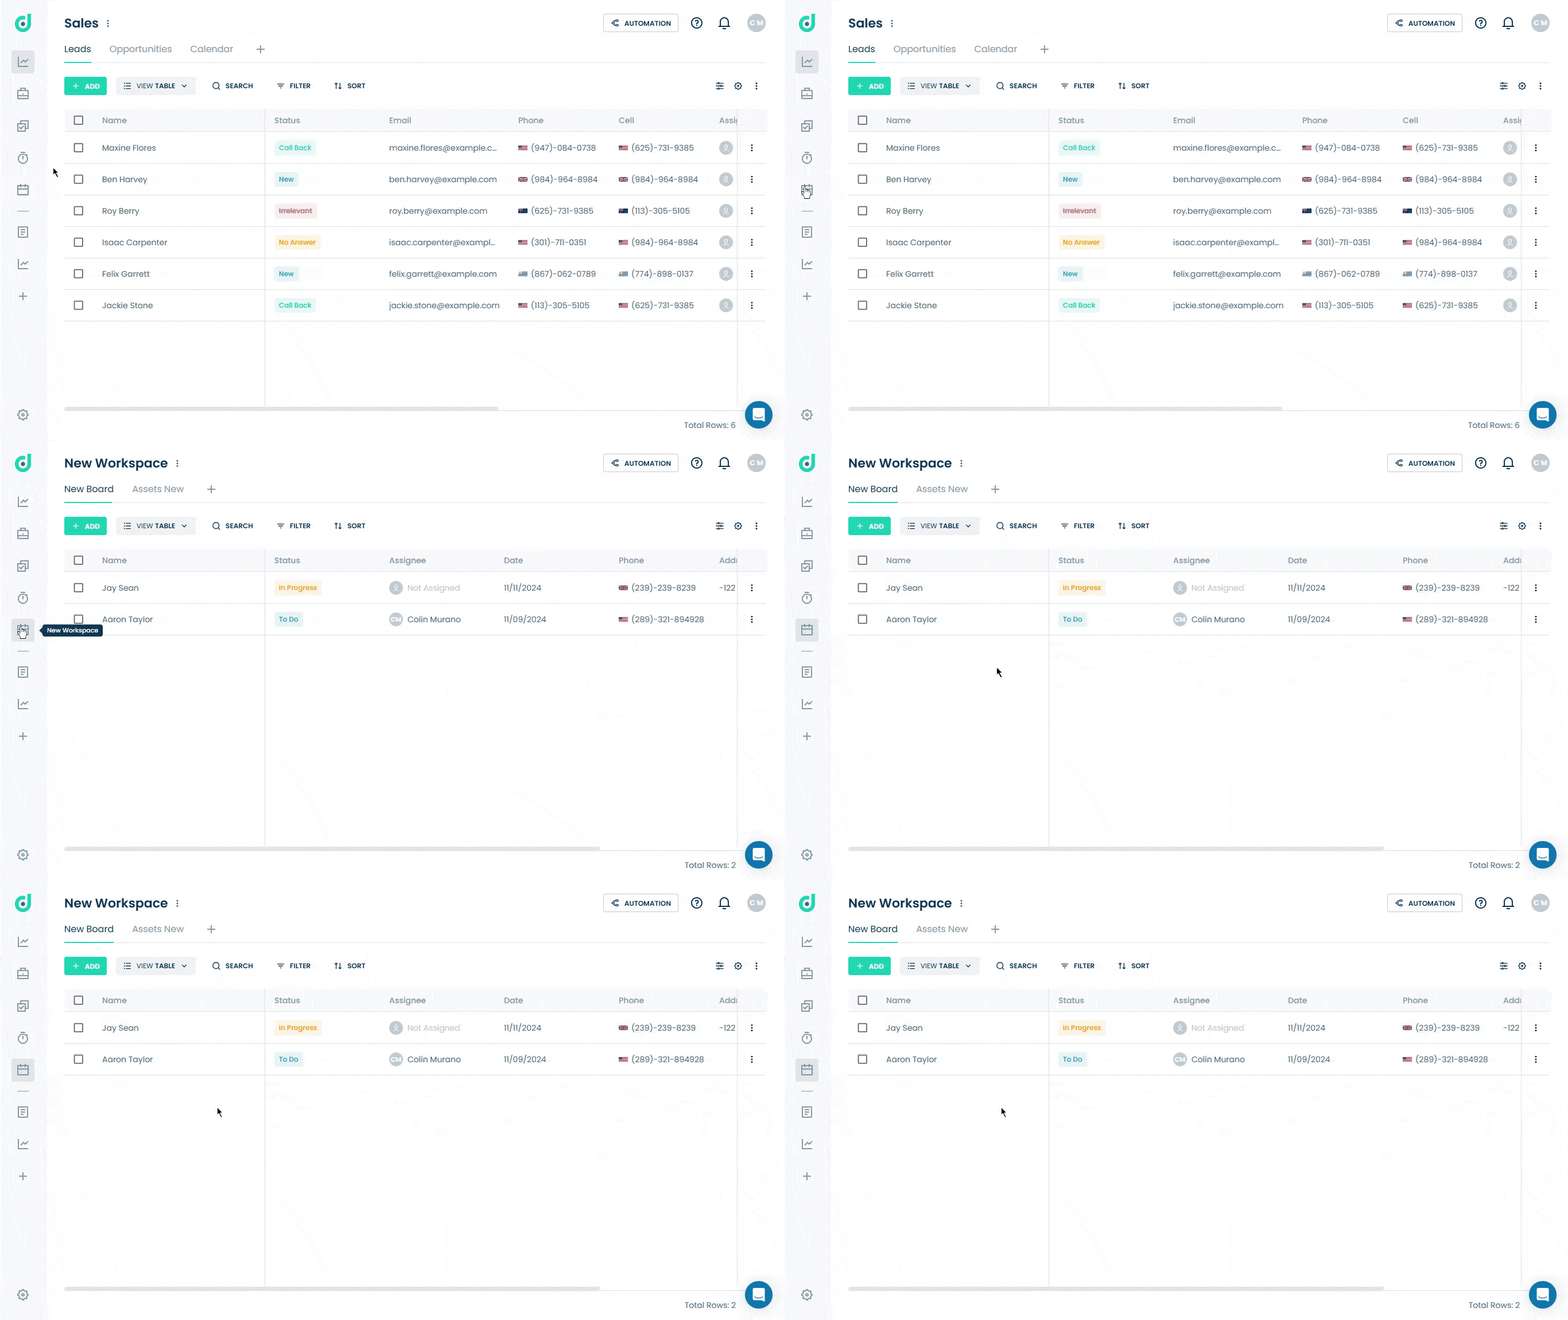
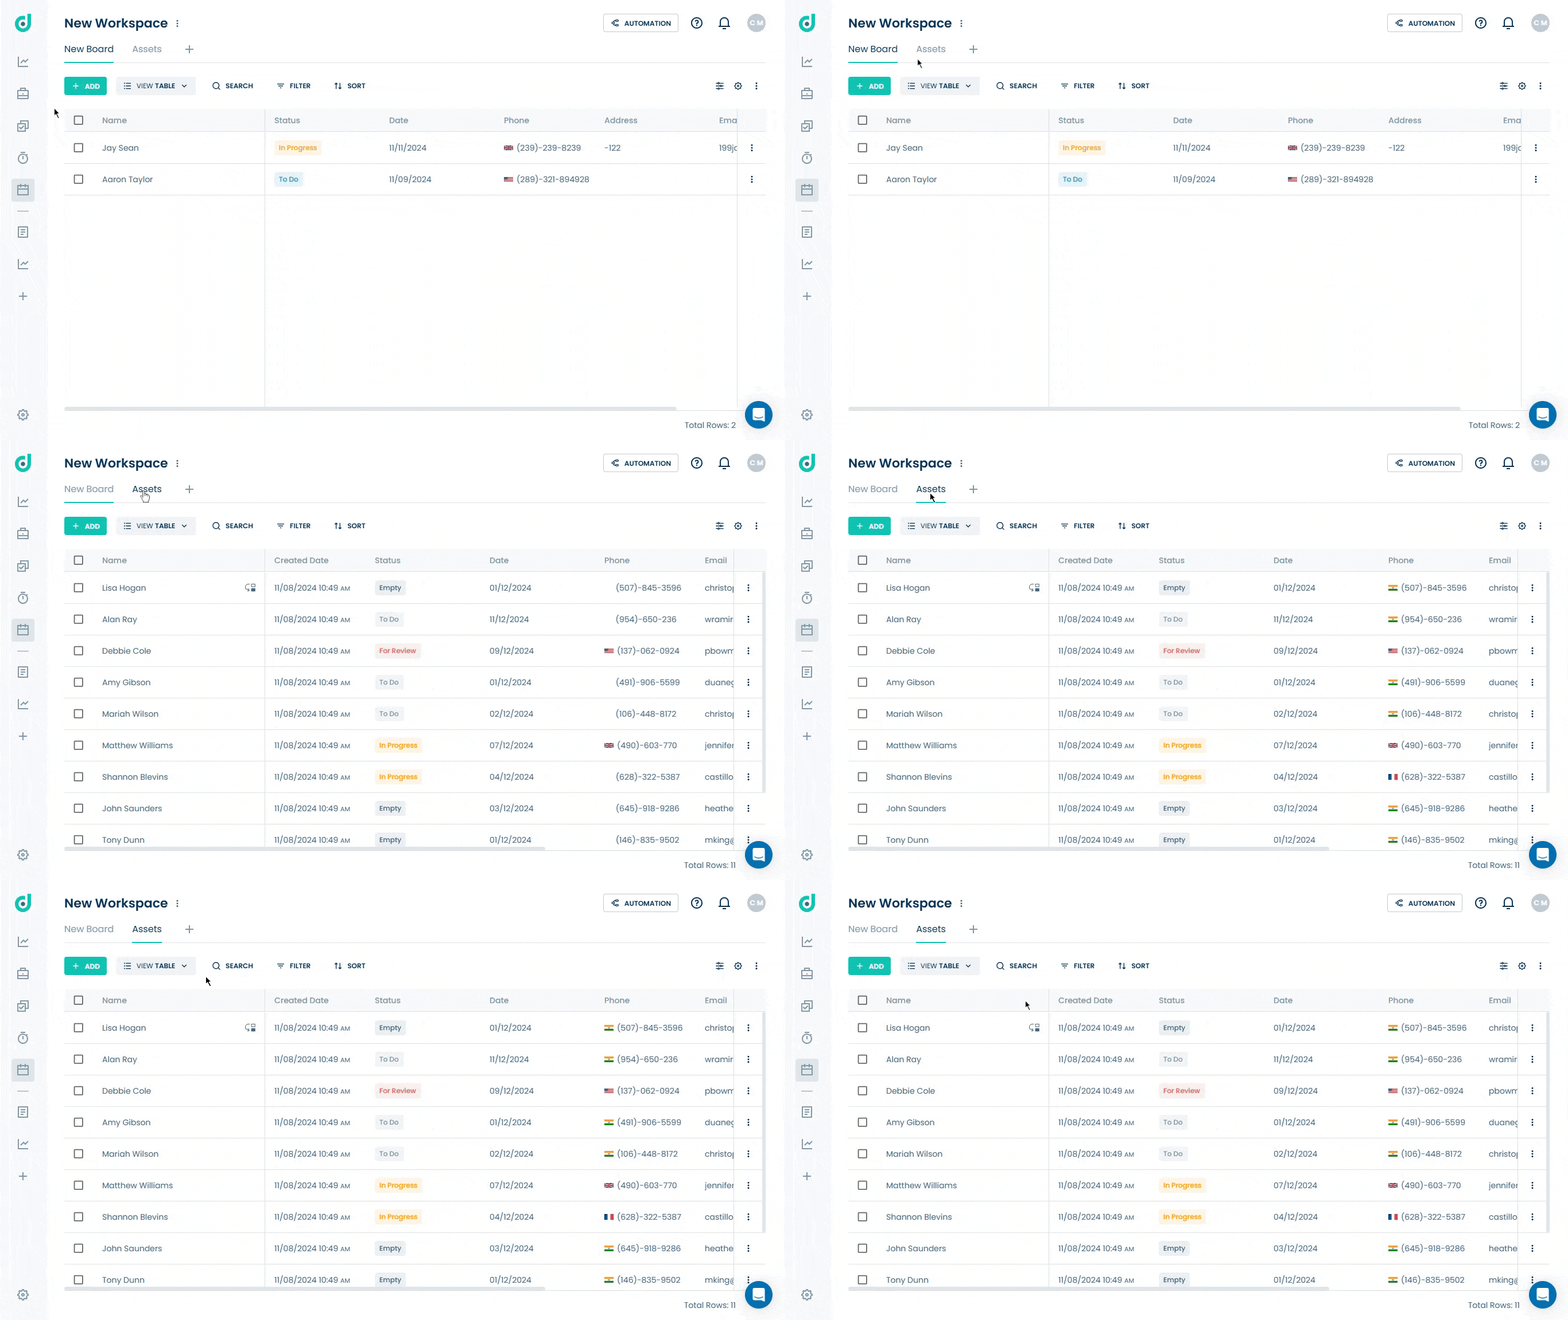
Step 2: Select the board where you want to add an assignee field.
Step 3: Click on the Setting icon from the right side of the interface.
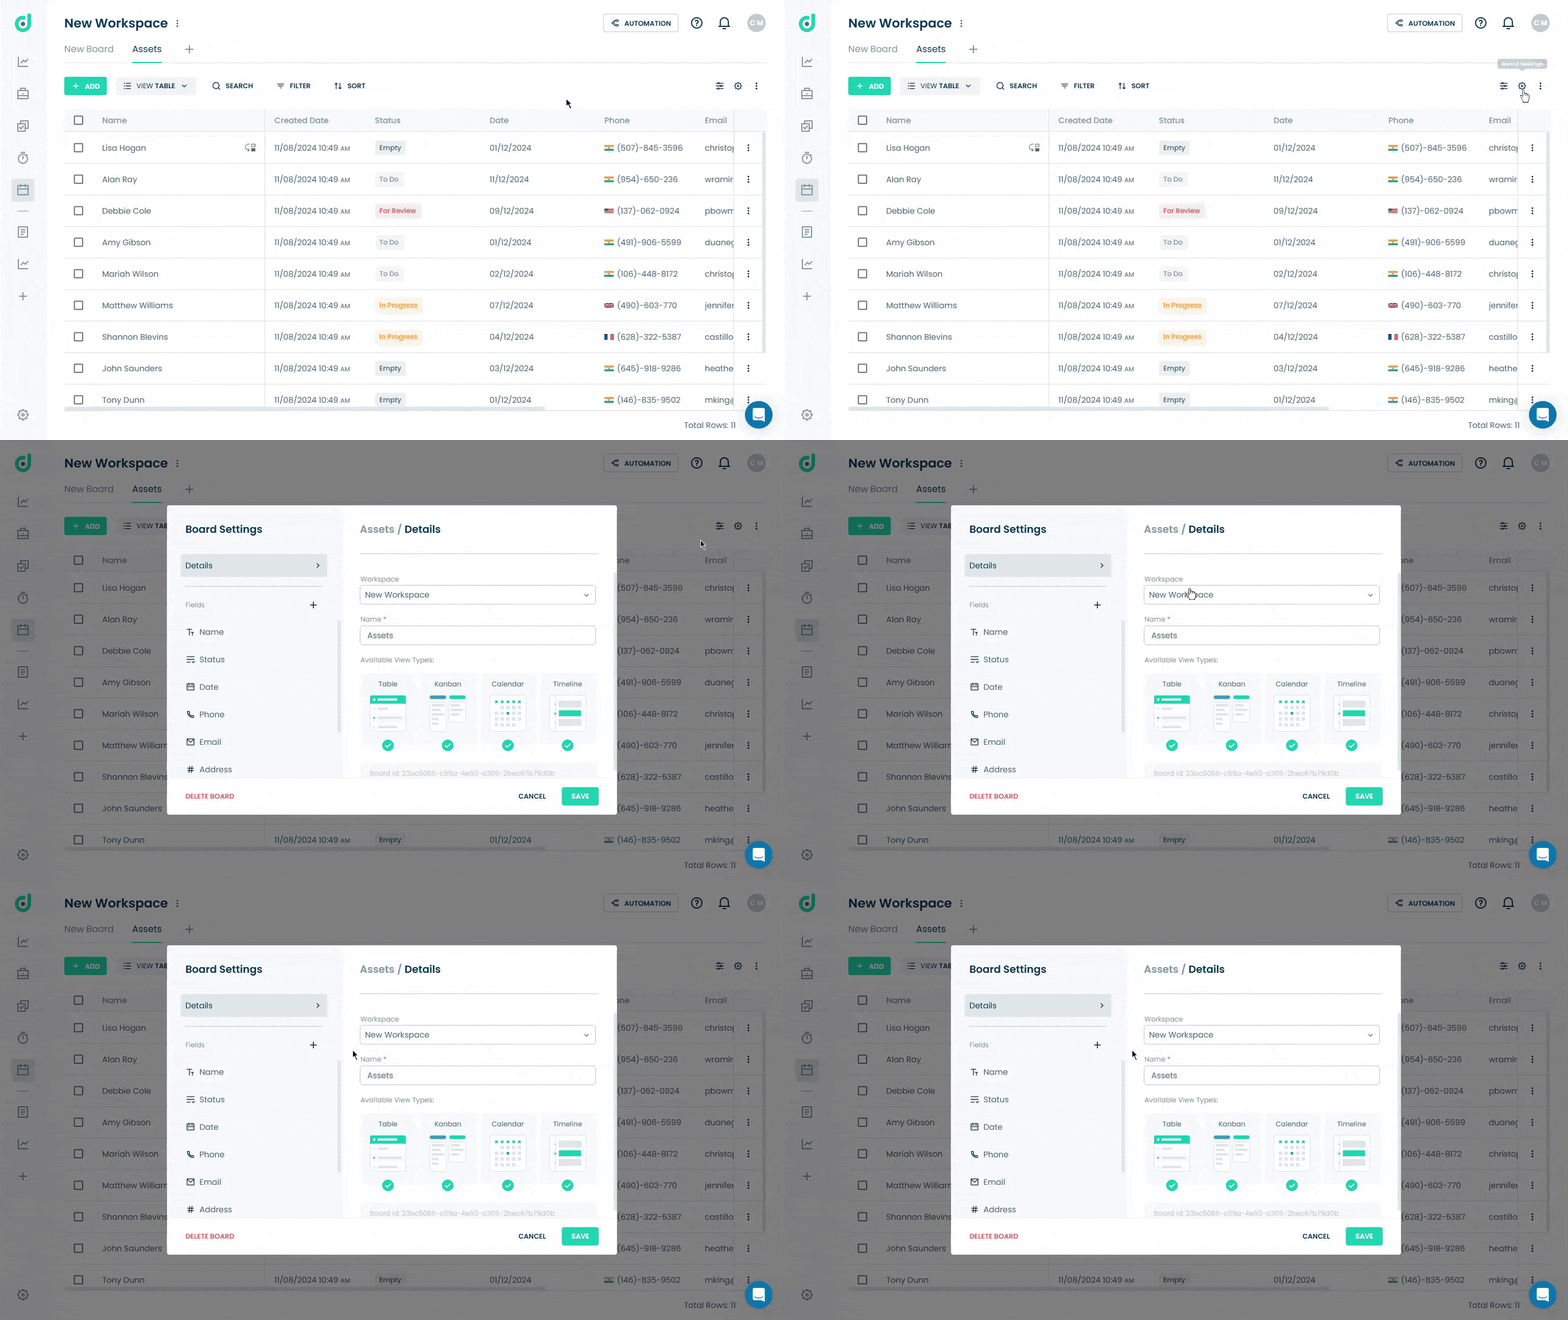
Step 4: Click on the “+” button from the field section.
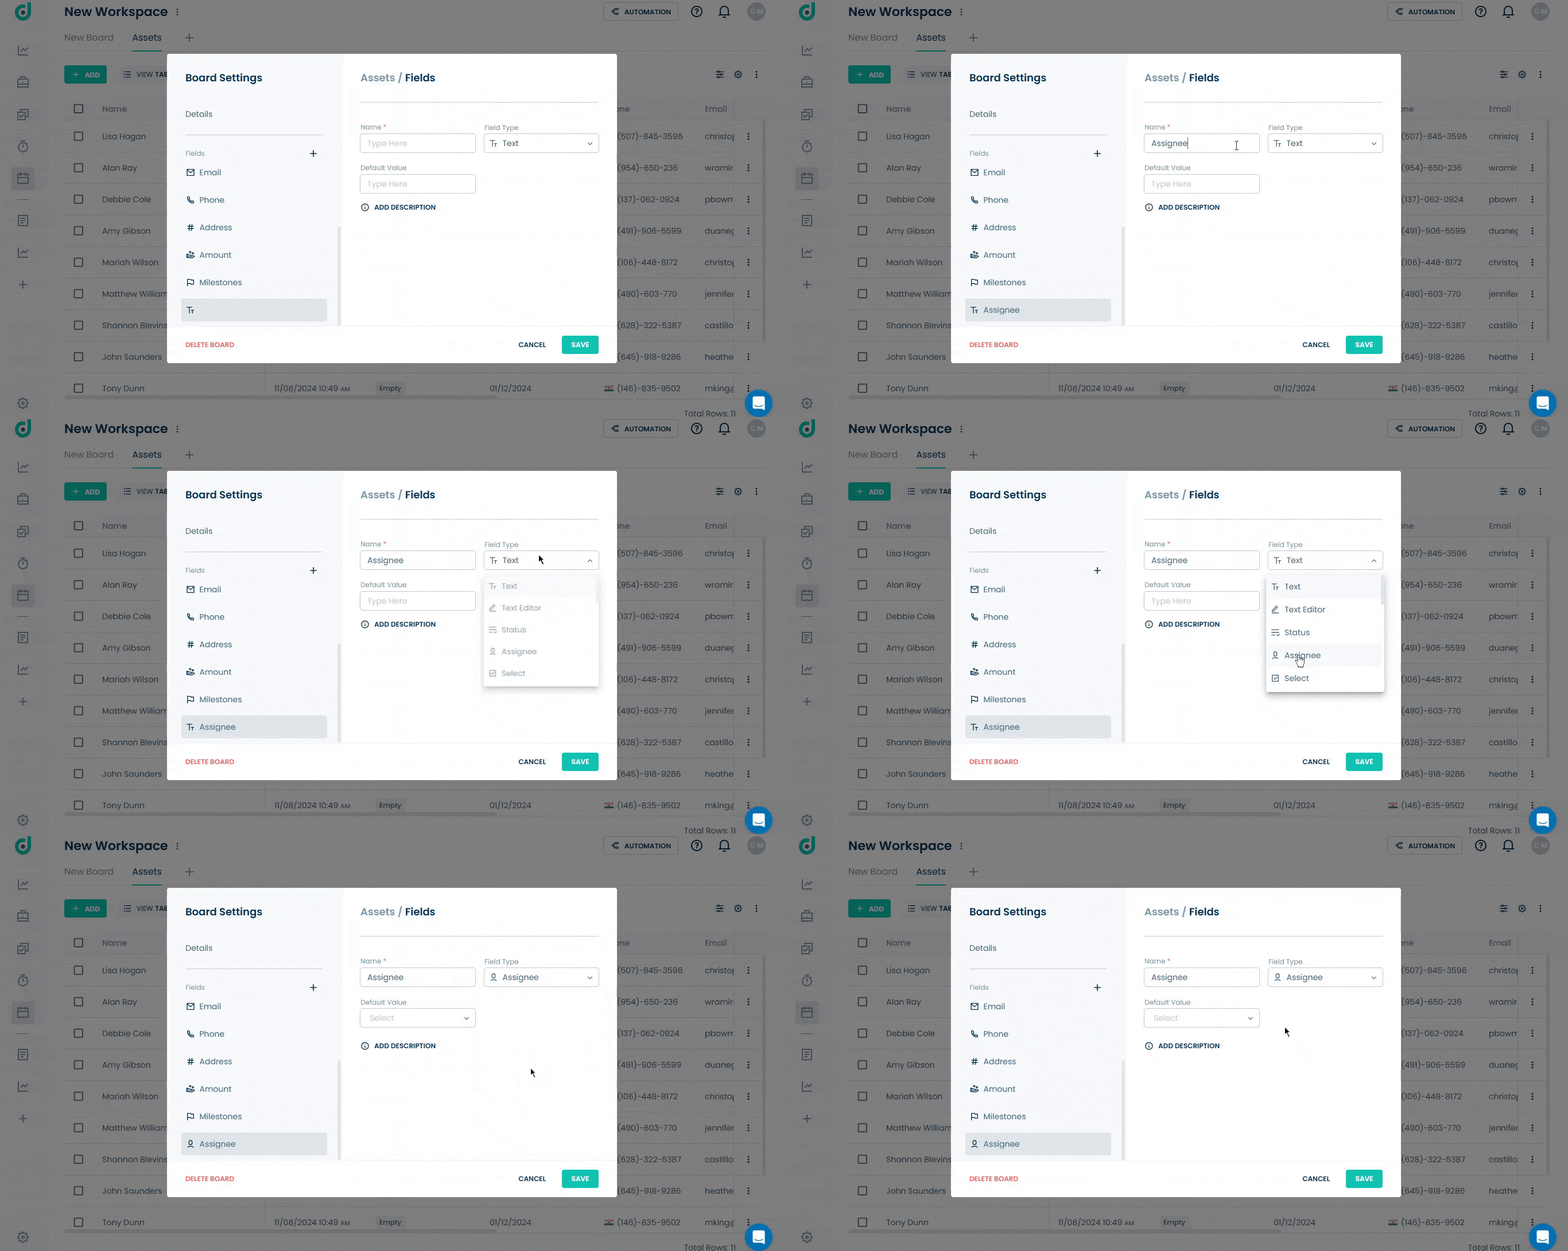
Step 5: Enter the field name and select the “Assignee” field type.
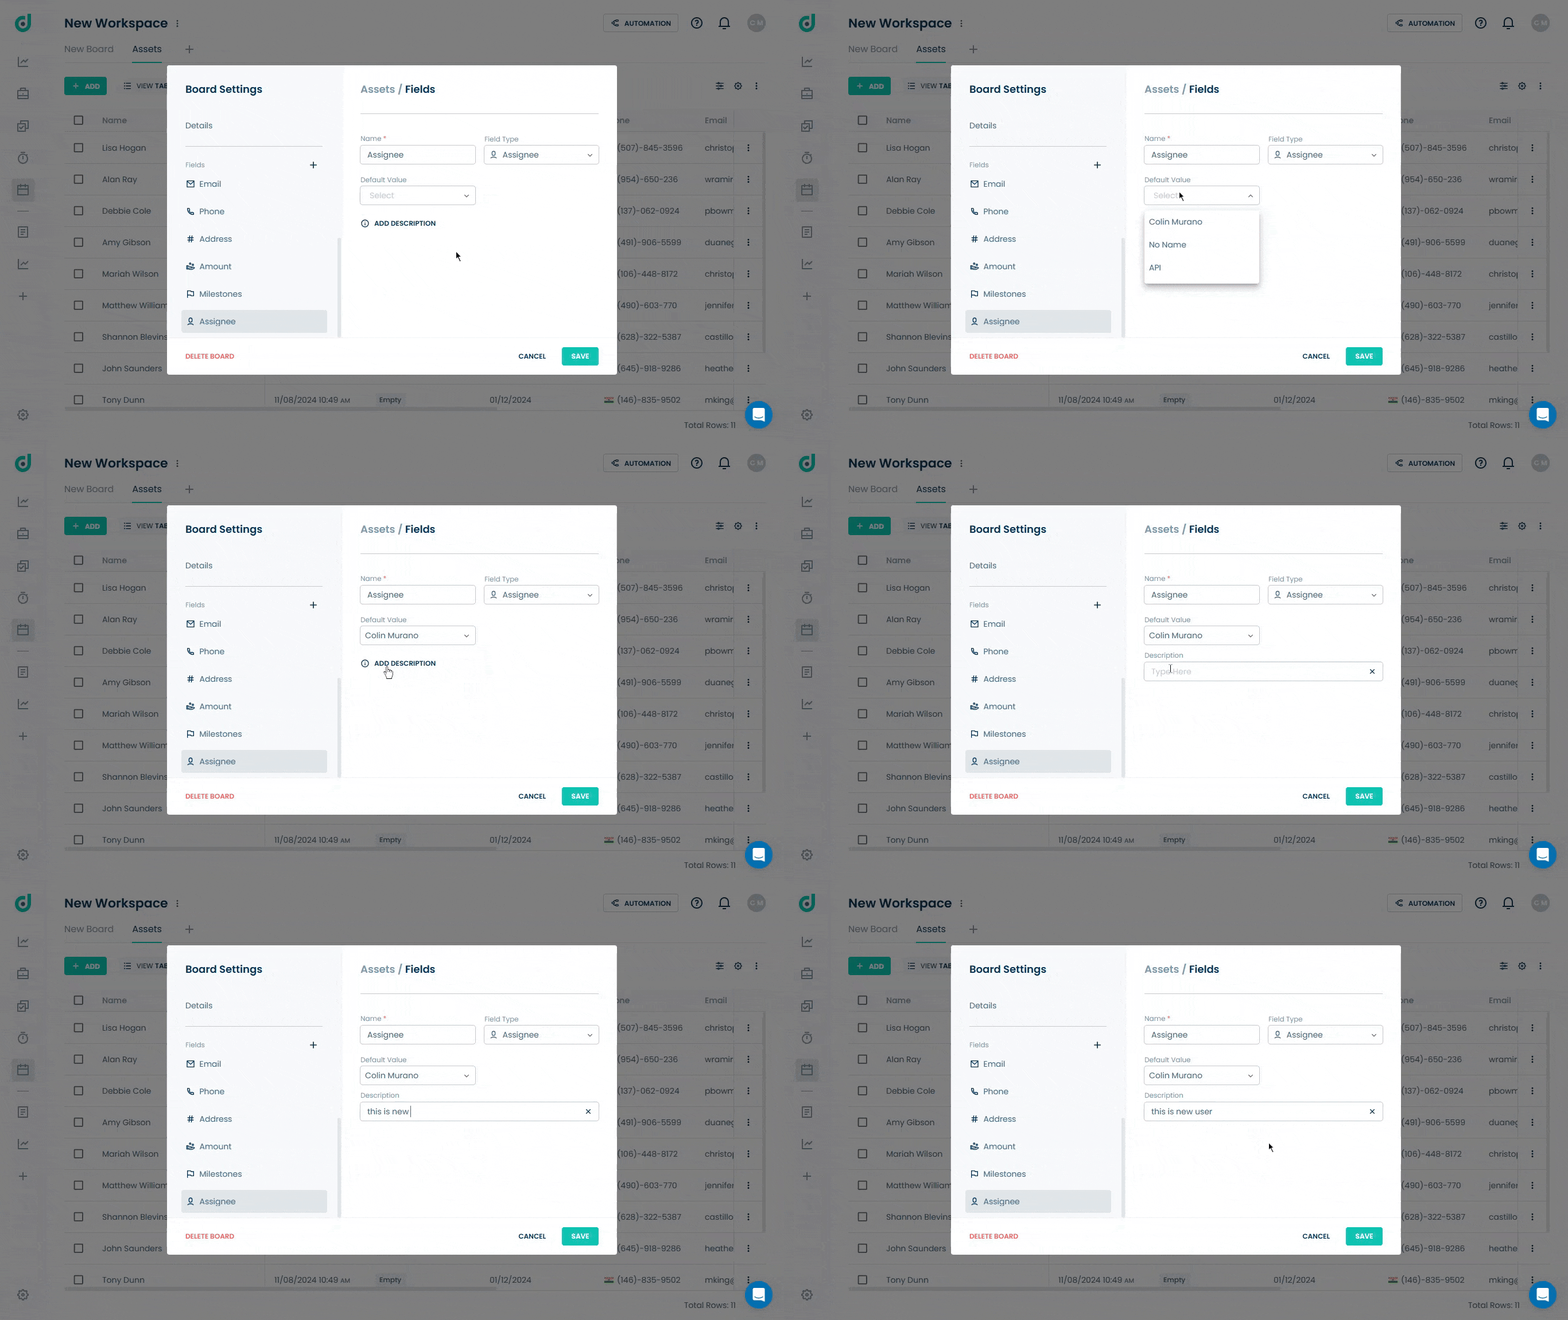
Step 6: (Optional): Select a default Assignee from the "Default Value" dropdown and add a description to provide additional information about this field.
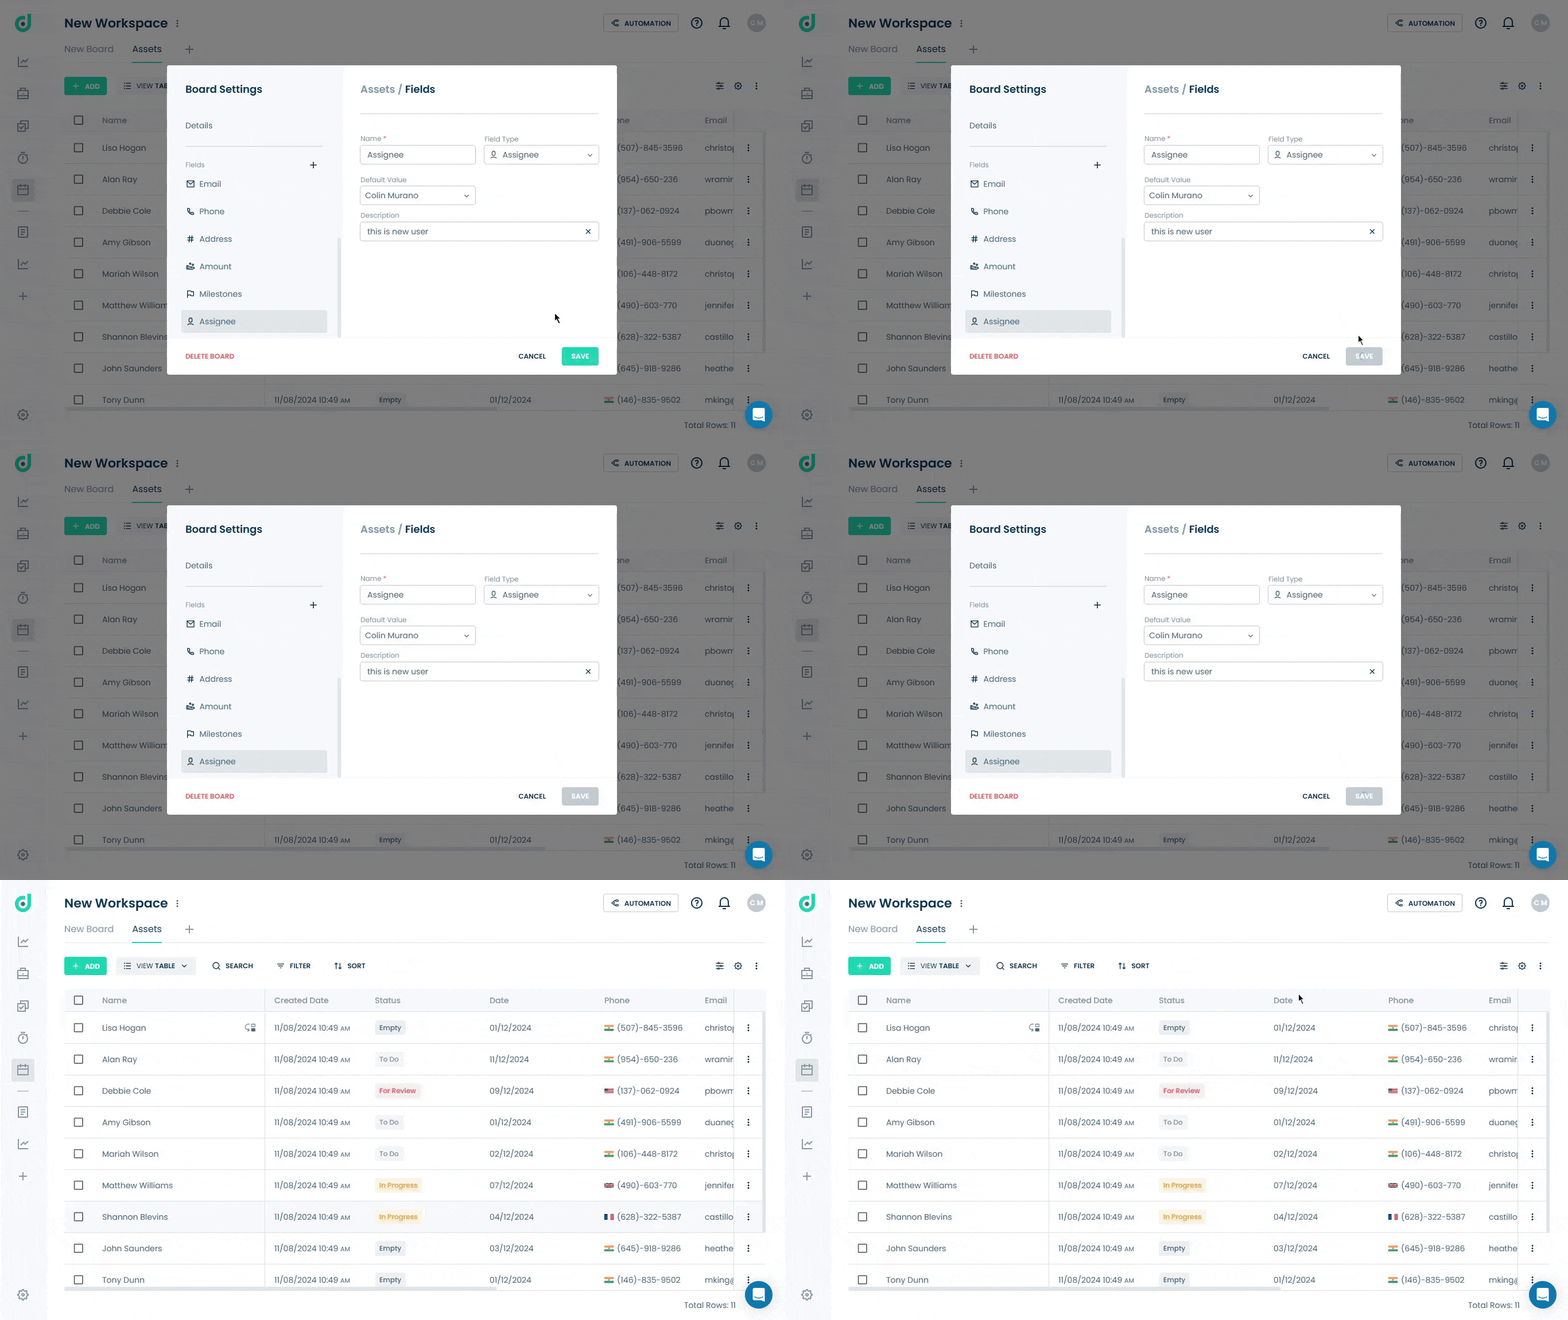
Step 7: Click on the SAVE button.
Use Assignee Field
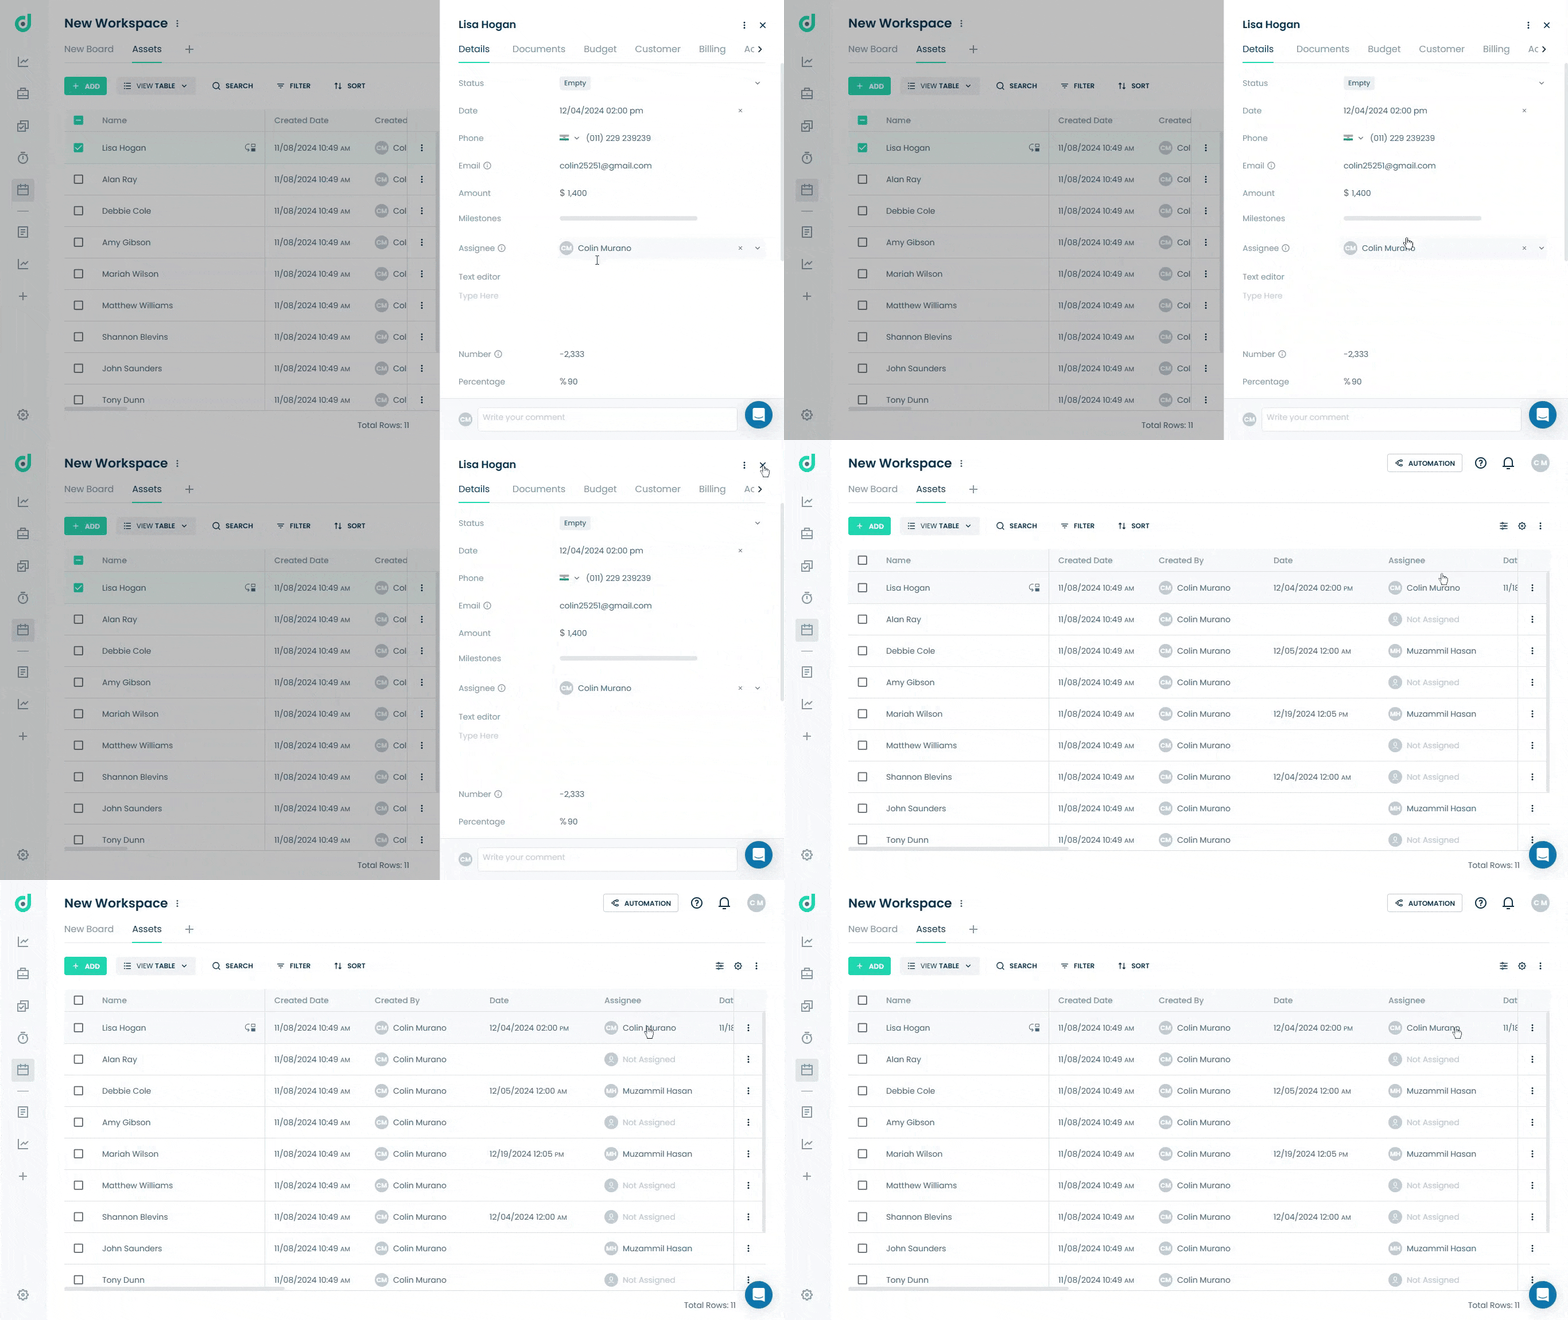
Once you have added Assignee as a field type, you can assign a record to a specific team member or collaborator.
Step 1: Click on the Record you want to assign to a user.

Step 2: In the record's details, locate the Assignee field and select the user you want to assign.
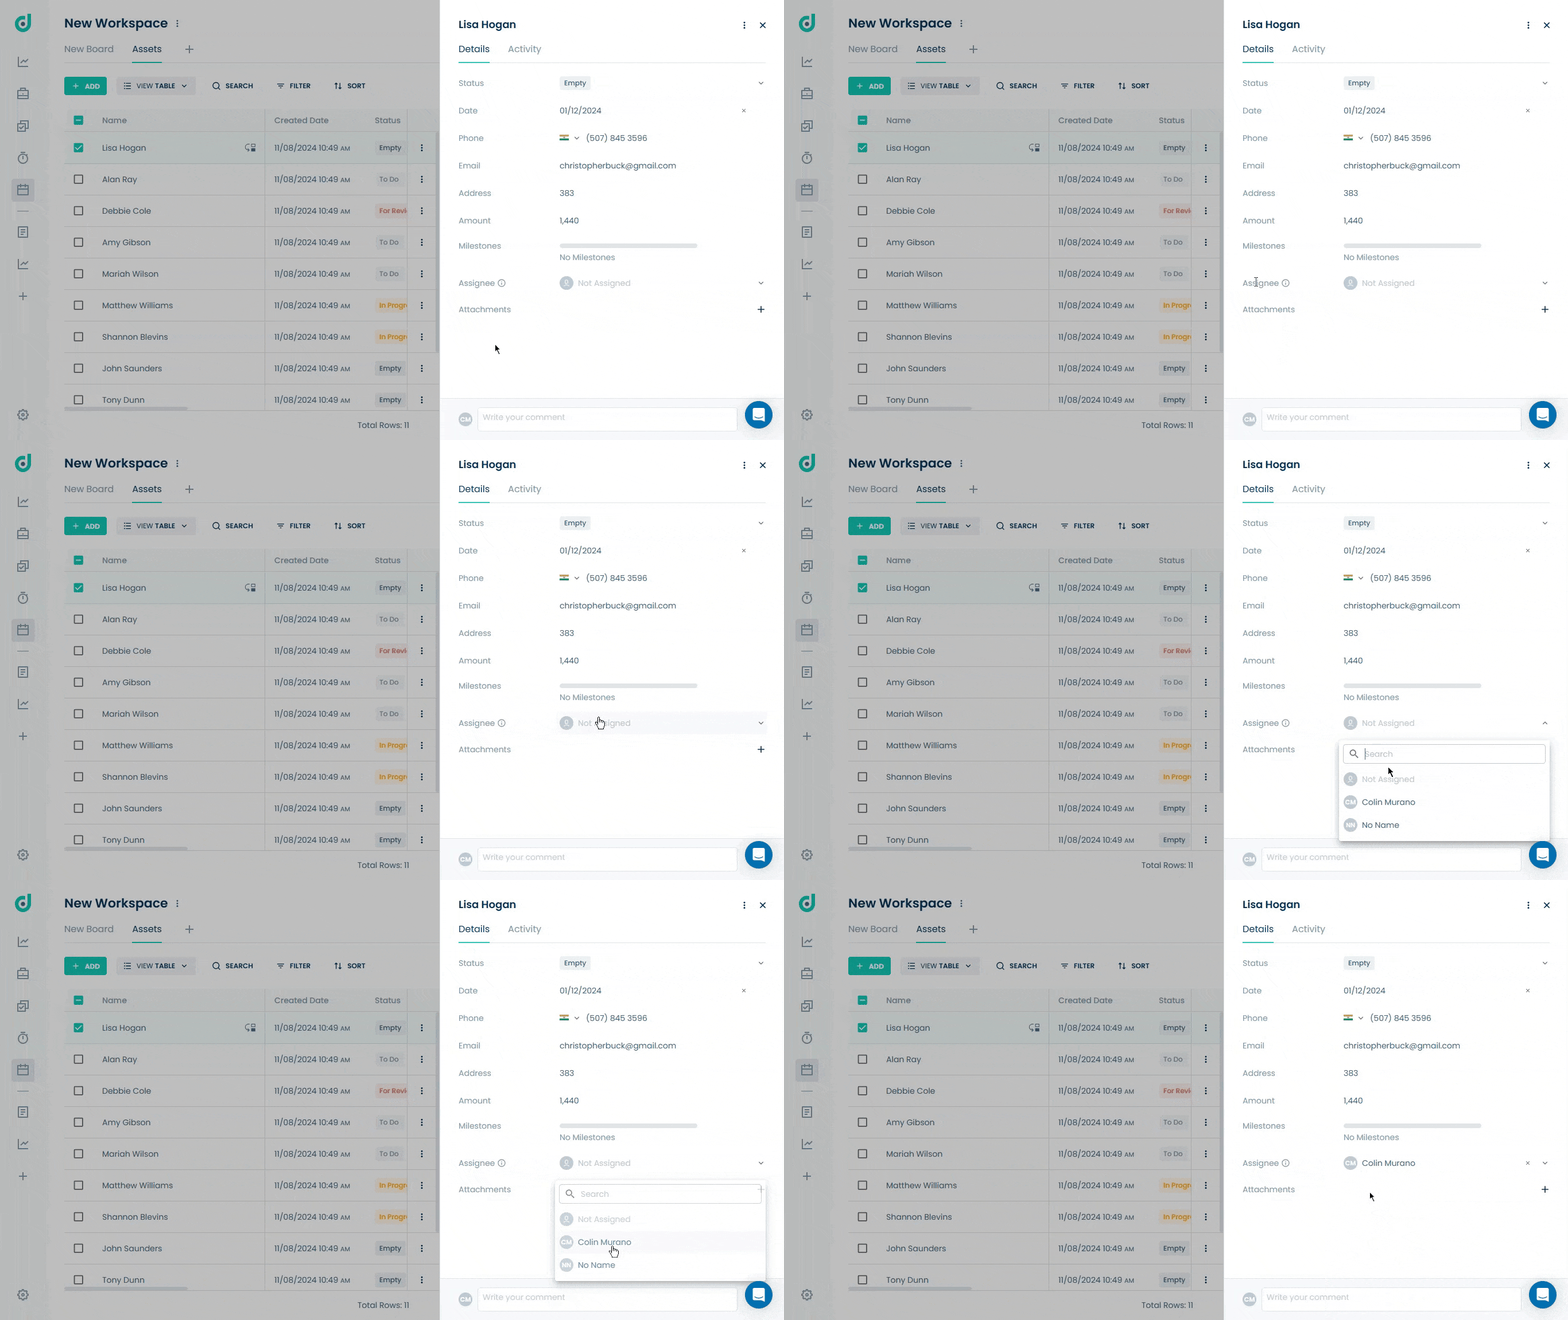
This will assign the selected user for that record. For more information on how to add a new user, refer to this document.
