OneDeck Help Center
How to Invite & Manage Users
As admins, OneDeck allows you to seamlessly expand your teams by inviting new members, ensuring secure collaboration through role-based access management. It enables quick onboarding with minimal yet essential details while offering flexibility in managing and viewing user information to maintain platform security and streamline operations.
In this documentation, we’ll walk you through the steps on how to:
- Invite Users
- Manage Users
Let’s get started 🚀
Navigate
Step 1: In the side navigation panel, click on the Settings option from the bottom-left corner of the interface.
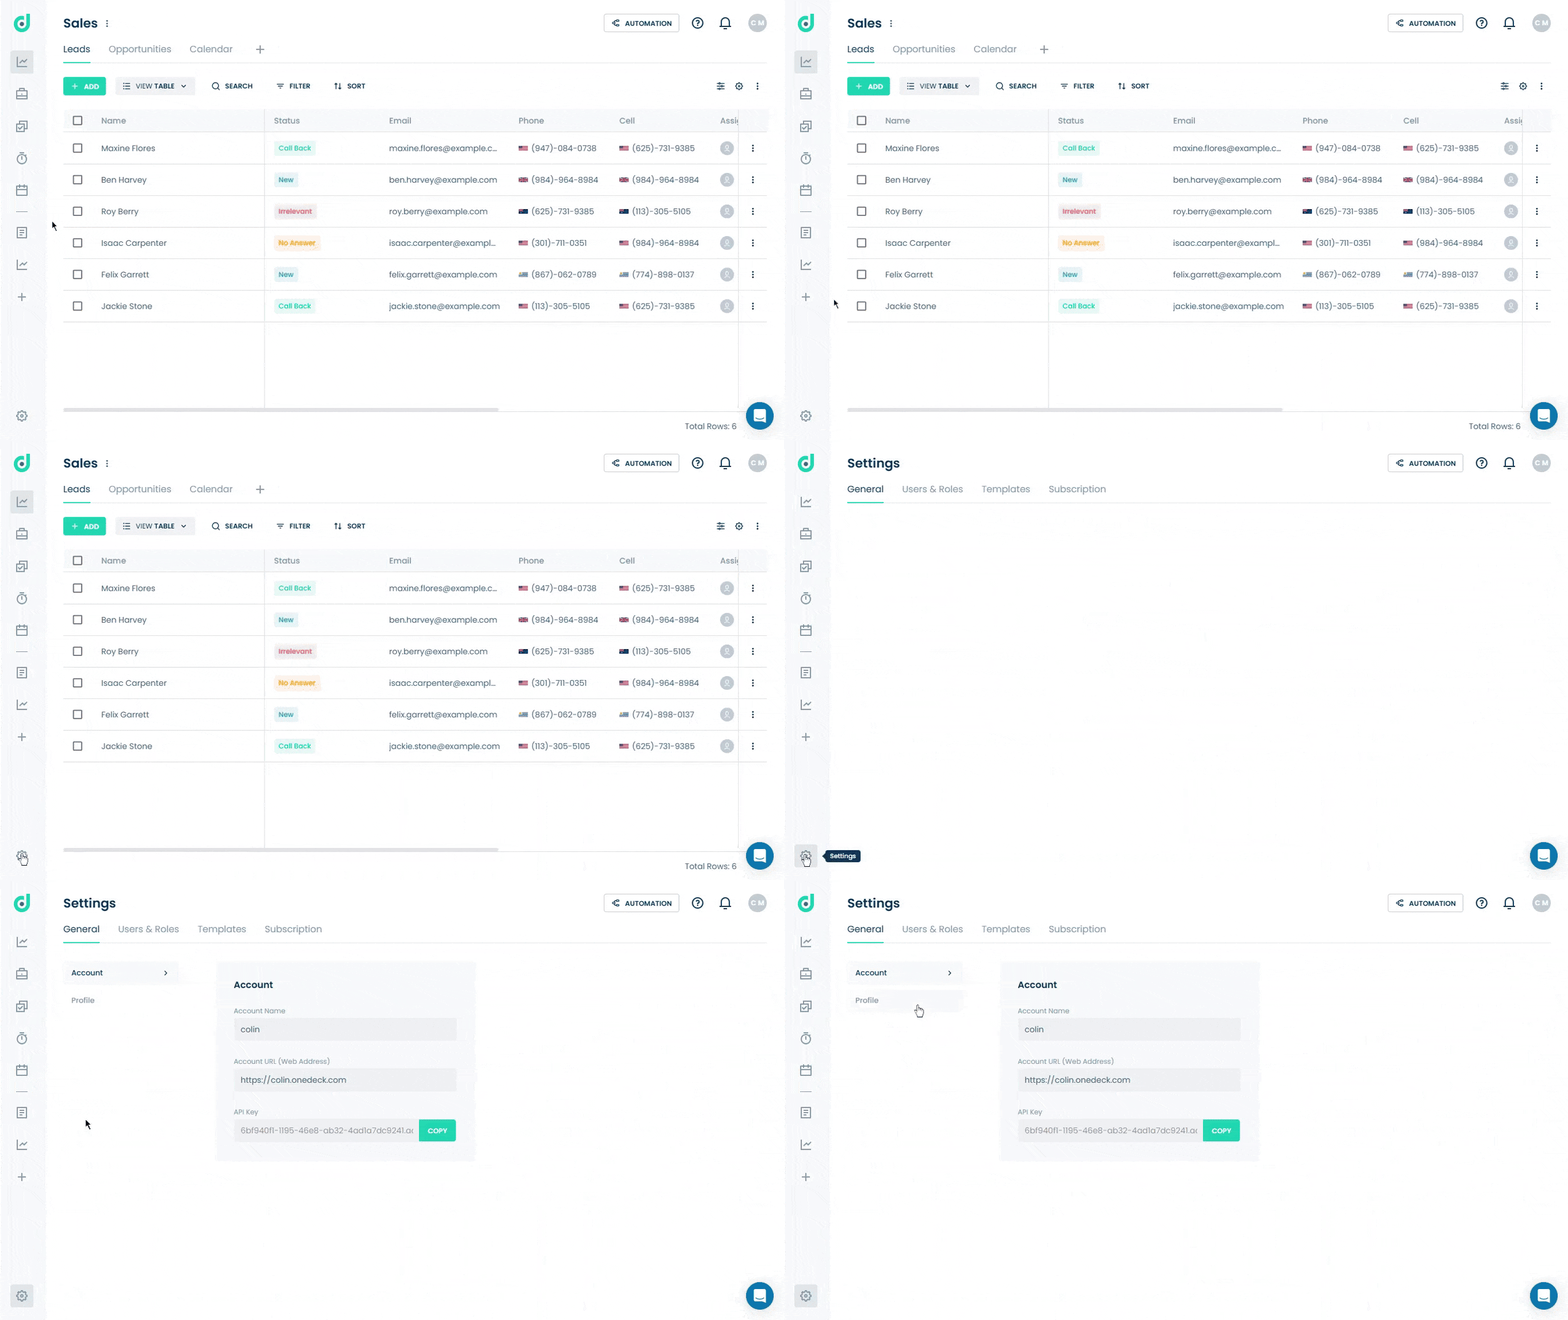
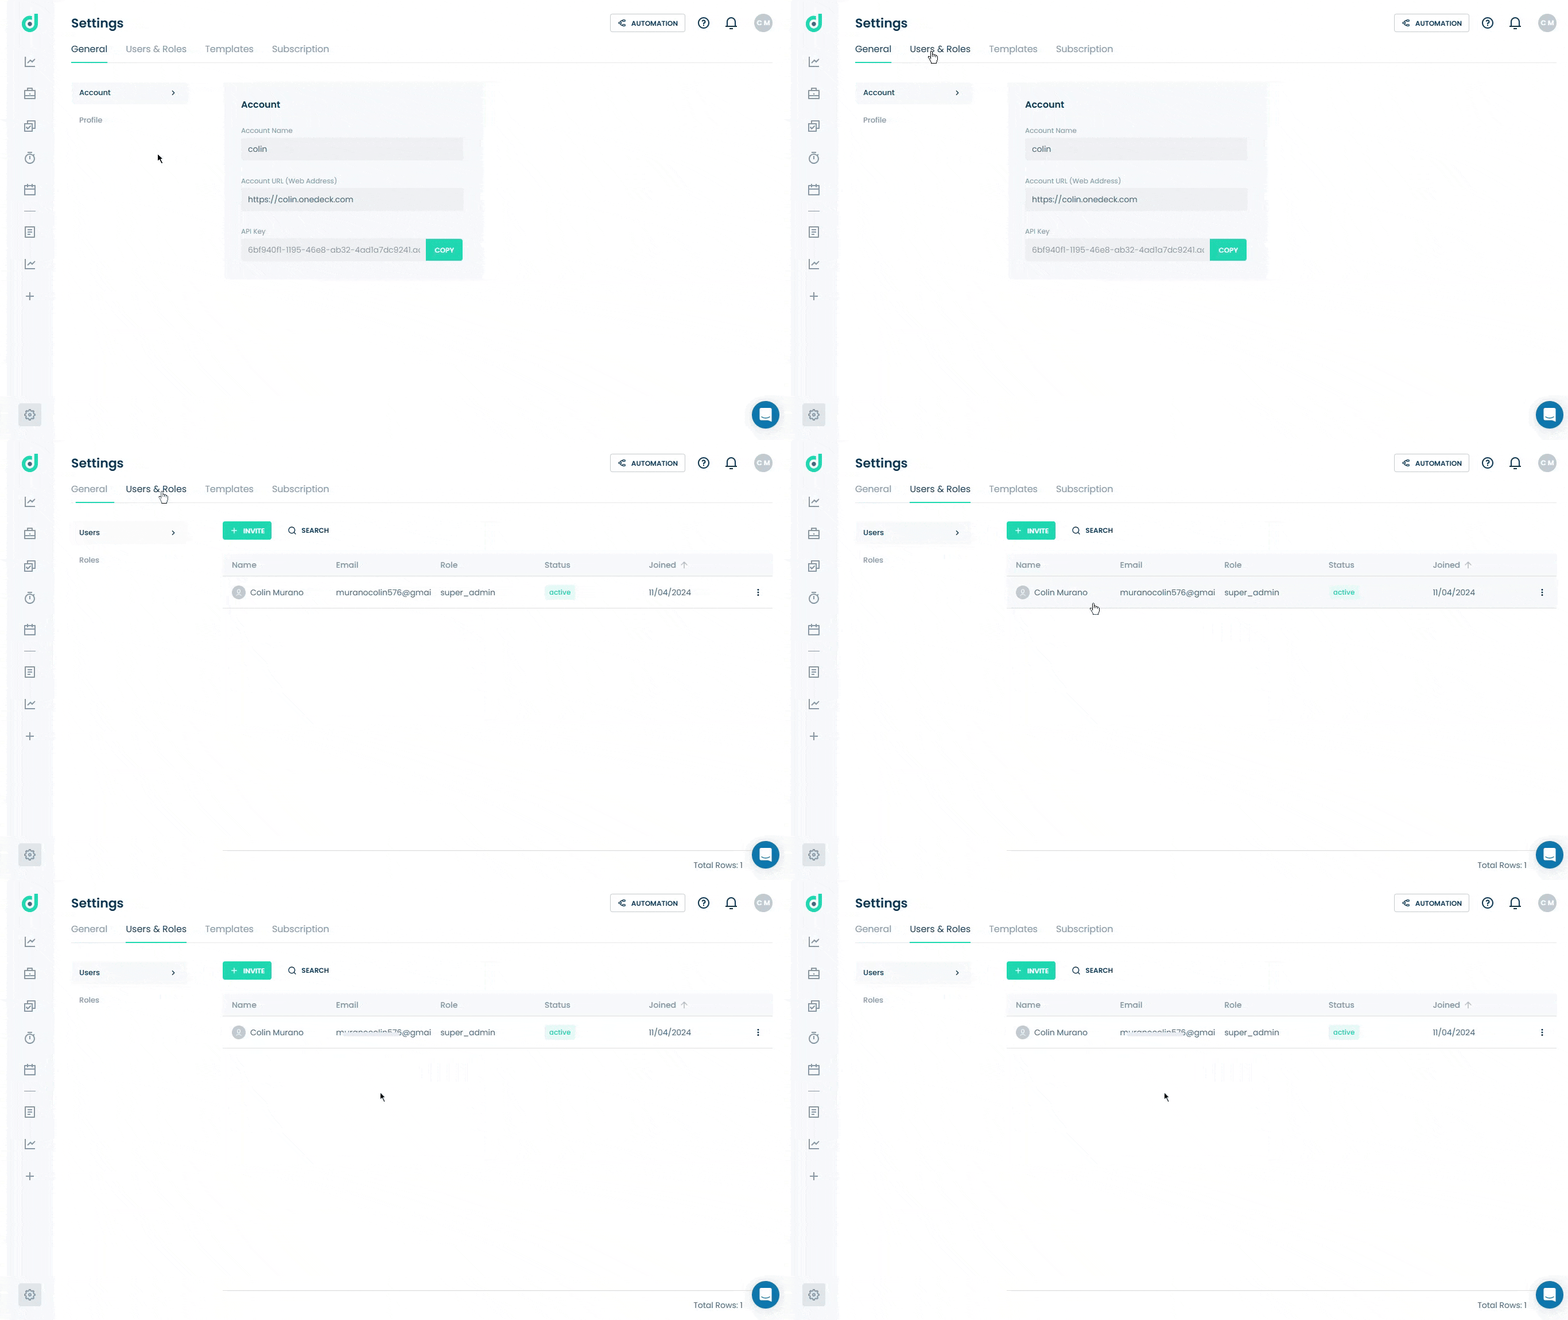
Step 2: Select the User & Roles tab from the settings menu.
Invite Users
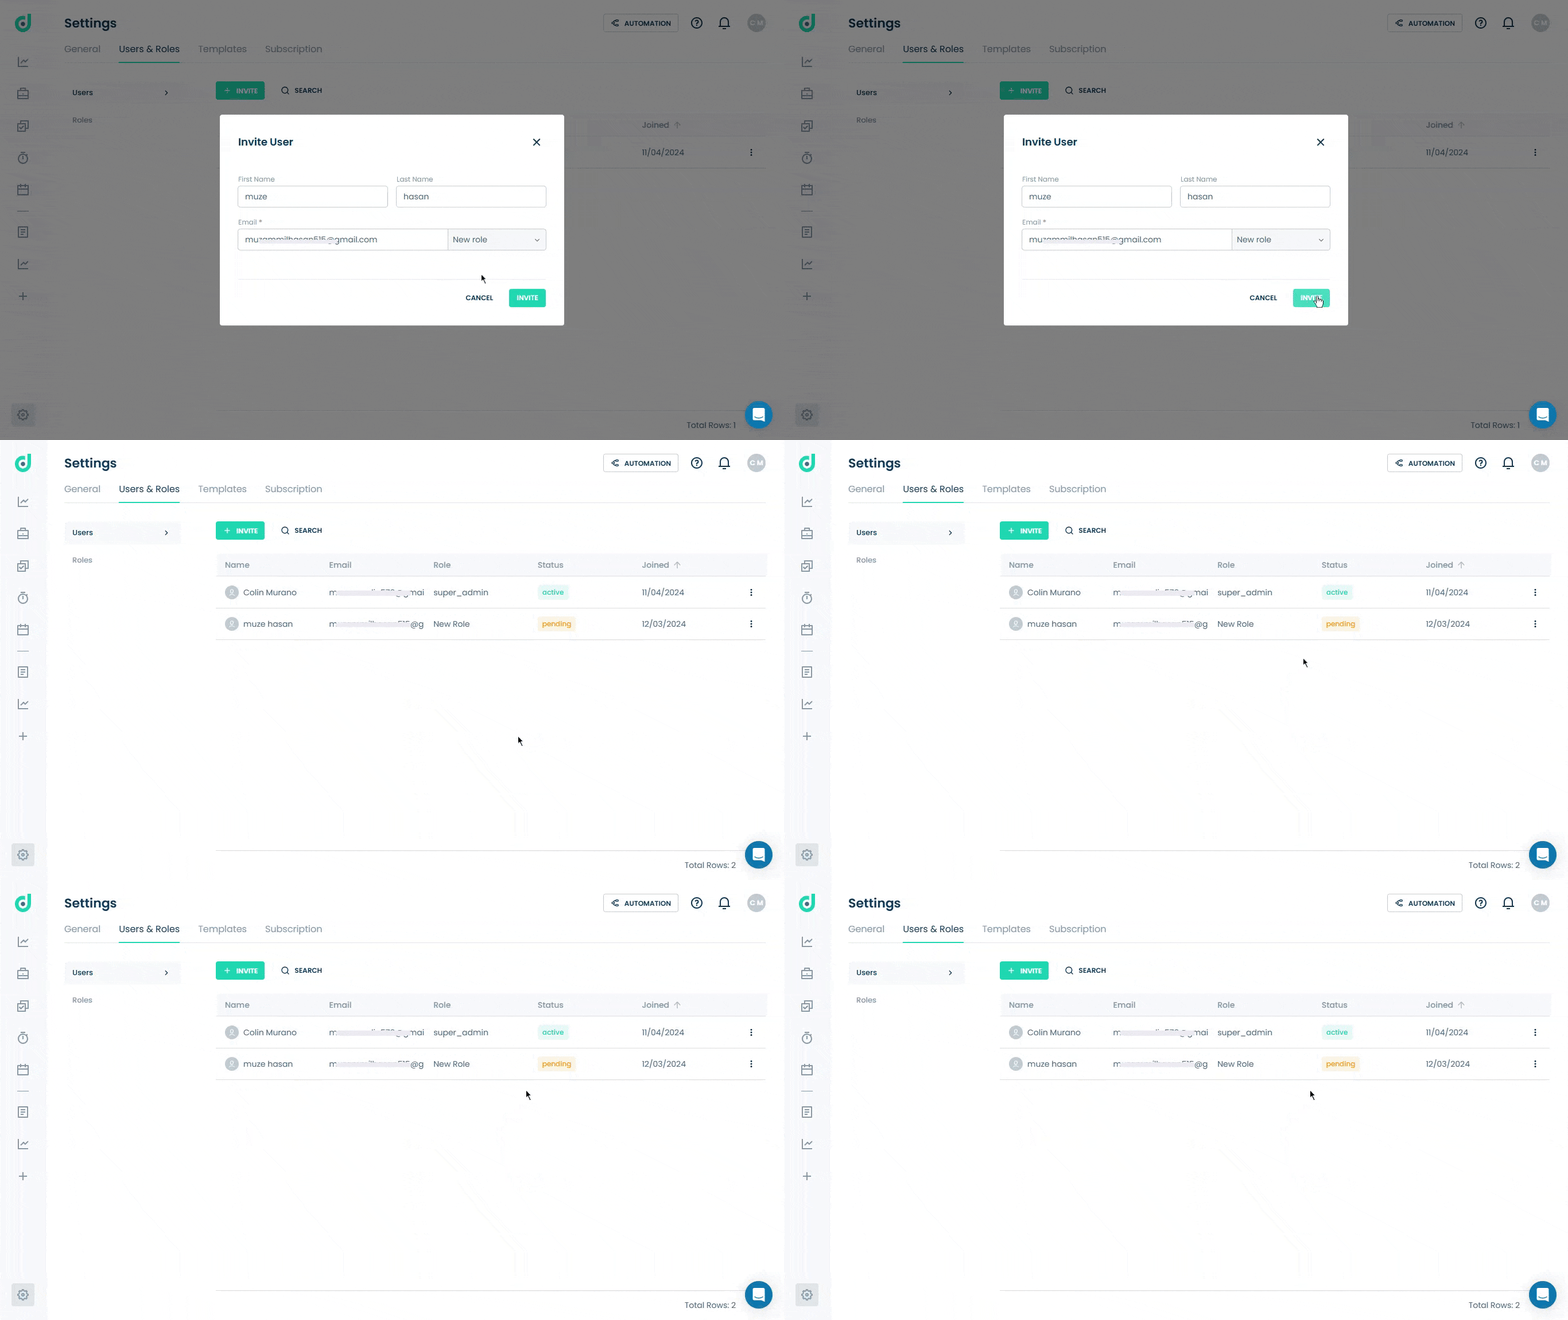
Allows you to invite users to your OneDeck platform using their email addresses, assign roles, and enhance team collaboration. After sending an invitation, you can also copy the invitation link from the user menu and send it directly to them (not just via email).
Step 1: Click on the + Invite button.
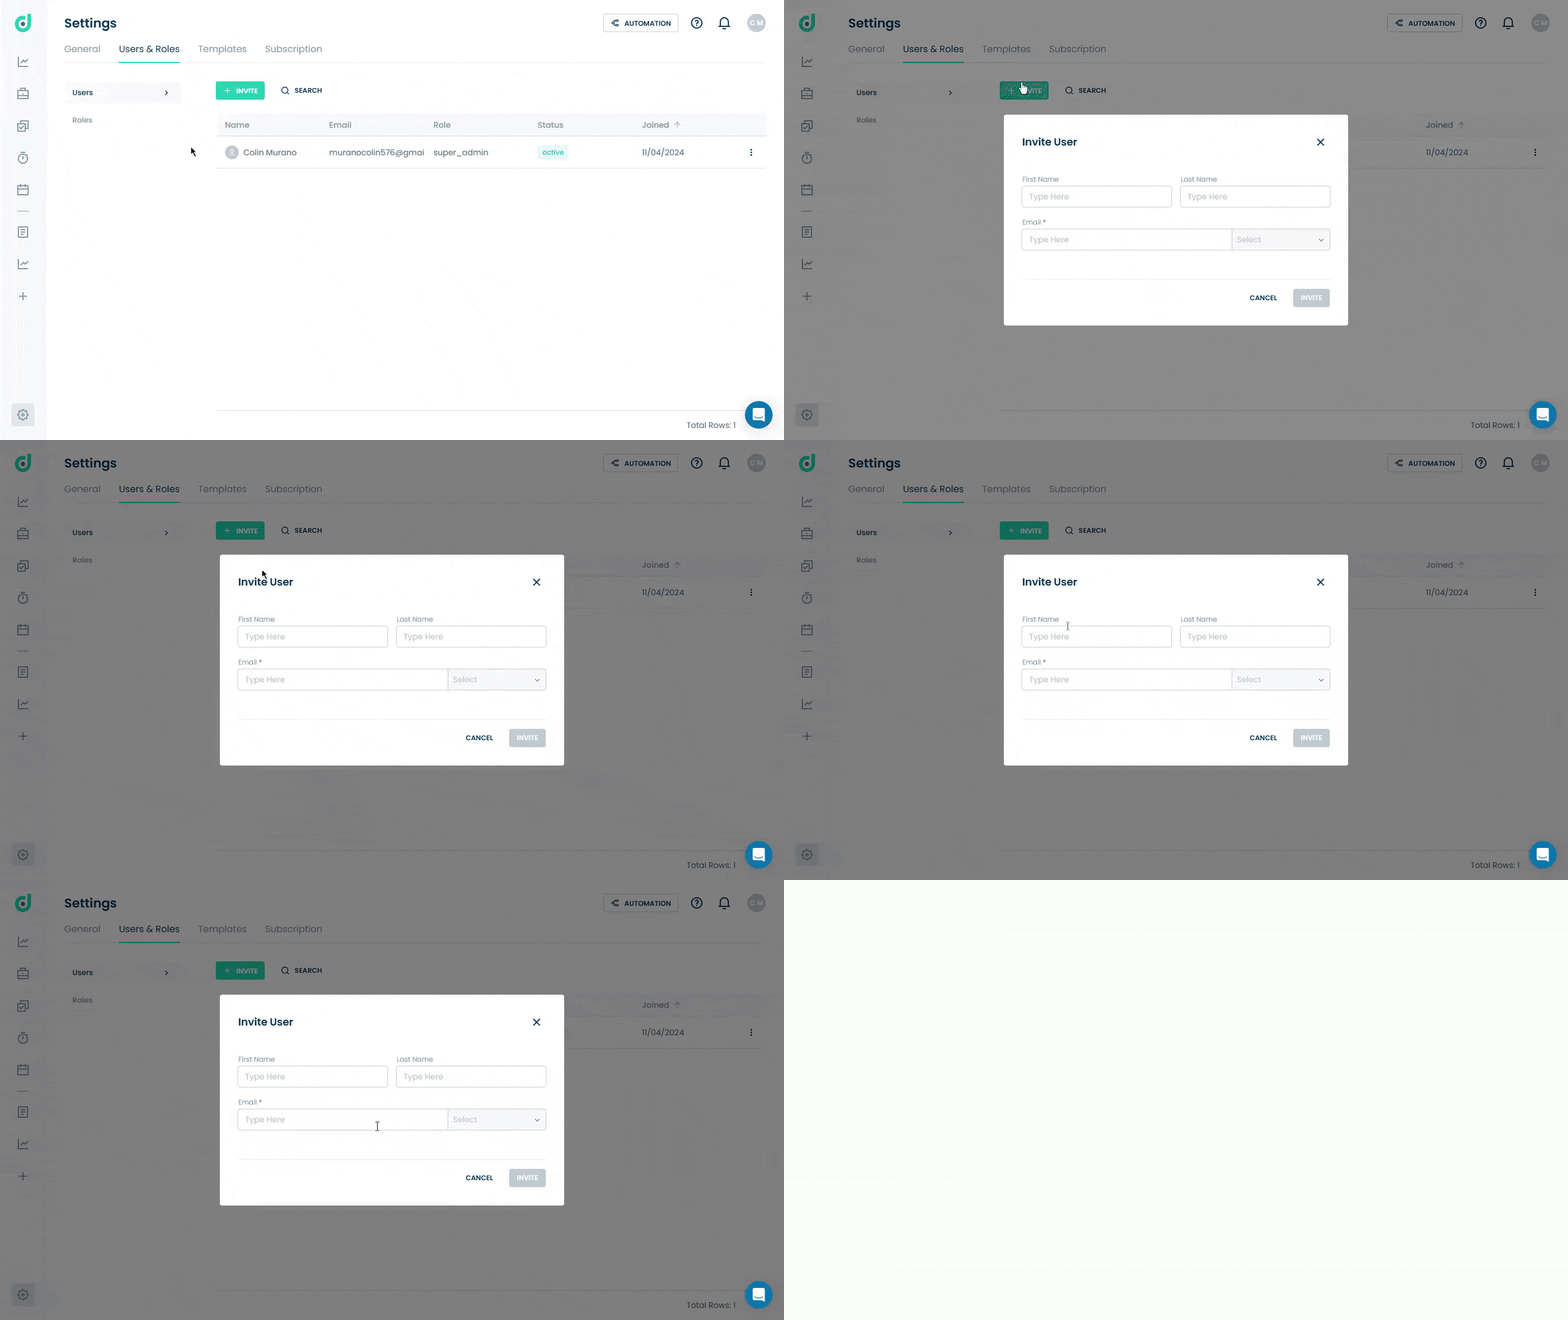
Step 2: A new window will appear, asking you to enter the following fields for inviting new users:
| Fields | Description |
| First Name | Enter the first name of the user. |
| Last Name | Enter the last name of the user. |
| Enter the email address of the user. The invitation will be sent to this email. | |
| Role | The dropdown menu to select the role of the user. |
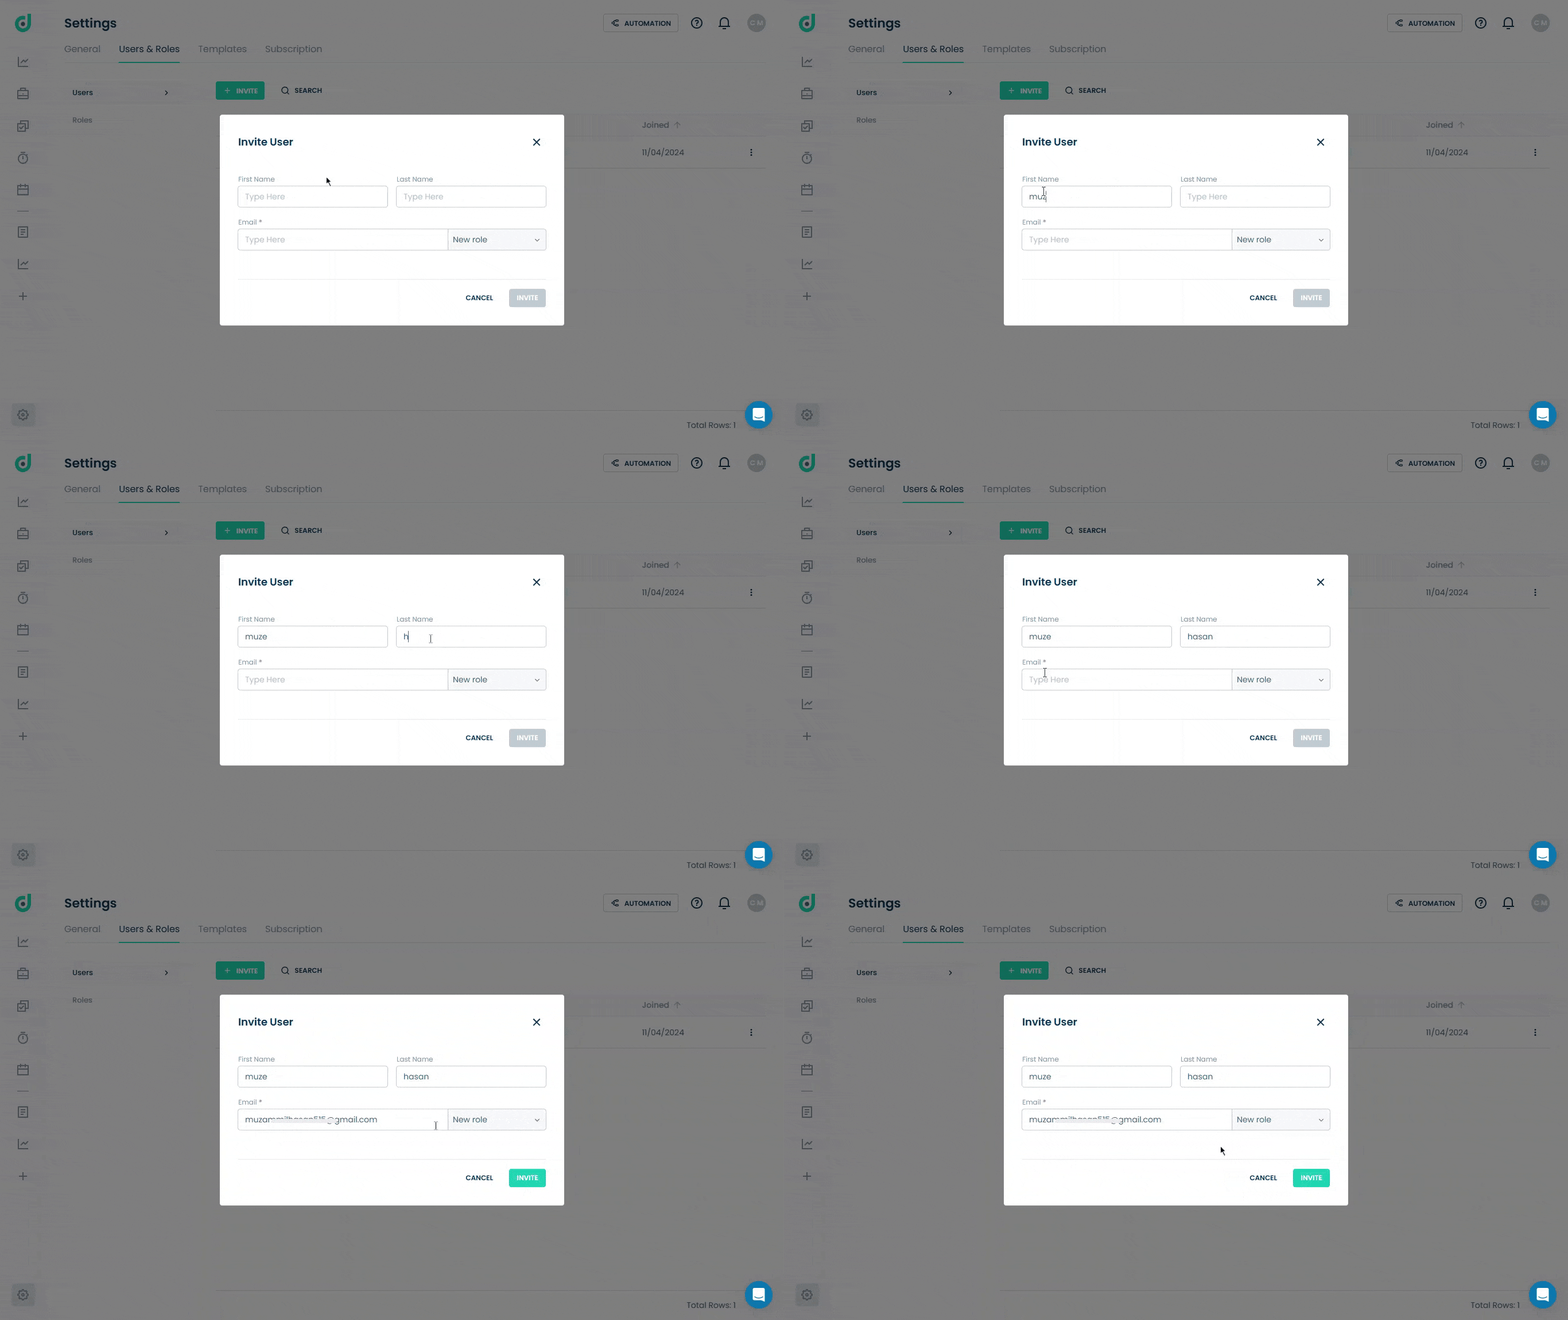
Step 3: Once done, click on the Invite button.
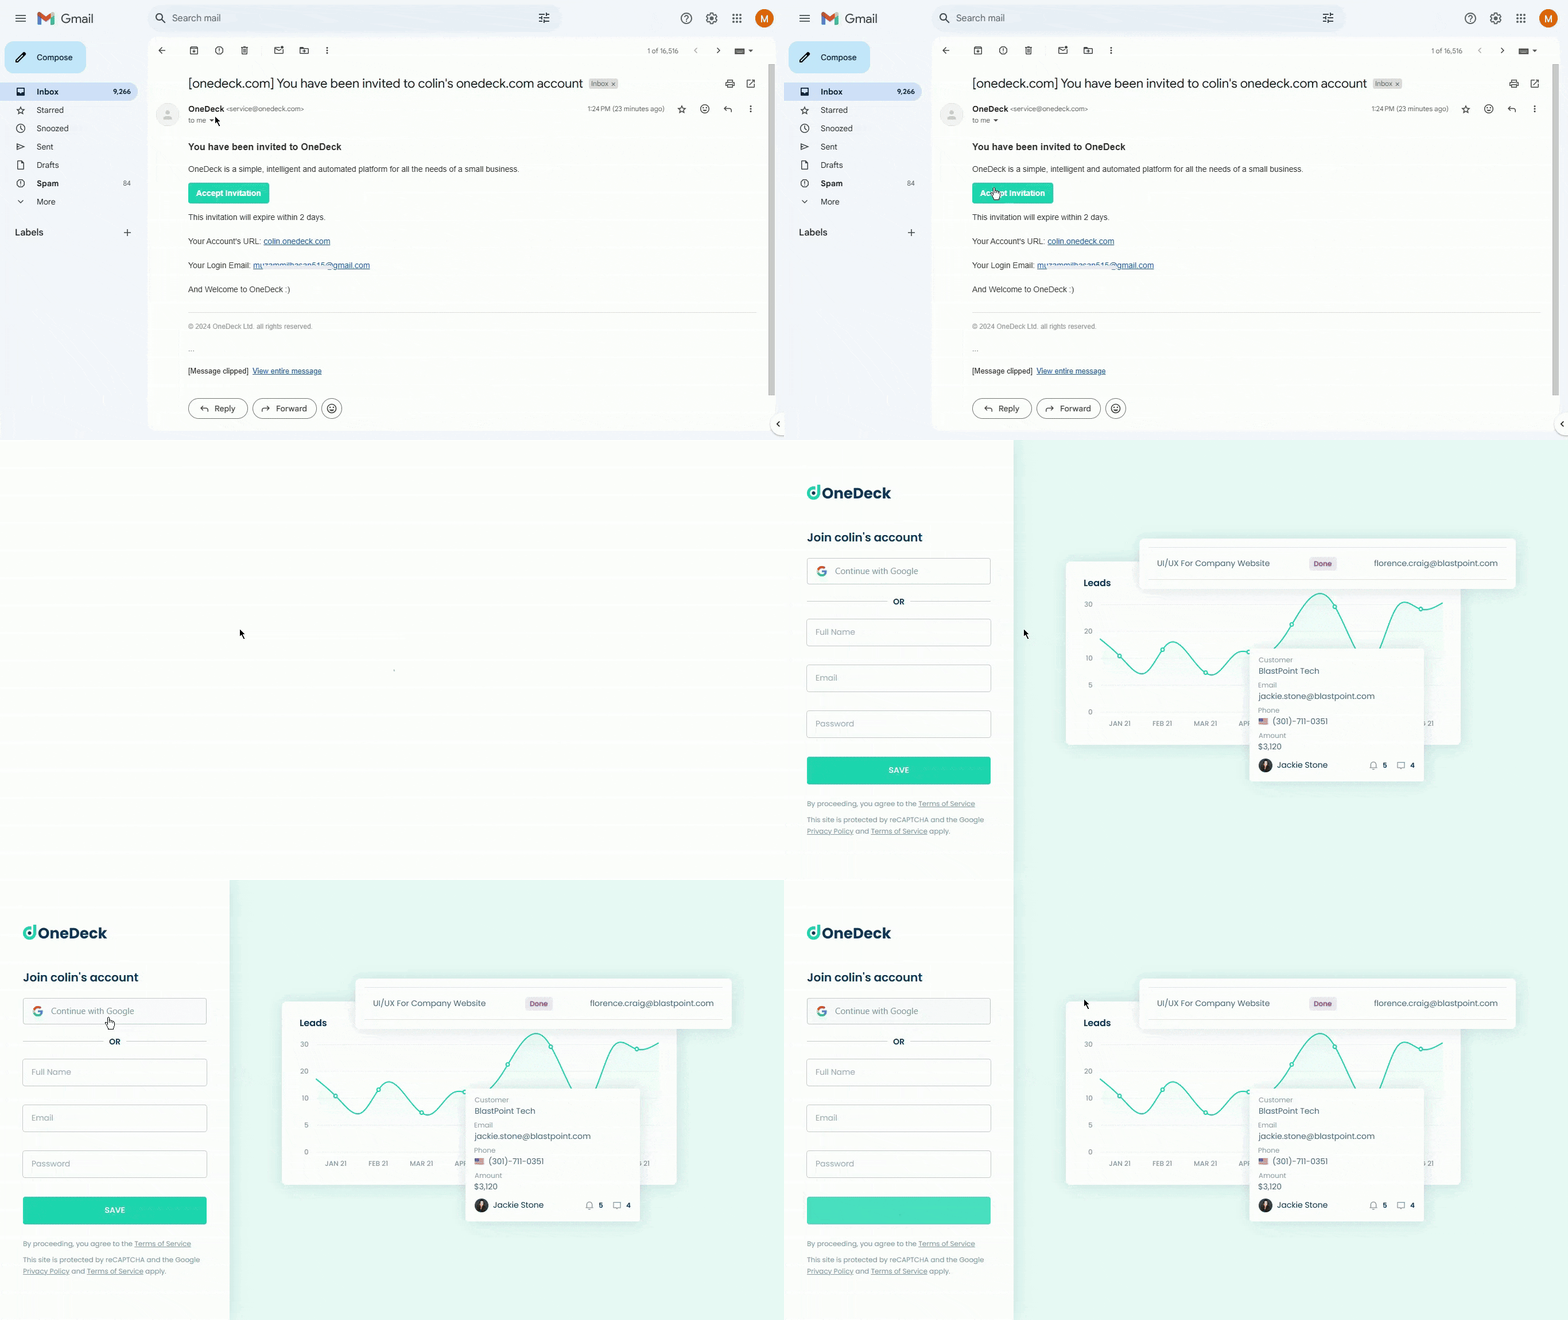
Step 4: Go to the email thread, open the OneDeck invitation, and accept it.
Manage Users
OneDeck provides the following options for managing users effectively, including searching for specific users, editing user details, and deactivating users when they are not in use.
- Search User
- Edit User
- Deactivate User
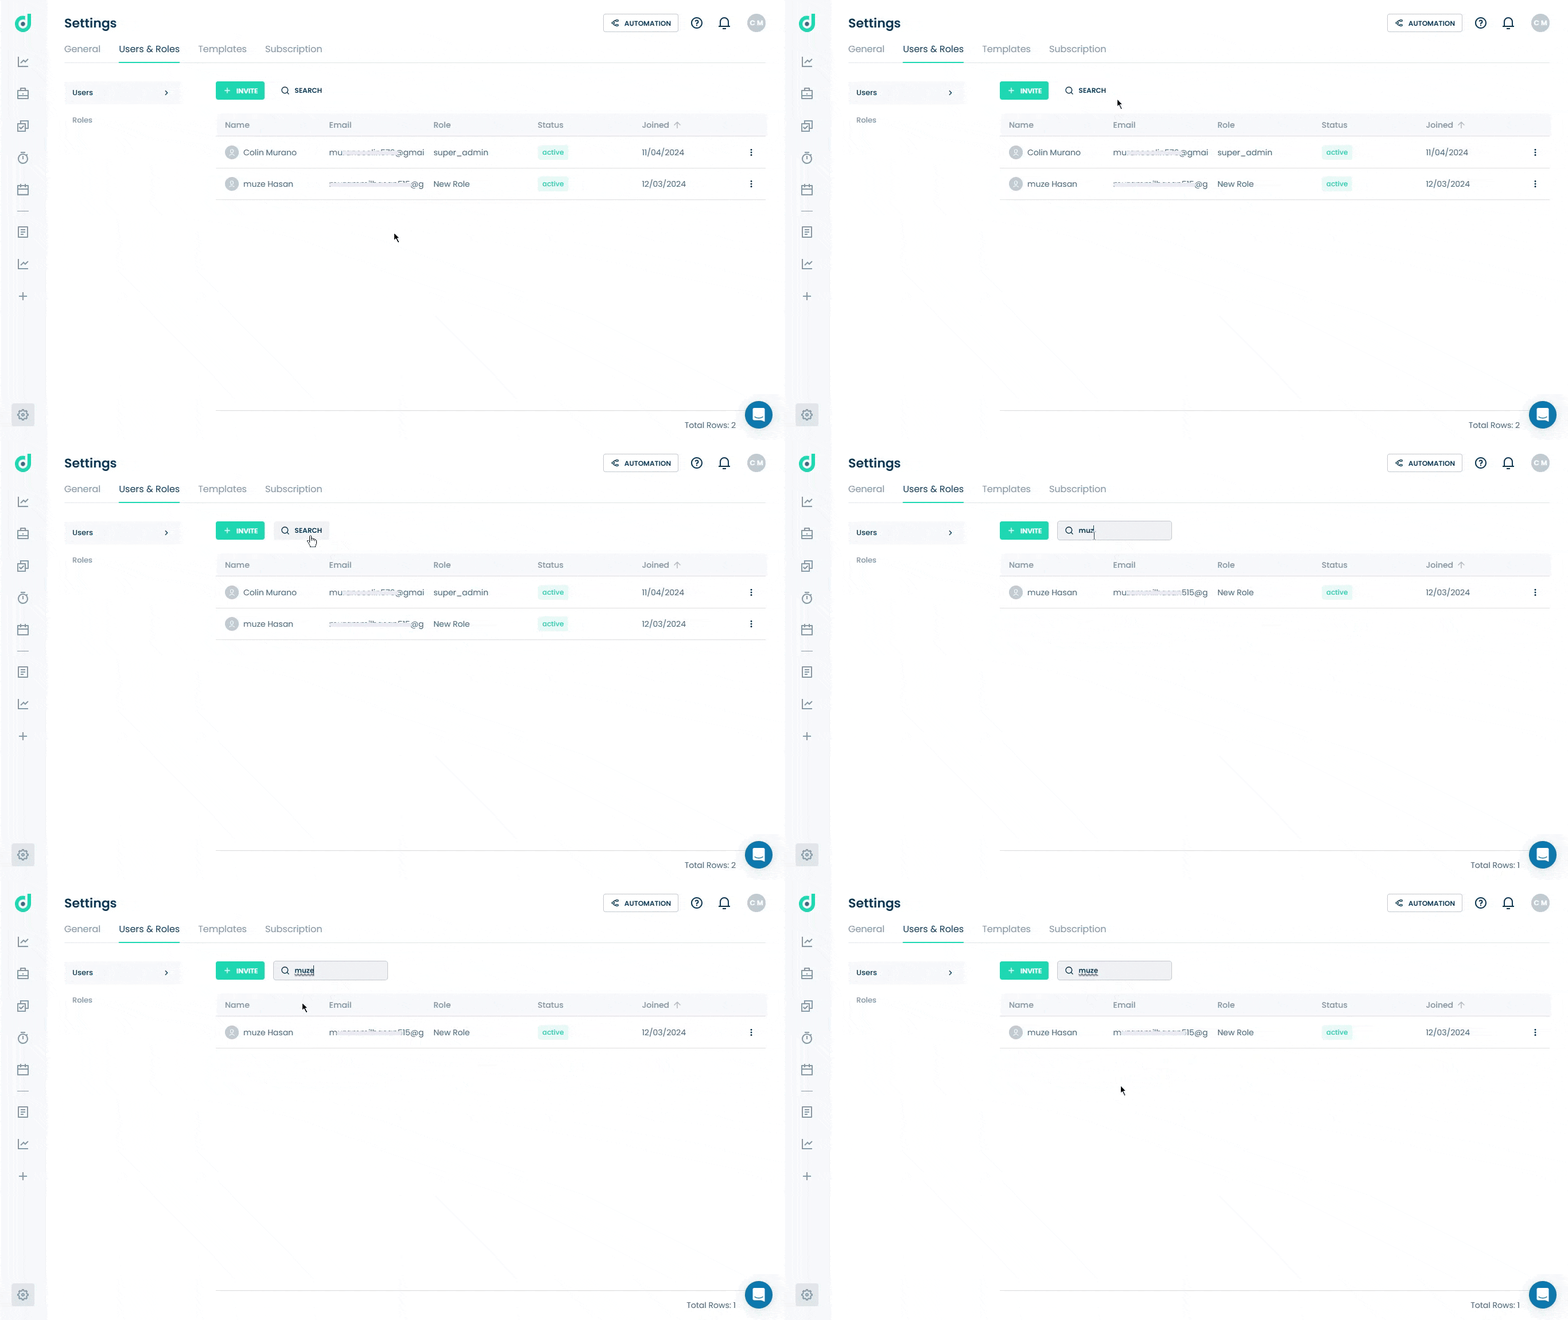
Search User
Allows you to locate invited users quickly by utilizing the search functionality by entering criteria such as the user’s name or email address to find the desired account efficiently.
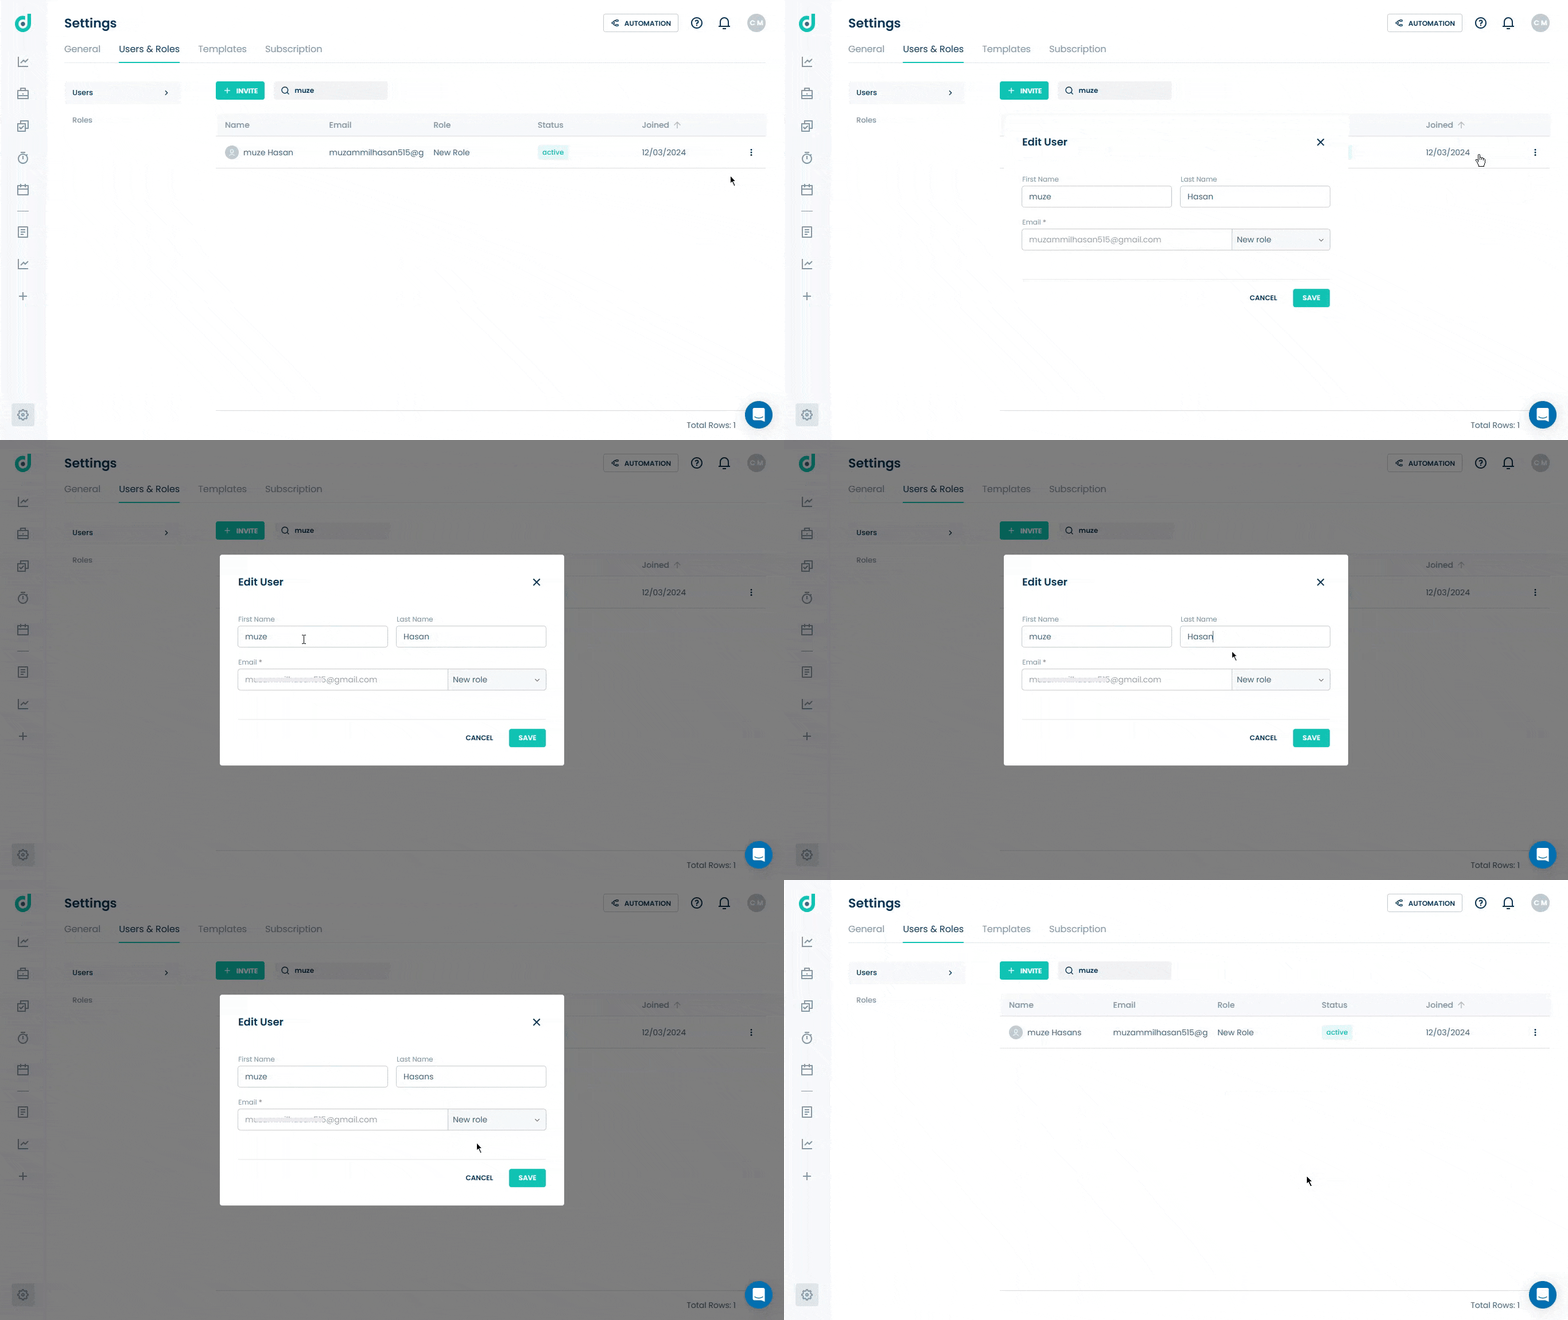
Edit User
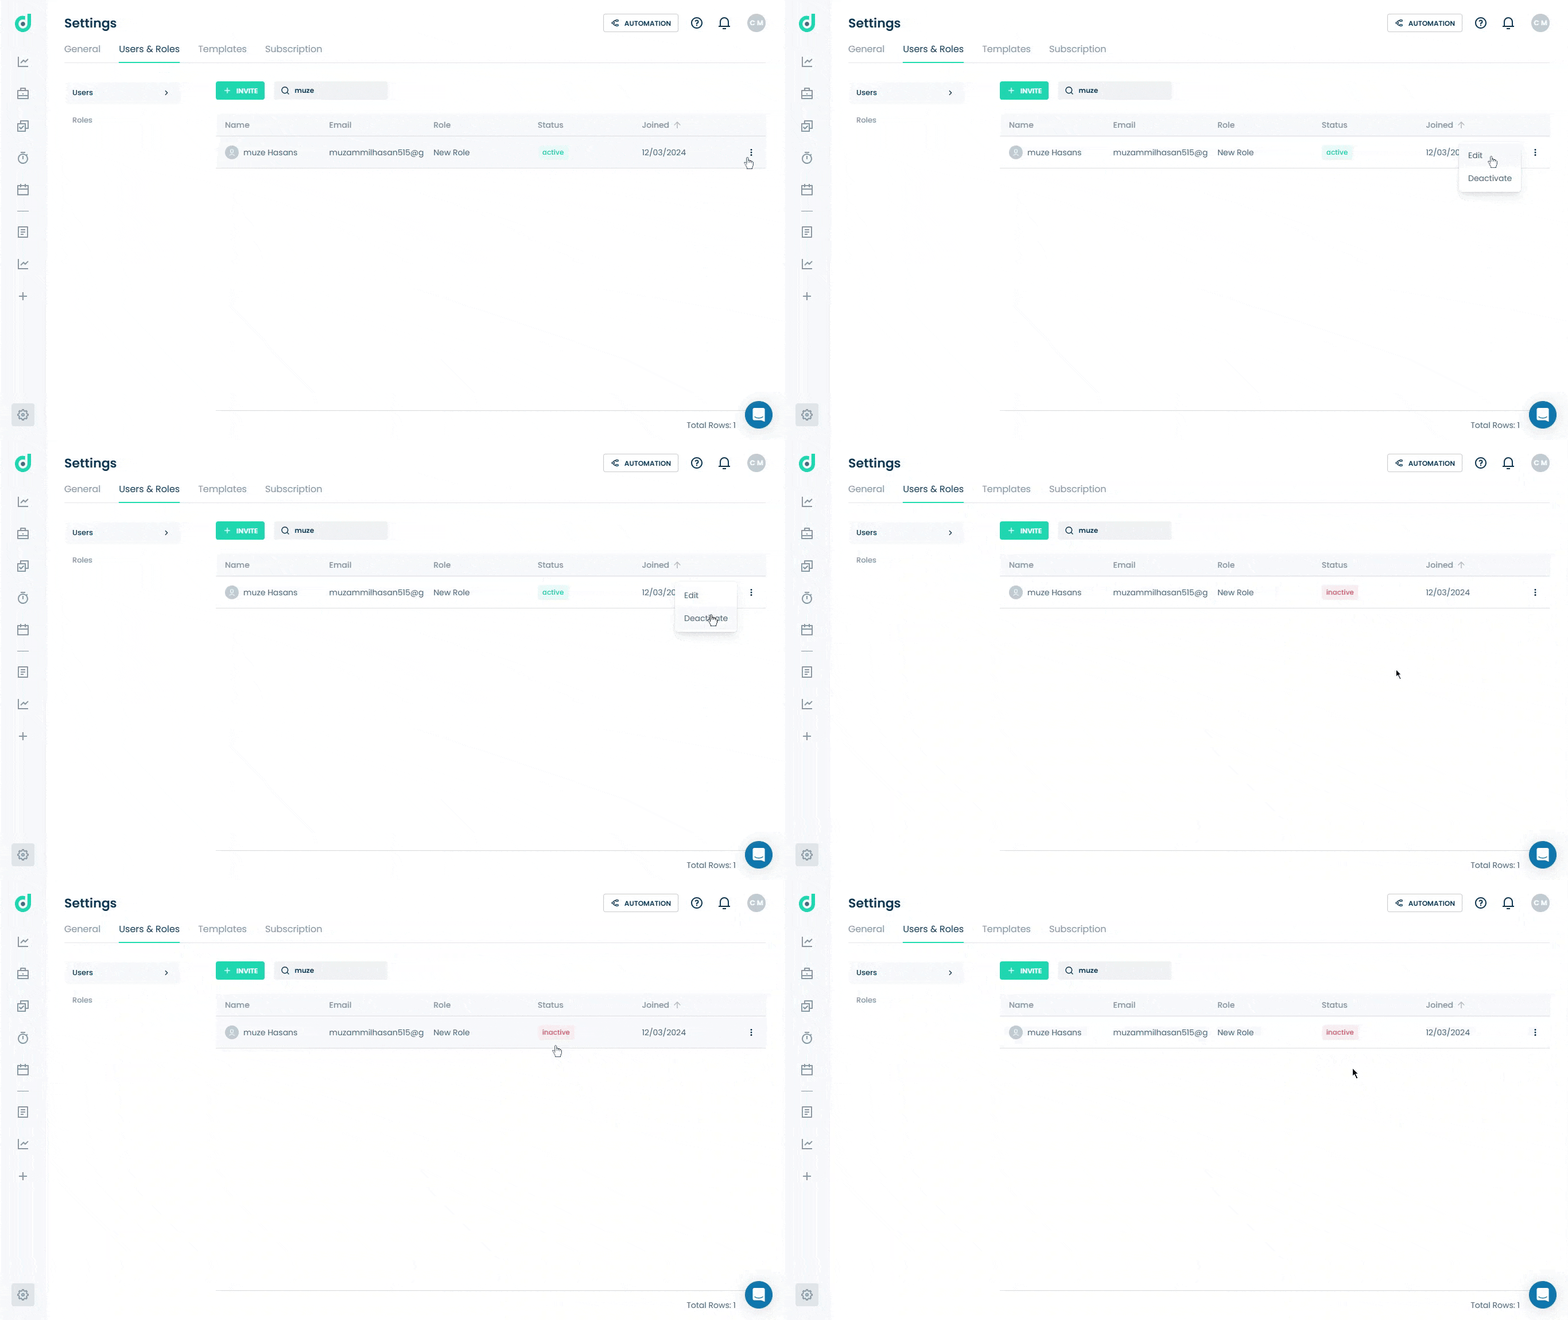
Allows you to edit an invited user, click the vertical ellipsis (three dots), and select the Edit option to update details such as:
- First Name
- Last Name
- User Role
Note: The email address of the invited user can’t be changed or edited.
Once making the necessary changes, ensure to save the updates to apply them.
Deactivate User
If a user is no longer active or needs to be temporarily removed from access, you can deactivate their account. Click on the vertical ellipsis (three dots) and select the Deactivate option.
Note: The invited users cannot be deleted but can only be made inactive.
